Note
Access to this page requires authorization. You can try signing in or changing directories.
Access to this page requires authorization. You can try changing directories.
This simple guide shows you how to create an archive database as well as enabling archiving on a user's mailbox. The database we are creating is a normal DB in Exchange 2013.
Open up the Exchange Admin Center:
http://collaborationpro.com/wp-content/uploads/2015/02/archive1-300x110.png
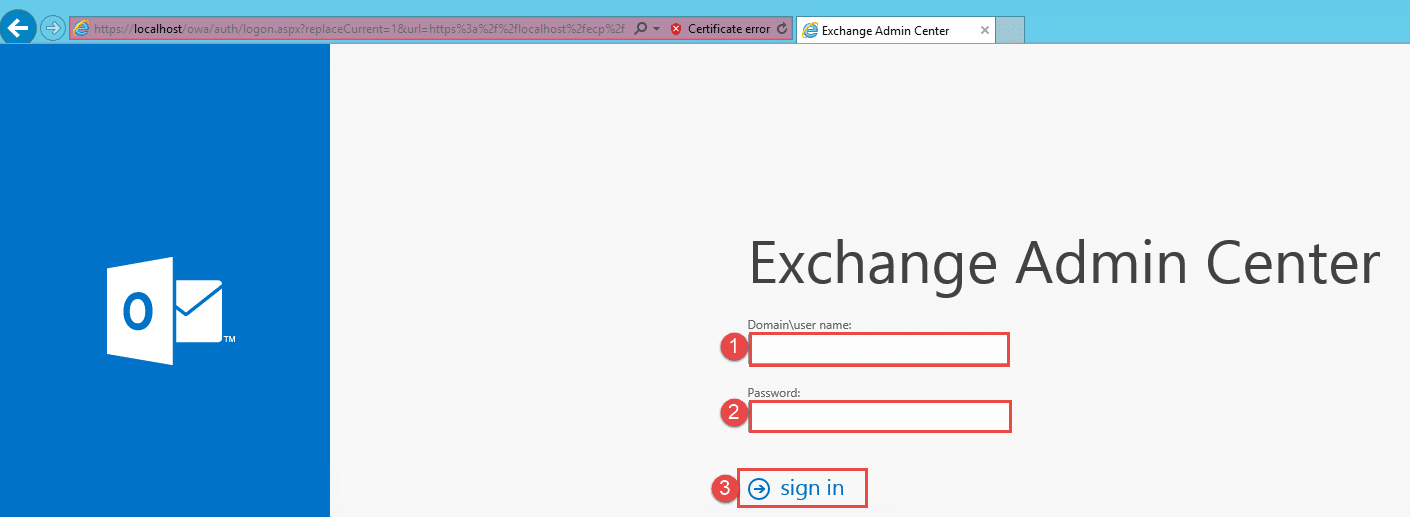
- Step 1 -> Enter in the user that has access to create databases. E.g. Domain\username
- Step 2 -> Enter in the password
- Step 3 -> Click Sign in
http://collaborationpro.com/wp-content/uploads/2015/02/archive2-300x122.png
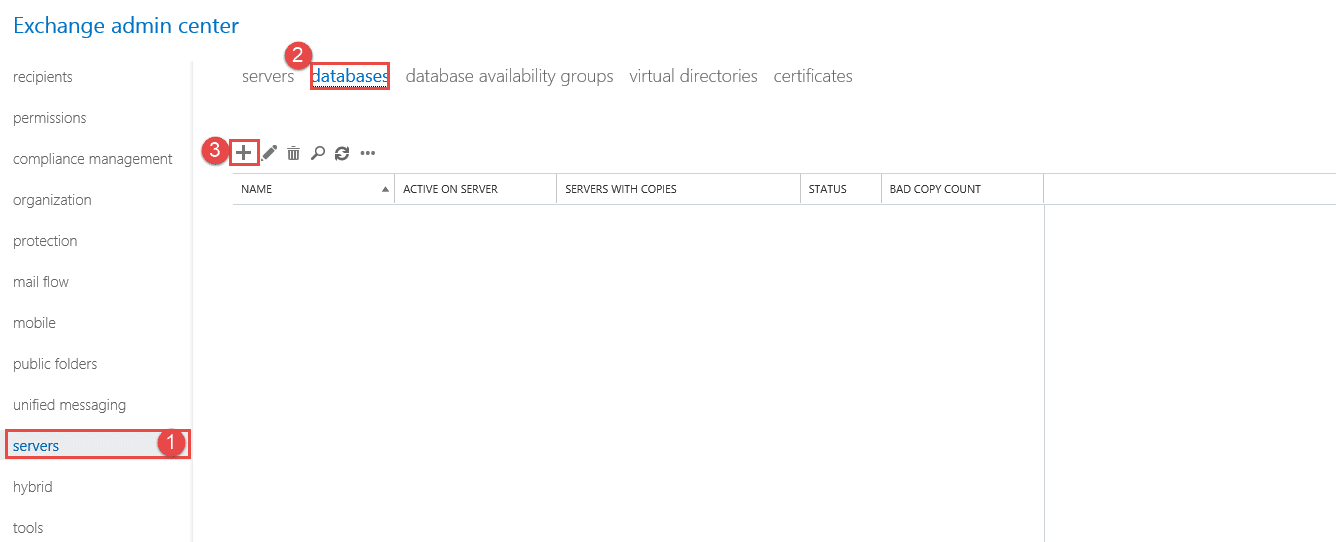
- Step 1 -> In the EAC (Exchange Admin Center) click on Servers.
- Step 2 -> Click on databases
- Step 3 -> Click on the + button
http://collaborationpro.com/wp-content/uploads/2015/02/archive3-253x300.png
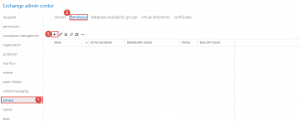
- Once you have clicked the + button in the previous screen you will be presented with this window.
http://collaborationpro.com/wp-content/uploads/2015/02/archive4-253x300.png
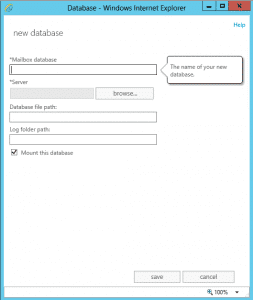
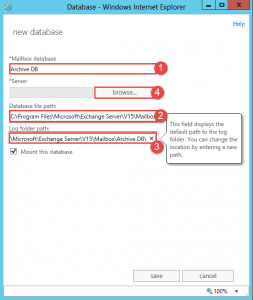
- Step 1 -> Enter a name for the Archive DB.
- Step 2 -> Enter the Database file path.
- Step 3 -> Enter the log folder path.
- Step 4 -> Click the browse button to select a servers.
http://collaborationpro.com/wp-content/uploads/2015/02/archive5-245x300.png
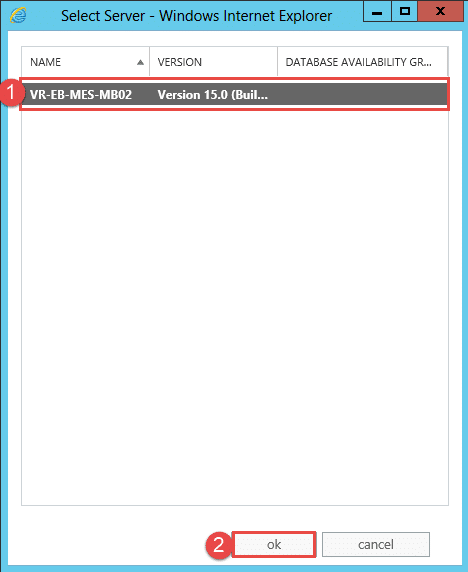
- Step 1 -> Select the server
- Step 2 -> Click on OK.
http://collaborationpro.com/wp-content/uploads/2015/02/archive6-254x300.png
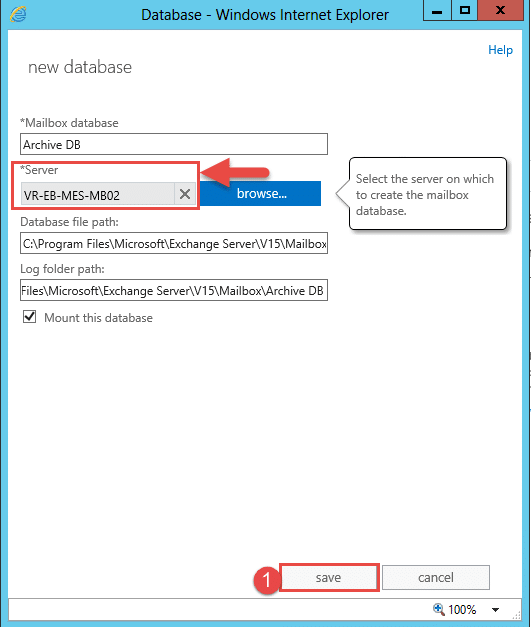
- As you can see, the server is now shown in the text box.
- Step 1 -> Click save to create the DB.
http://collaborationpro.com/wp-content/uploads/2015/02/archive7-251x300.png
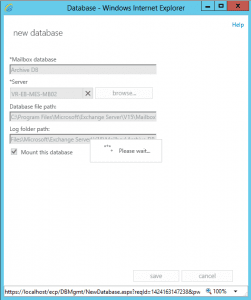
- Progress window.
http://collaborationpro.com/wp-content/uploads/2015/02/archive8-253x300.png
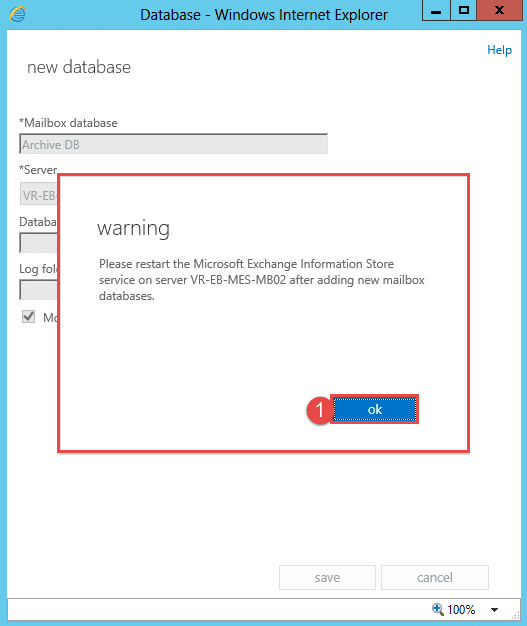
- A warning will appear to restart the Information Store after the DB has been created.
- Step 1 -> Click OK.
http://collaborationpro.com/wp-content/uploads/2015/02/archive9-300x128.png
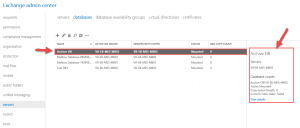
- As shown above, the Archive DB has been created.
Enable Archiving on a mailbox:
http://collaborationpro.com/wp-content/uploads/2015/02/archive10-300x142.png
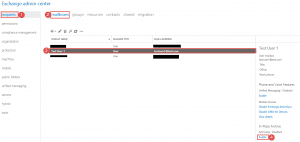
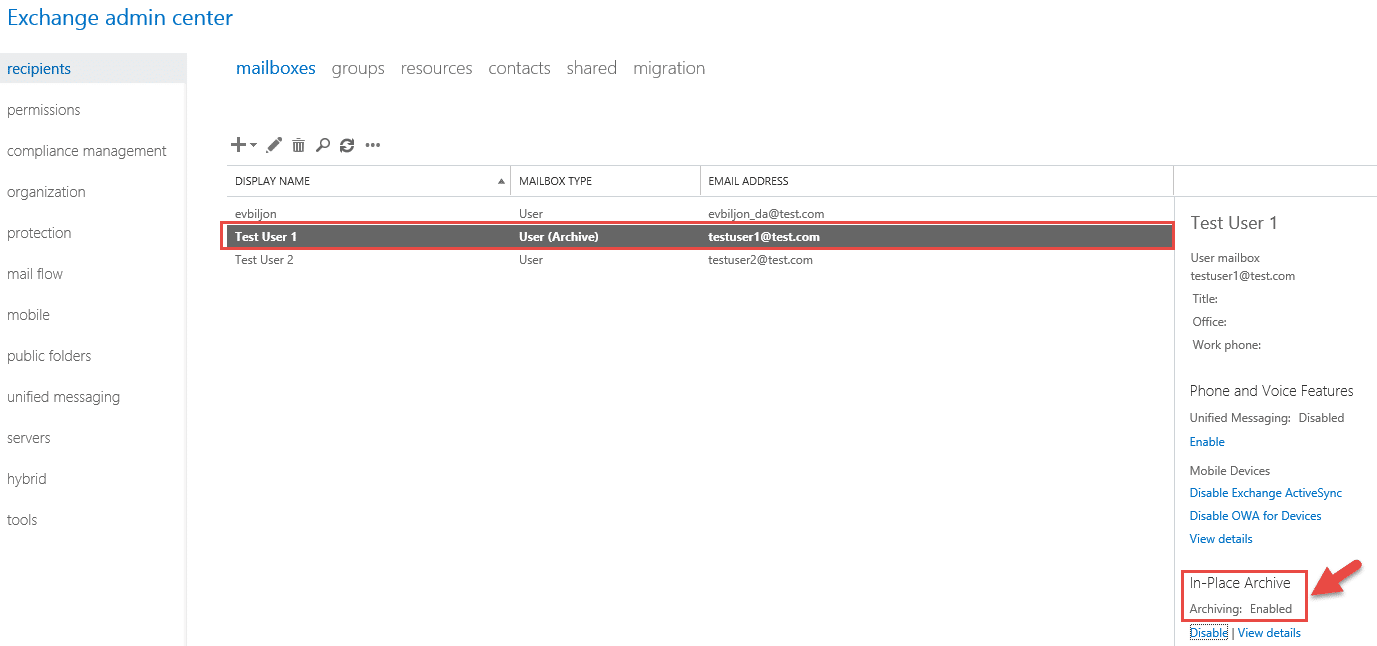
- Step 1 -> In the EAC, click on Recipients.
- Step 2 -> Click on Mailboxes.
- Step 3 -> Click on the user’s mailbox you want to enable archiving on.
- Step 4 -> Click on the Enable button on the right hand side under In-Place Archive.
http://collaborationpro.com/wp-content/uploads/2015/02/archive11-300x211.png
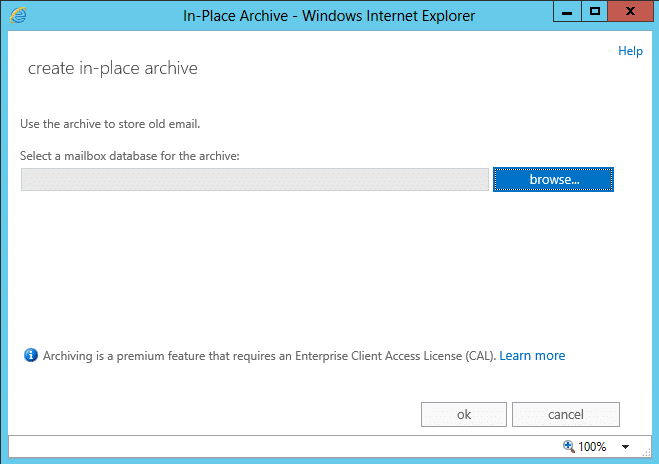
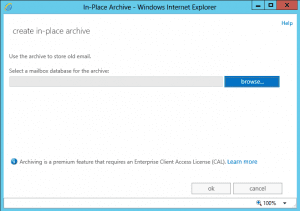
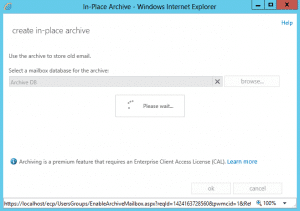
- The following window will show.
- Click the Browse button.
http://collaborationpro.com/wp-content/uploads/2015/02/archive12-300x235.png
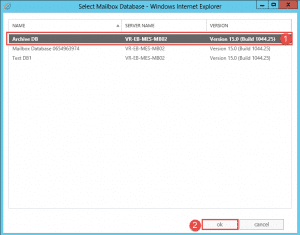
- Step 1 -> Select the Archive Database we just created.
- Step 2 -> Click OK.
http://collaborationpro.com/wp-content/uploads/2015/02/archive13-300x211.png
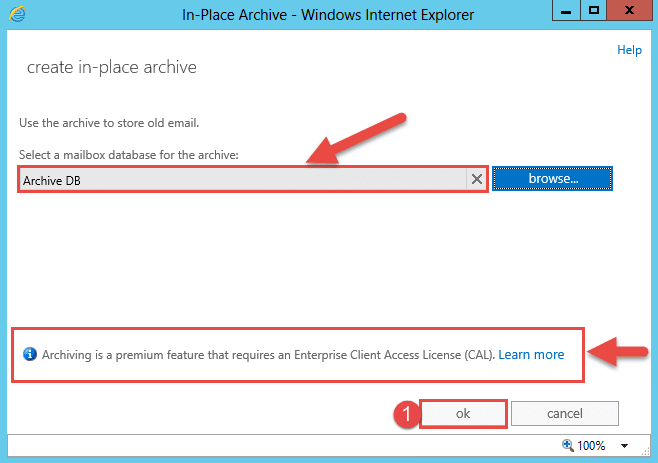
- The DB will show as above after we selected it.
- Take note that you need to have an enterprise CAL to use the Archiving Feature.
- Step 1 -> Click OK.
http://collaborationpro.com/wp-content/uploads/2015/02/archive14-300x211.png
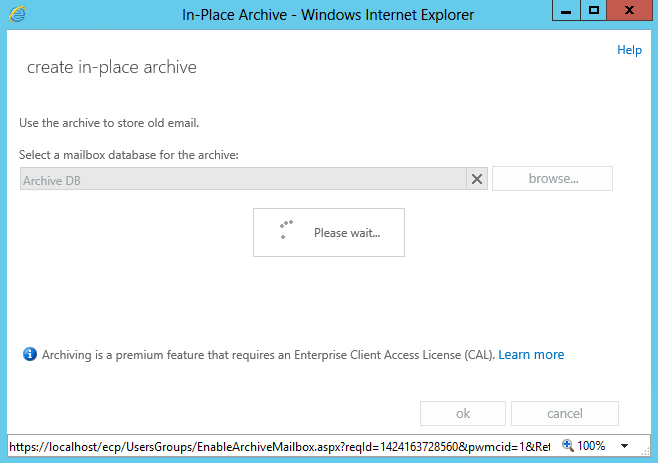
- Progress screen.
http://collaborationpro.com/wp-content/uploads/2015/02/archive15-300x141.png
- Back in the EAC you can now see that archiving has been enabled for the user.
Hope it helps.