Note
Access to this page requires authorization. You can try signing in or changing directories.
Access to this page requires authorization. You can try changing directories.
In this article, we will be dealing with the different panels of WPF such as Stackpanel, Wrappanel and Dockpanel.
Prerequisites:
- Visual Studio 2013 with Update 4 or Visual Studio 2015
Step 1:
Create an empty WPF project using Visual Studio, enter the name of the application and click OK.

Step 2:
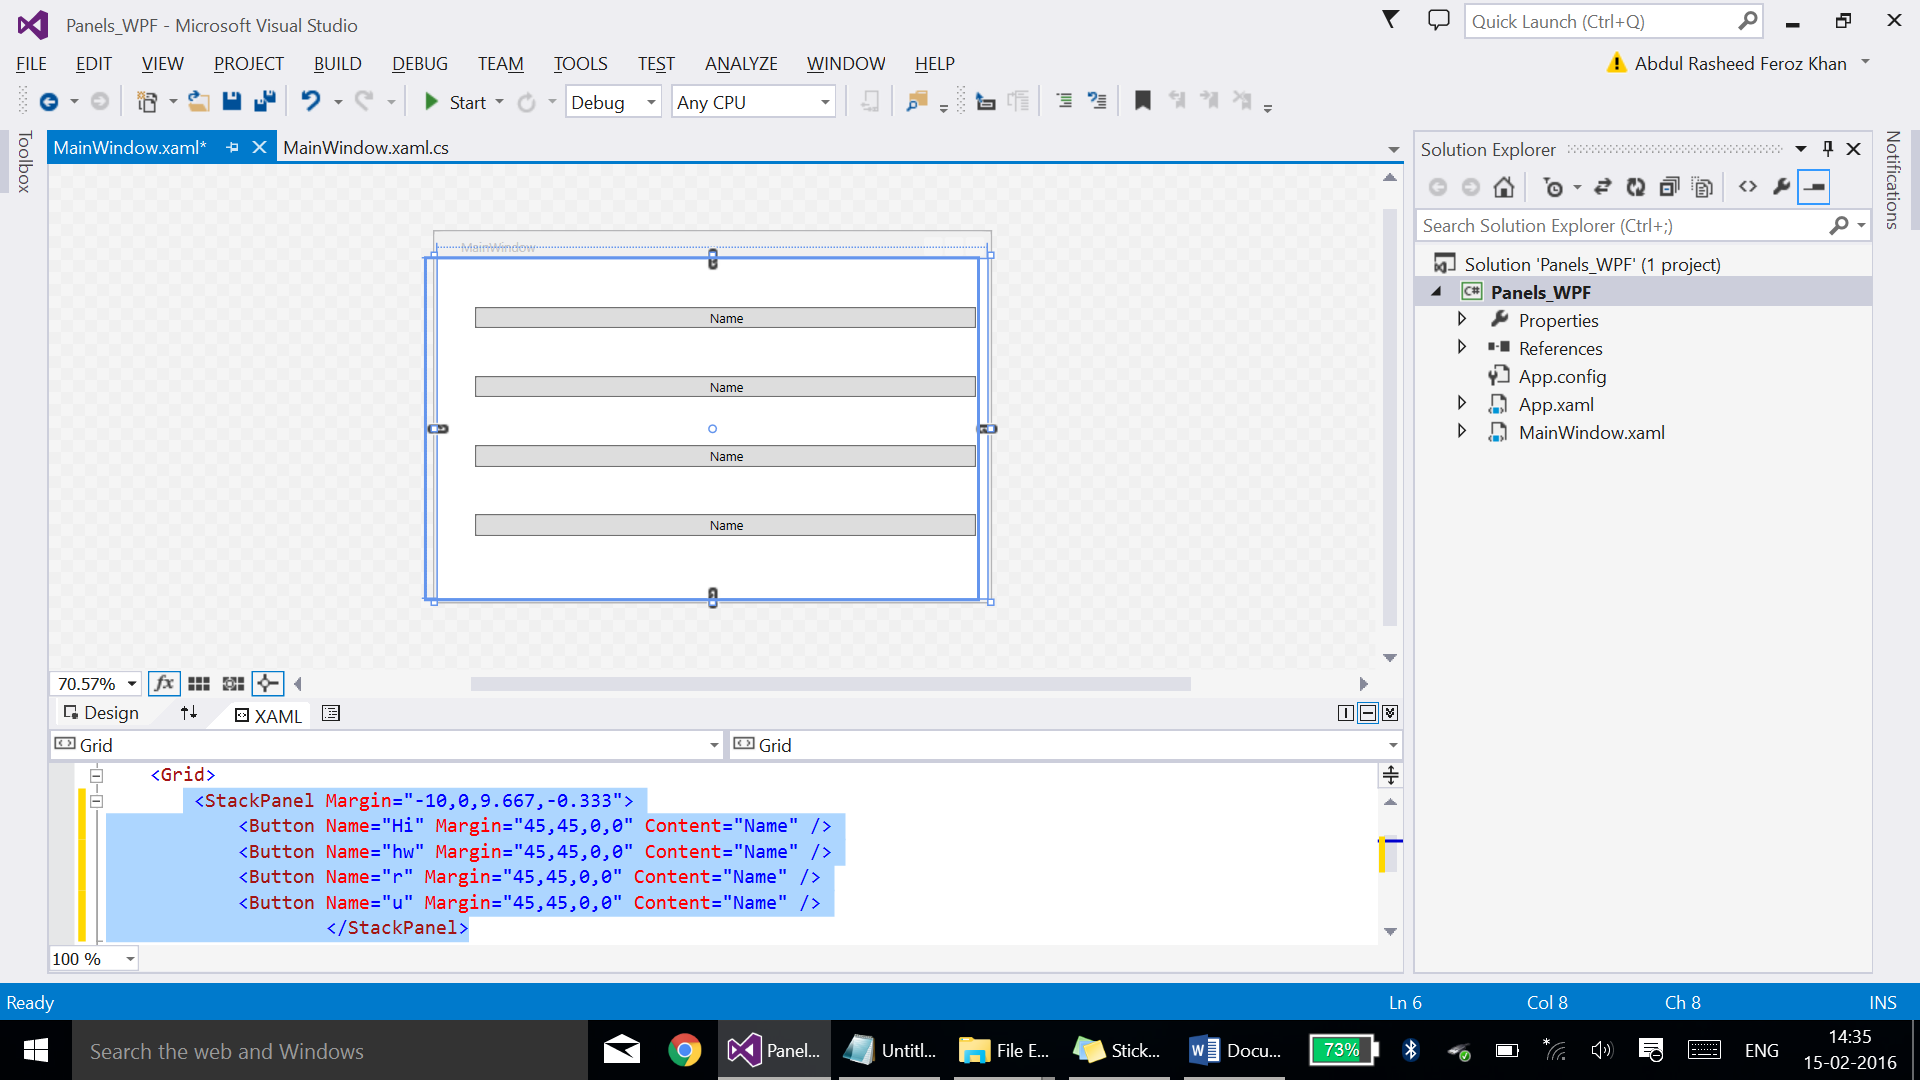
Add elements with help of Stackpanel.
Code:
<StackPanel Margin="-10,0,9.667,-0.333">
            <Button Name="Hi" Margin="45,45,0,0" Content="Name" />
            <Button Name="hw" Margin="45,45,0,0" Content="Name" />
            <Button Name="r" Margin="45,45,0,0" Content="Name" />
            <Button Name="u" Margin="45,45,0,0" Content="Name" />
                    </StackPanel>
Code of MainWindow.xaml:
<Window x:Class="Panels_WPF.MainWindow"
        xmlns="http://schemas.microsoft.com/winfx/2006/xaml/presentation"
        xmlns:x="http://schemas.microsoft.com/winfx/2006/xaml"
        Title="MainWindow" Height="350"  Width="525">
    <Grid>
        <StackPanel Margin="-10,0,9.667,-0.333">
            <Button Name="Hi" Margin="45,45,0,0" Content="Name" />
            <Button Name="hw" Margin="45,45,0,0" Content="Name" />
            <Button Name="r" Margin="45,45,0,0" Content="Name" />
            <Button Name="u" Margin="45,45,0,0" Content="Name" />
                    </StackPanel>
    </Grid>
</Window>
** **
Step 3:
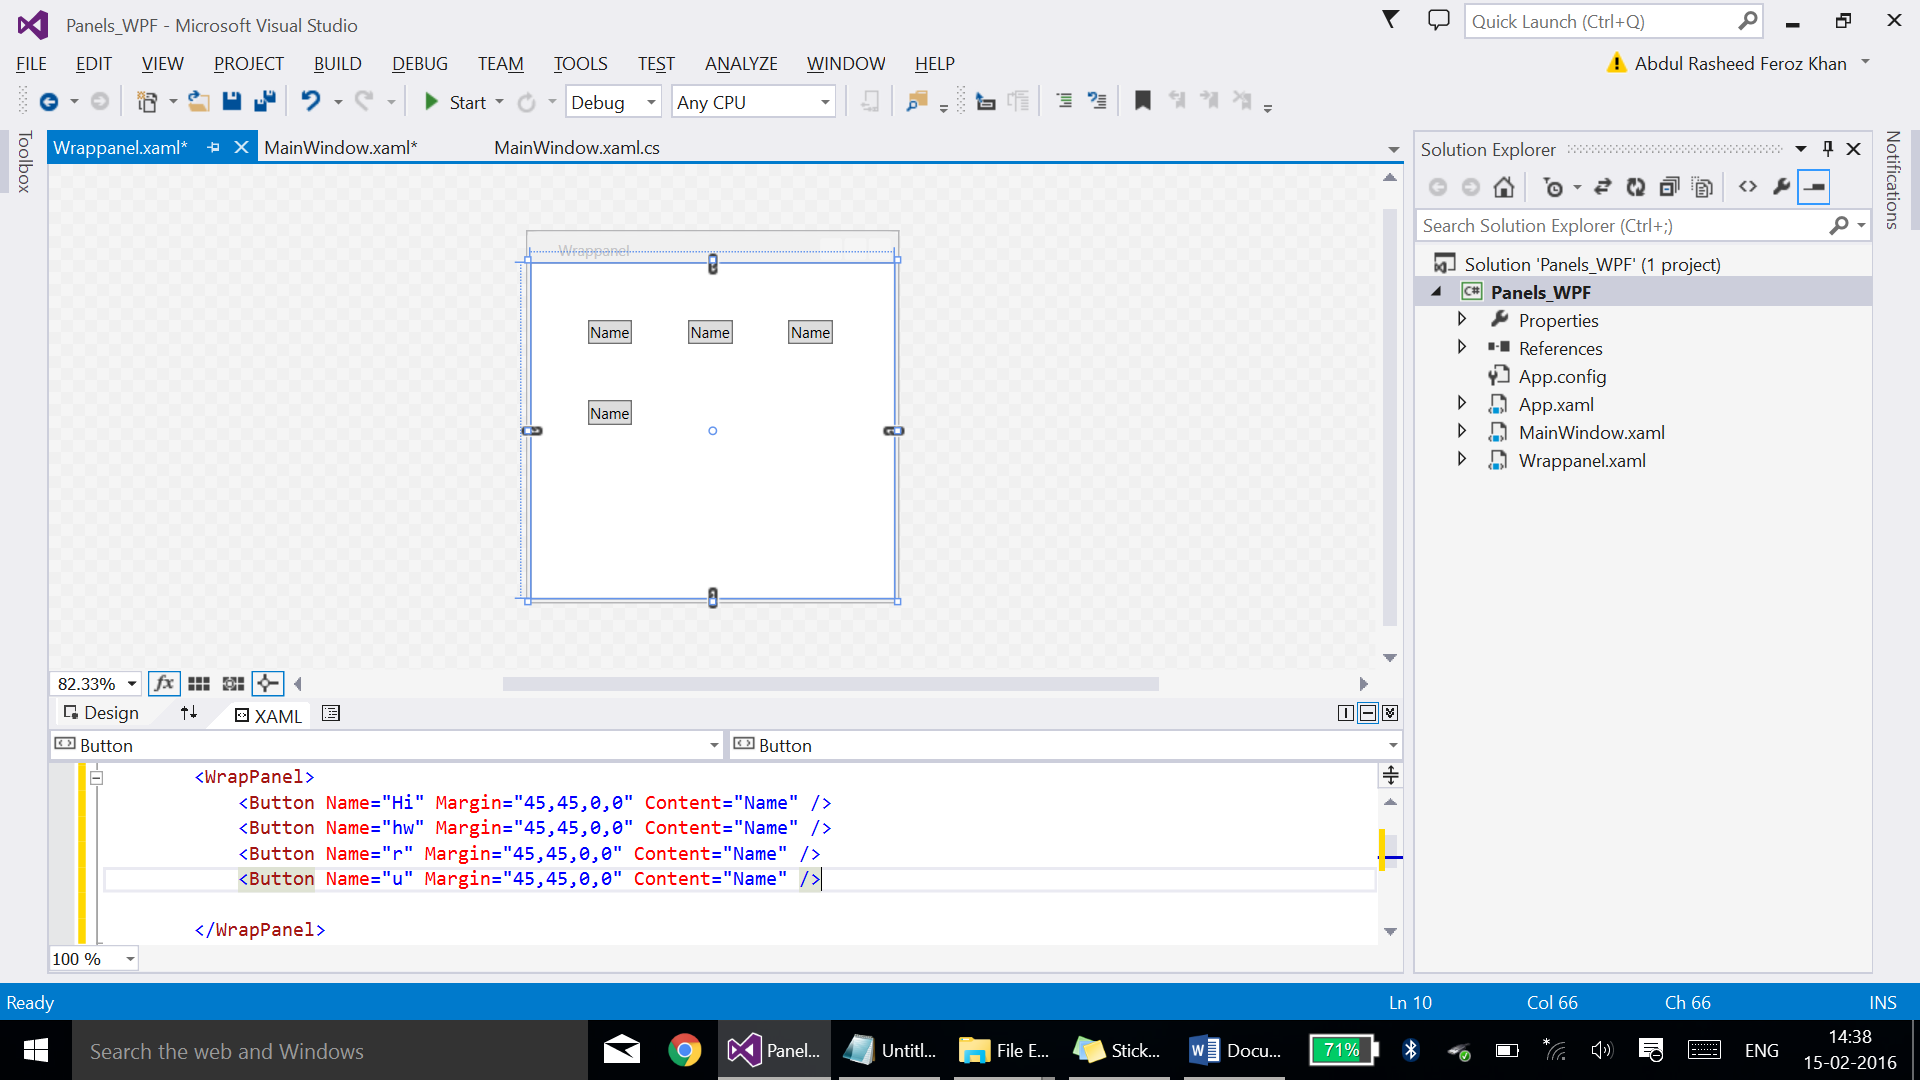
Add a new window by right-clicking the solution name and name it as Wrappanel.xaml for Wrappanel
Code of Wrappanel.xaml:
<Window x:Class="Panels_WPF.Wrappanel"
        xmlns="http://schemas.microsoft.com/winfx/2006/xaml/presentation"
        xmlns:x="http://schemas.microsoft.com/winfx/2006/xaml"
        Title="Wrappanel" Height="300" Width="300">
    <Grid>
        <WrapPanel>
            <Button Name="Hi" Margin="45,45,0,0" Content="Name" />
            <Button Name="hw" Margin="45,45,0,0" Content="Name" />
            <Button Name="r" Margin="45,45,0,0" Content="Name" />
            <Button Name="u" Margin="45,45,0,0" Content="Name" />

        </WrapPanel>

    </Grid>
</Window>
The window will be as such for wrappanel:
Step 4:
Now make the button at Mainwindow.xaml for Wrappanel to open this window using the following code:
Double-click the wrap panel button and write the following code at MainWindow.xaml.cs
Wrappanel p = new  Wrappanel();
            p.Show();
Code for MainWindow.xaml.cs:
using System;
using System.Collections.Generic;
using System.Linq;
using System.Text;
using System.Threading.Tasks;
using System.Windows;
using System.Windows.Controls;
using System.Windows.Data;
using System.Windows.Documents;
using System.Windows.Input;
using System.Windows.Media;
using System.Windows.Media.Imaging;
using System.Windows.Navigation;
using System.Windows.Shapes;

namespace Panels_WPF
{
    /// <summary>
    /// Interaction logic for MainWindow.xaml
    /// </summary>
    public partial  class MainWindow : Window
    {
        public MainWindow()
        {
            InitializeComponent();
        }

        private void  Hi_Click(object  sender, RoutedEventArgs e)
        {
            Wrappanel p = new  Wrappanel();
            p.Show();
        }
    }
}
Step 05:
Create a new window as such for Dockpanel and place the elements within the grid using <Dockpanel></DockPanel>
The code should be:
<Window x:Class="Panels_WPF.Dockpanel"
        xmlns="http://schemas.microsoft.com/winfx/2006/xaml/presentation"
        xmlns:x="http://schemas.microsoft.com/winfx/2006/xaml"
        Title="Dockpanel" Height="300" Width="300">
    <Grid>

        <DockPanel>
            <Button Name="Hi" Margin="45,45,0,0" Content="Name" />
            <Button Name="hw" Margin="45,45,0,0" Content="Name" />
            <Button Name="r" Margin="45,45,0,0" Content="Name" />
            <Button Name="u" Margin="45,45,0,0" Content="Name" />
        </DockPanel>
    </Grid>
</Window>
