Note
Access to this page requires authorization. You can try signing in or changing directories.
Access to this page requires authorization. You can try changing directories.
Managed identities for Azure resources eliminate the need to manage credentials in code. You can use them to get a Microsoft Entra token for your applications. The applications can use the token when accessing resources that support Microsoft Entra authentication. Azure manages the identity so you don't have to.
There are two types of managed identities: system-assigned and user-assigned. System-assigned managed identities have their lifecycle tied to the resource that created them. This identity is restricted to only one resource, and you can grant permissions to the managed identity by using Azure role-based access control (RBAC). User-assigned managed identities can be used on multiple resources.
In this article, you learn how to create, list, delete, or assign a role to a user-assigned managed identity by using the Azure portal.
Prerequisites
- If you're unfamiliar with managed identities for Azure resources, check out the overview section. Be sure to review the difference between a system-assigned and user-assigned managed identity.
- If you don't already have an Azure account, sign up for a free account before you continue.
Create a user-assigned managed identity
To create a user-assigned managed identity, your account needs the Managed Identity Contributor role assignment.
Sign in to the Azure portal.
In the search box, enter Managed Identities. Under Services, select Managed Identities.
Select Add, and enter values in the following boxes in the Create User Assigned Managed Identity pane:
- Subscription: Choose the subscription to create the user-assigned managed identity under.
- Resource group: Choose a resource group to create the user-assigned managed identity in, or select Create new to create a new resource group.
- Region: Choose a region to deploy the user-assigned managed identity, for example, West US.
- Name: Enter the name for your user-assigned managed identity, for example, UAI1.
Important
When you create user-assigned managed identities, the name must start with a letter or number, and may include a combination of alphanumeric characters, hyphens (-) and underscores (_). For the assignment to a virtual machine or virtual machine scale set to work properly, the name is limited to 24 characters. For more information, see FAQs and known issues.

Select Review + create to review the changes.
Select Create.
List user-assigned managed identities
To list or read a user-assigned managed identity, your account needs to have either Managed Identity Operator or Managed Identity Contributor role assignments.
Sign in to the Azure portal.
In the search box, enter Managed Identities. Under Services, select Managed Identities.
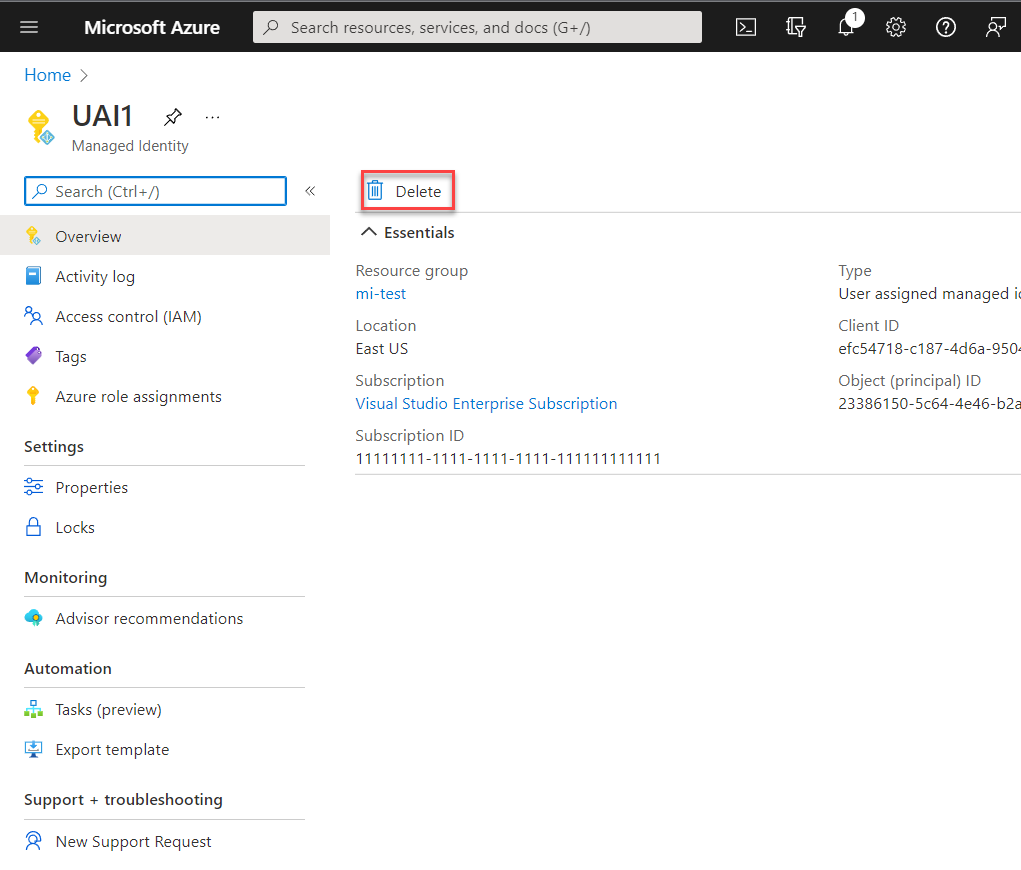
A list of the user-assigned managed identities for your subscription is returned. To see the details of a user-assigned managed identity, select its name.
You can now view the details about the managed identity as shown in the image.

Delete a user-assigned managed identity
To delete a user-assigned managed identity, your account needs the Managed Identity Contributor role assignment. Deleting a user-assigned identity doesn't remove it from the resource it was assigned to.
Sign in to the Azure portal.
Select the user-assigned managed identity, and select Delete.
Under the confirmation box, select Yes.
Manage access to user-assigned managed identities
In some environments, administrators choose to limit who can manage user-assigned managed identities. Administrators can implement this limitation using built-in RBAC roles. You can use these roles to grant a user or group in your organization rights over a user-assigned managed identity.
Sign in to the Azure portal.
In the search box, enter Managed Identities. Under Services, select Managed Identities.
A list of the user-assigned managed identities for your subscription is returned. Select the user-assigned managed identity that you want to manage.
Select Access control (IAM).
Choose Add role assignment.
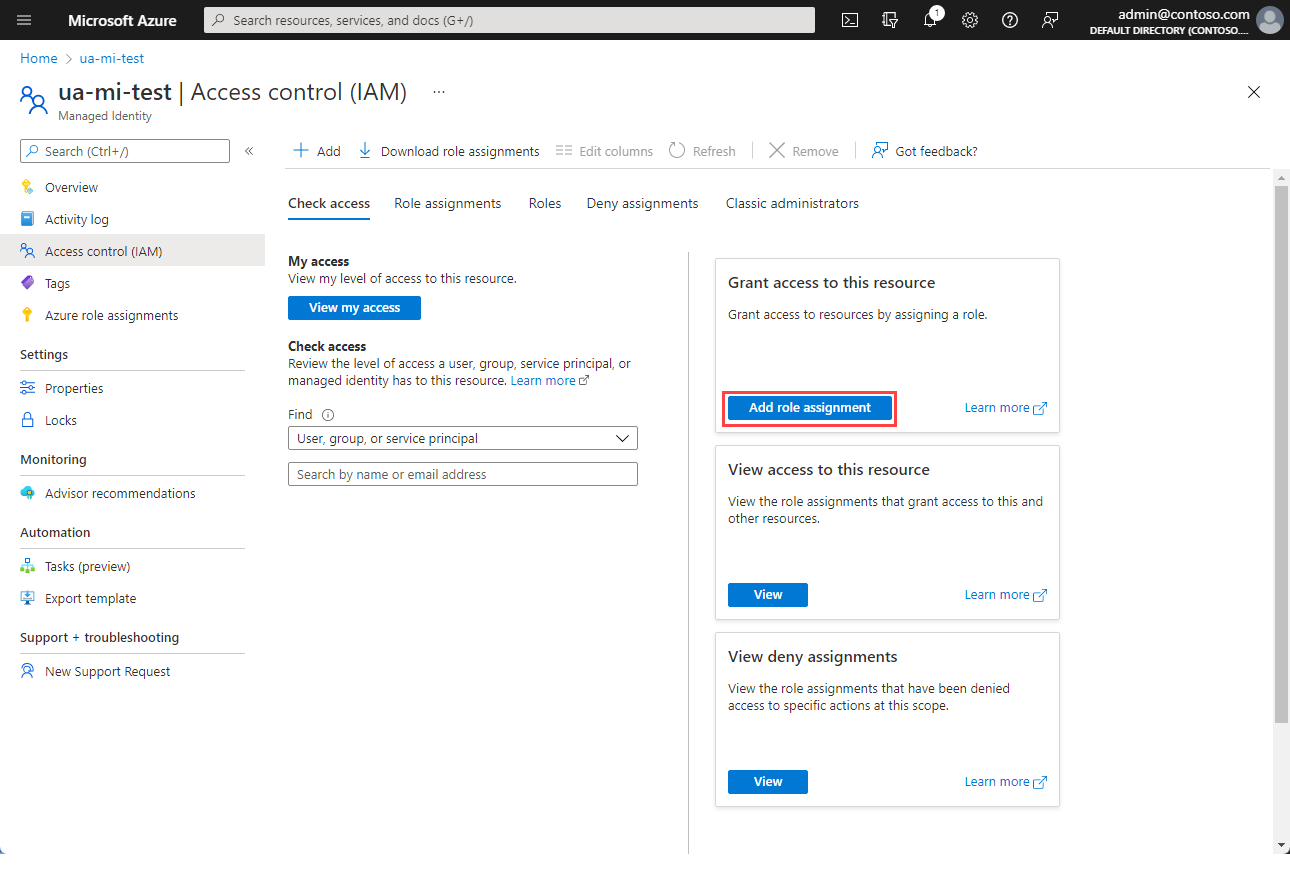
In the Add role assignment pane, choose the role to assign and choose Next.
Choose who should have the role assigned.
Related content
Assign a managed identity access to a resource by using the Azure portal