Note
Access to this page requires authorization. You can try signing in or changing directories.
Access to this page requires authorization. You can try changing directories.
Start building your chat solution by setting up the data you want to ingest.
Important
Edge RAG Preview, enabled by Azure Arc is currently in PREVIEW. See the Supplemental Terms of Use for Microsoft Azure Previews for legal terms that apply to Azure features that are in beta, preview, or otherwise not yet released into general availability.
Prerequisites
Before you begin, review Building chat solution overview for Edge RAG to plan for data ingestion and choose the right prompt and model parameters. Also review supported data sources.
Set up data ingestion
To get started, create a data source by using the local developer portal.
Go to the developer portal using the ___domain name provided at deployment and app registration. For example:
https://arcrag.contoso.com.Sign in with developer credentials (with both "EdgeRAGDeveloper" and "EdgeRAGEndUser" roles assigned"). If you have the right access configured, you're automatically redirected to the developer portal.
Select Get Started.
Go to the Data tab.
Select Add a data source.
On the Source data tab, provide the following information:
Field Value Name Name for the data ingestion Data source (read only) Network share Network File Share Path to your network file server (NFS) share User ID NFS user ID Group ID NFS group ID Select Next.
On the Vector index tab, provide the following information:
Field Value Schedule updates Frequency at which your data is synced for updates Chunk size Select the appropriate chunk size Chunk overlap Select the appropriate chunk overlap 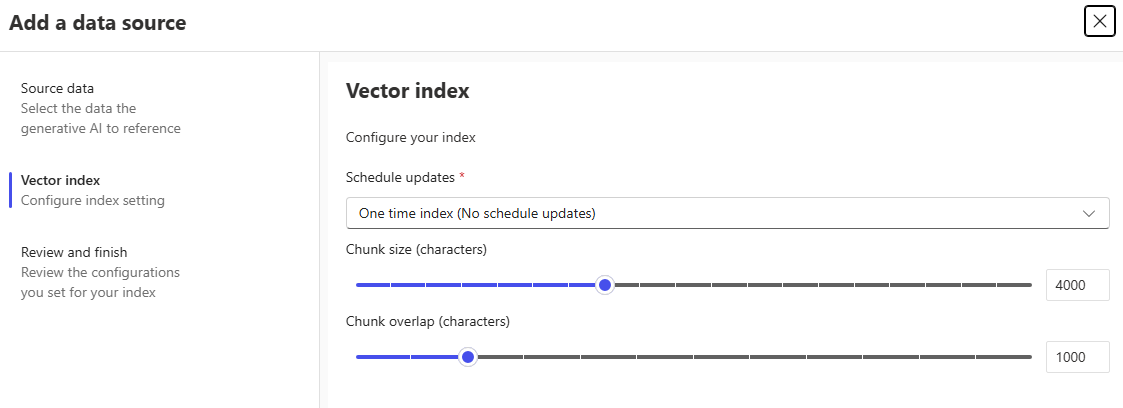
Select Next.
On the Review and finish tab, review your configurations.
When you're satisfied, select Create.