Note
Access to this page requires authorization. You can try signing in or changing directories.
Access to this page requires authorization. You can try changing directories.
This article explains how to prepare a Red Hat Enterprise Linux (RHEL) Azure Marketplace image for use with Azure Local virtual machines (VMs). By following these steps, you ensure your VM has the latest security updates, support, and integration features.
Prerequisites
Before you begin, you must have:
An active Azure subscription with permissions to set up and license a RHEL VM using Logical Volume Management (LVM), such as RHEL 7.6 or later.
Access to the Azure portal.
An Azure Local cluster set up with a logical network and storage path for workloads. For more information, see Create logical networks and Create storage paths.
Make sure to review and complete the prerequisites.
If using a client to connect to your Azure Local instance, see Connect to Azure Local via Azure CLI client.
Sign in and set subscription
Connect to a machine on your Azure Local.
Sign in. Type:
az login --use-device-codeSet your subscription.
az account set --subscription <Subscription ID>
Set up and prepare an Azure VM
To set up and prepare an Azure VM, follow these steps:
Sign in to the Azure portal.
In the left pane, select Virtual Machines, next select Create, and then select Virtual Machine.
Browse the available images and choose your preferred RHEL LVM Gen2 version.
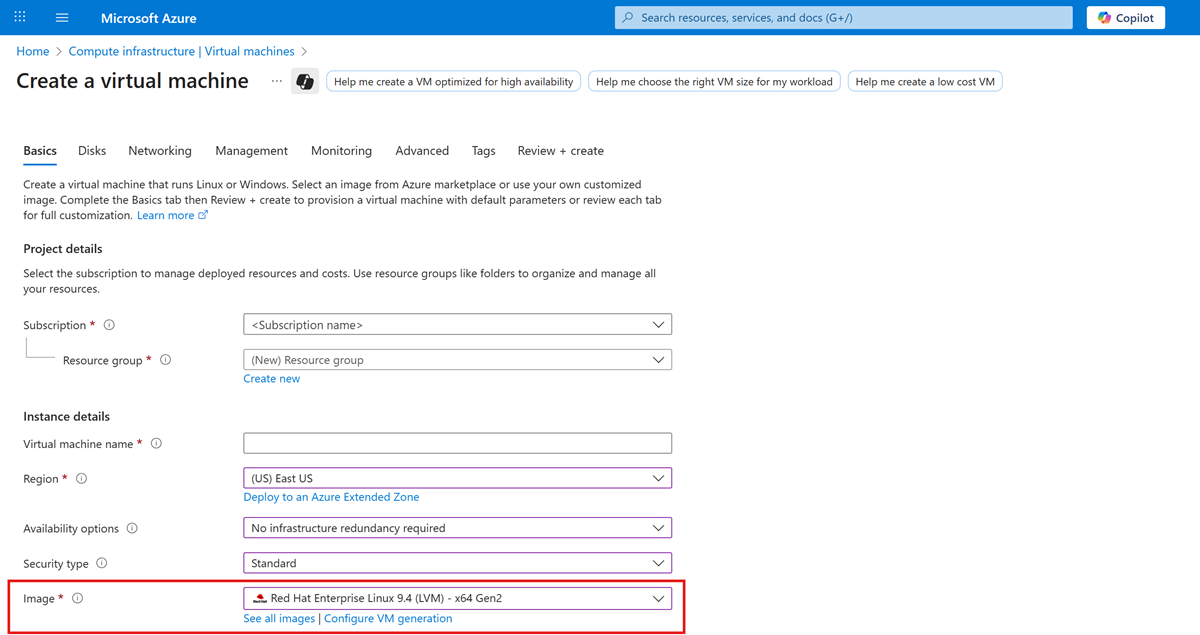
Enter the required details in the wizard and finish setting up the Azure VM.
Note
Avoid username conflicts by creating the Azure VM with a username you don't use on Azure Local. If you use the same username (for example, "usernameA") on both the Azure VM and Azure Local, and then reuse the VHD, the VM keeps the original login information. For the best results, set up Azure Local VMs with different credentials (such as "usernameB").
After the VM is deployed, go to the VM overview page, select the Connect option, and then select Serial console.
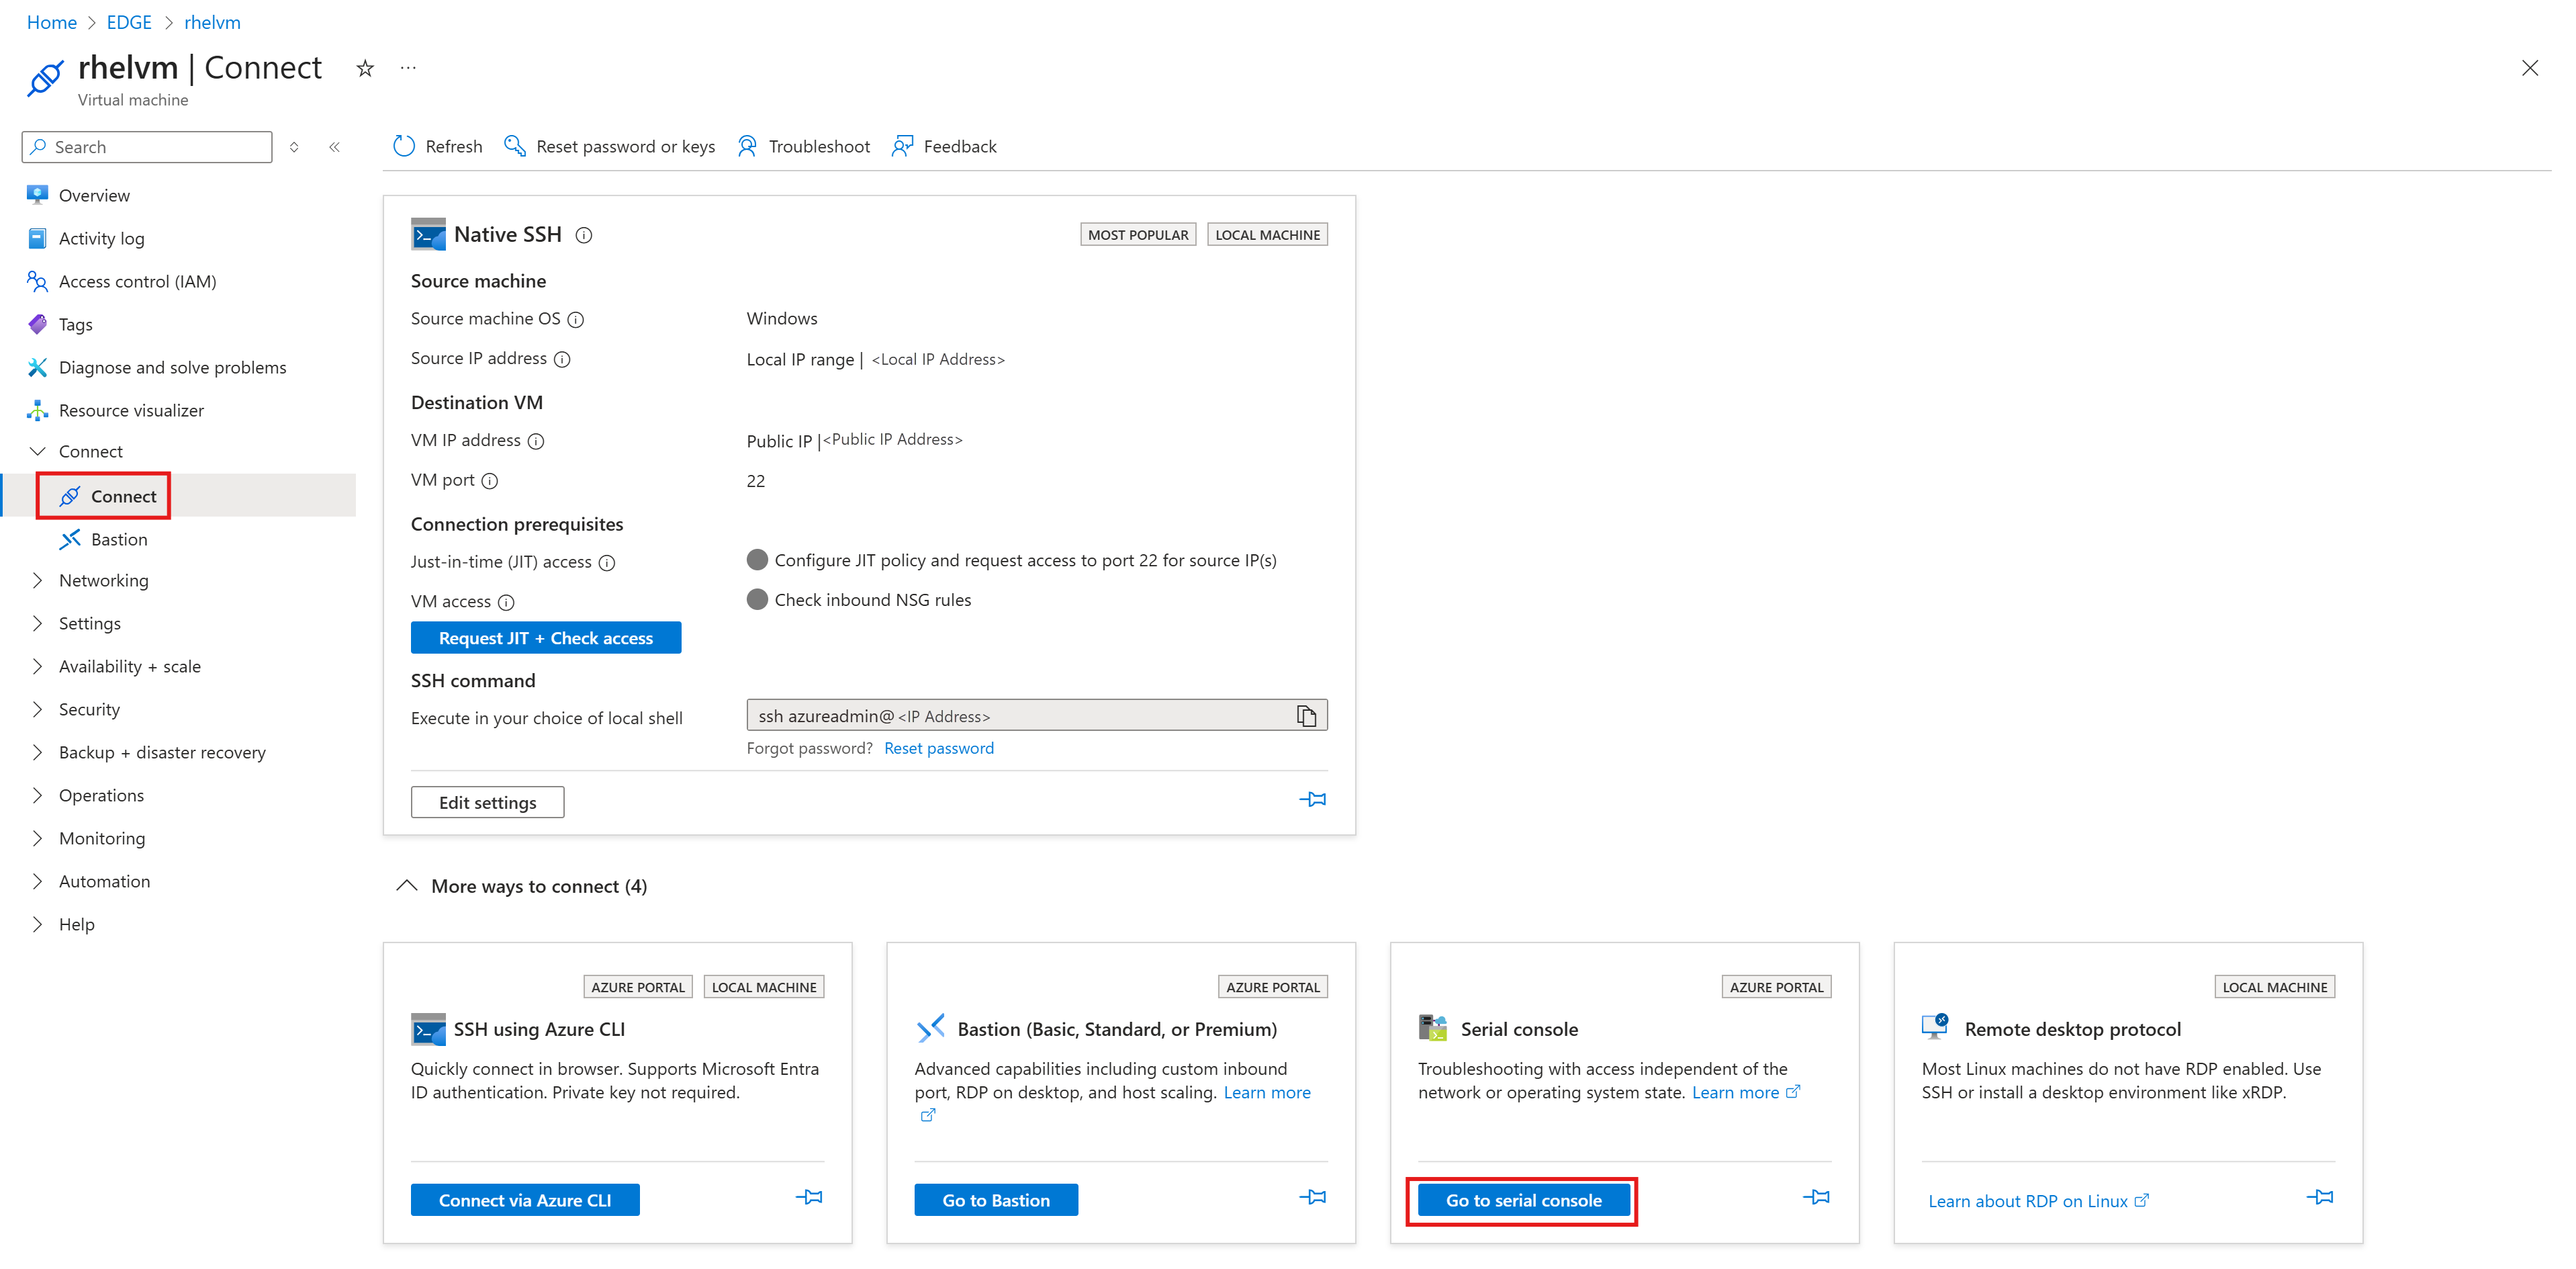
Connect to the VM with your credentials and run these commands:
Sign in to the VM as the root user:
sudo suClean the
cloud-initdefault configuration because it isn't relevant for Azure Local VMs.sudo yum clean all sudo cloud-init cleanExample output:
[contosotest@localhost ~]$ sudo yum clean all
Updating Subscription Management repositories.
17 files removed
[contosotest@localhost ~]$ sudo cloud-init clean
Clean the
cloud-initdefault configuration because it isn't relevant for Azure Local VMs.sudo rm -rf /var/lib/cloud/ /var/log/* /tmp/*Clean VM-specific details.
sudo rm -f /etc/sysconfig/network-scripts/*
sudo rm -f /etc/ssh/ssh_host*
sudo rm /etc/lvm/devices/system.devices


Change the data source of the VM image
To change the data source of the VM image, follow these steps
Change the directory to the following path and list the files to locate the data source file 91-azure_datasource.cfg
cd /etc/cloud/cloud.cfg.d/
ls
Example output:
[root@rhelsysprep cloud.cfg.d]# ls
05_logging.cfg  10-azure-kvp.cfg  91-azure_datasource.cfg  README
Open the
91-azure_datasource.cfgfile. Run this command:cat 91-azure_datasource.cfgExample output:
datasource_list: [ Azure ]
datasource:
  Azure:
    apply network config: False
Open and update the datasource_list from Azure to NoCloud. Run this command:
vi 91-azure_datasource.cfgTo edit the file, press
i.Remove the datasource and update the details from
datasource_list: [Azure]todatasource_list: [NoCloud]Save the file by pressing the Esc key followed by
:xand hit Enter.Example output:
datasource_list: [NoCloud]
~??
~
To check that the file was updated, run this command:
cat 91-azure_datasource.cfgRemove the bash history. Run these commands:
sudo rm -f ~/.bash_history
export HISTSIZE=0
exit
Stop the Azure VM as the configuration changes are now complete.
Export an Azure VM OS disk to a VHD on the Azure Local cluster
To export an Azure VM OS disk to a VHD on the Azure Local cluster, follow these steps:
In the Azure portal for your Azure Local resource, go to the VM overview. Under the Settings option, select Disks, and select the Disks name link.

Under Settings, select Disk Export, and then select Generate URL to generate a secure URL for the disk.

Copy the generated secure URL link for the next step.


Create an Azure Local image
To create an Azure Local image using the SAS token, run this command:
$rg = "<resource-group>"
$cl = "/subscriptions/<sub>/resourcegroups/$rg/providers/microsoft.extendedlocation/customlocations/<customlocation-name>"
$sas = '"https://EXAMPLE.blob.storage.azure.net/EXAMPLE/abcd<sas-token>"'

az stack-hci-vm image create -g $rg --custom-___location $cl --name "<IMAGE-NAME>" --os-type "Linux" --image-path $sas
Create an Azure Local VM
To create an Azure Local VM using the Azure Local VM image you created, follow the steps in Create Azure Local virtual machines enabled by Azure Arc.