Note
Access to this page requires authorization. You can try signing in or changing directories.
Access to this page requires authorization. You can try changing directories.
Azure DevOps Services | Azure DevOps Server | Azure DevOps Server 2022 | Azure DevOps Server 2020
An agent pool is a collection of agents. Instead of managing each agent individually, you organize agents into agent pools. When you configure an agent, it's registered with a single pool. When you create a pipeline, you specify the pool in which the pipeline runs. When you run the pipeline, it runs on an agent from that pool that meets the demands of the pipeline.
Managed DevOps Pools agent pools are managed in the Azure portal. If you're using Managed DevOps Pools, see the quickstart for creating a pool.
In Azure Pipelines, pools are scoped to the entire organization, so you can share agent machines across projects.
In Azure DevOps Server, agent pools are scoped to the entire server, so you can share agent machines across projects and collections.
Agent pool jobs run a job on a single agent. If you need to run a job on all agents, like a deployment group for classic release pipelines, see Provision deployment groups.
If you're an organization administrator, you create and manage agent pools from the Agent pools tab in admin settings.
Sign in to your organization (
https://dev.azure.com/{yourorganization}).Select Azure DevOps > Organization settings.

Select Agent pools.


Sign in to your project collection (
http://your-server/DefaultCollection).Select Azure DevOps > Collection settings.

Select Agent pools.


If you're a project team member, you create and manage agent pools from the Agent pools tab in project settings.
Go to your project and select Project settings > Agent pools.

Go to your project and select Project settings > Agent pools.

Default agent pools
The following agent pools are provided by default:
- Default pool: Use it to register self-hosted agents that you set up.
- Azure Pipelines: This hosted pool comes with various Windows, Linux, and macOS images. For a complete list of the available images and their installed software, see Microsoft-hosted agents.
By default, all contributors in a project are members of the User role on hosted pools. This designation allows every contributor in a project to author and run pipelines with Microsoft-hosted agents.
Designate a pool in your pipeline
To choose a Microsoft-hosted agent from the Azure Pipelines pool in your Azure DevOps Services YAML pipeline, specify the name of the image by using the YAML VM Image Label from this table.
pool:
  vmImage: ubuntu-latest # This is the default if you don't specify a pool or vmImage.
To use a private pool with no demands:
pool: MyPool
For more information, see the YAML schema for pools.

Manage pools and queues
Organization administrators create and manage agent pools from the Agent pools tab in admin settings.
Sign in to your organization (
https://dev.azure.com/{yourorganization}).Select Azure DevOps > Organization settings.
Select Agent pools.
Sign in to your project collection (
http://your-server/DefaultCollection).Select Azure DevOps > Collection settings.
Select Agent pools.
Project team members create and manage agent pools from the Agent pools tab in project settings.
Go to your project and select Project settings > Agent pools.
Go to your project and select Project settings > Agent pools.
To delete a pool, go to the Agent pools list, and then select More options > Delete.

Pools are used to run jobs. Learn about specifying pools for jobs.
If you have many self-hosted agents that are intended for different teams or purposes, you might want to create more pools. Use the following instructions.
Create agent pools
Here are some typical situations when you might want to create self-hosted agent pools.
You're a member of a project and want to use a set of machines that your team owns to run build and deployment jobs:
- Make sure that you have permissions to create pools in your project. In Project settings, go to the Agent pools pane and select Security. To create new pools, you must have the Administrator role.
- Select Add pool, and then select the option to create a new pool.
- Install and configure agents to be part of the new agent pool.
You're a member of the infrastructure team and want to set up a pool of agents to use in all projects:
- Make sure that you have permissions to create pools in your project. In Organization settings, go to the Agent pools pane and select Security.
- Create a New agent pool and select the option Auto-provision this agent pool in all projects when you create the pool. This setting ensures that all projects have access to this agent pool.
- Install and configure agents to be part of the new agent pool.
You want to share a set of agent machines with some, but not all, of your projects:
- Go to Settings for one of the projects. Add an agent pool, and select the option to create a new pool at the organization level.
- Go to the other projects and create a pool in each of them. Select Use an existing agent pool from the organization.
- Install and configure agents to be part of the shared agent pool.
You're a member of a project and want to use a set of machines that your team owns to run build and deployment jobs:
- Make sure you have permissions to create pools in your project. In Project settings, go to the Agent pools pane and select Security. To create new pools, you must have the Administrator role.
- Select Add pool, and then select the option to create a new pool.
- Install and configure agents to be part of the new agent pool.
You're a member of the infrastructure team and want to set up a pool of agents to use in all projects:
- Make sure you have the permissions to create pools in your project. In Organization settings, go to the Agent pools pane and select Security.
- Create a New agent pool and select the option Auto-provision this agent pool in all projects when you create the pool. This setting ensures that all projects have access to this agent pool.
- Install and configure agents to be part of the new agent pool.
You want to share a set of agent machines with some, but not all, of your projects:
- Go to Settings for one of the projects. Add an agent pool, and select the option to create a new pool at the organization level.
- Go to the other projects and create a pool in each of them. Select Use an existing agent pool from the organization.
- Install and configure agents to be part of the shared agent pool.
Security of agent pools
When you understand how security works for agent pools, you can better control the sharing and use of agents.
Roles are defined on each agent pool. Membership in these roles governs what operations you can perform on an agent pool.
Organization-level security settings
| Role on an agent pool in Organization Settings | Purpose |
|---|---|
| Reader | Members of this role can view the agent pool and agents. You typically use this role to add operators that are responsible for monitoring the agents and their health. |
| Service Account | Members of this role can use the organization agent pool to create a project agent pool in a project. If you follow the previous guidelines to create new project agent pools, you typically don't have to add any members here. |
| Administrator | In addition to all the above permissions, members of this role can register or unregister agents from the organization agent pool. They can also refer to the organization agent pool when they create a project agent pool in a project. They can also manage membership for all roles of the organization agent pool. A user who creates an organization agent pool is automatically assigned the Administrator role for that pool. |
The All agent pools node on the Agent Pools tab controls the security of all organization agent pools. Role memberships for individual organization agent pools are automatically inherited from the All agent pools node. By default, Azure DevOps Server administrators are also administrators of the All agent pools node when using Azure DevOps Server.
Project-level security settings
Roles are also defined on each project agent pool. Membership in these roles govern what operations you can perform on an agent pool at the project level.
| Role on an agent pool in Project Settings | Purpose |
|---|---|
| Reader | Members of this role can view the project agent pool. You typically use this role to add operators that monitor the build and deployment jobs in that project agent pool. |
| User | Members of this role can use the project agent pool when they author pipelines. |
| Administrator | In addition to all the above operations, members of this role can manage membership for all roles of the project agent pool. A user who creates an organization agent pool is automatically assigned the Administrator role for that pool. |
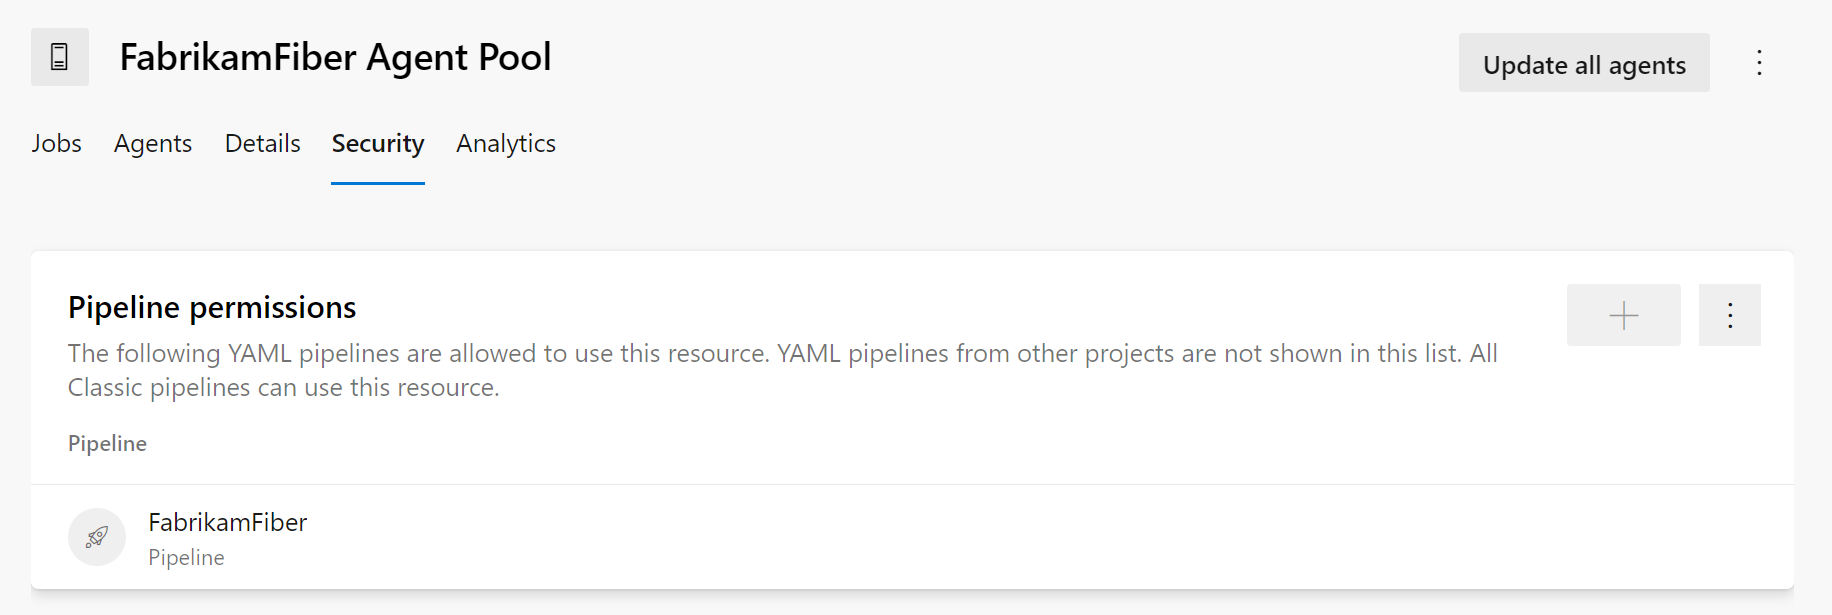
Pipeline permissions
Pipeline permissions control which YAML pipelines are authorized to use an agent pool. Pipeline permissions don't restrict access from classic pipelines.
Choose from one of the following processes:
- Open access for all pipelines to use the agent pool from the more options at the upper-right corner of the Pipeline permissions section on the security tab of an agent pool.
- Lock down the agent pool and allow only selected YAML pipelines to use it. If any other YAML pipeline refers to the agent pool, an authorization request is raised, which an agent pool Administrator must approve. This process doesn't limit access from classic pipelines.
Pipeline permissions for the Azure Pipelines agent pool can't be configured, because the pool is accessible to all pipelines by default.
The Security action on the Agent pools tab controls the security of all project agent pools in a project. Role memberships for individual project agent pools are automatically inherited from what you define here. By default, the following groups are added to the Administrator role of All agent pools: Build Administrators, Release Administrators, and Project Administrators.
FAQ
If I don't schedule a maintenance window, when do the agents run maintenance?
If you don't schedule a window, the agents in that pool don't run the maintenance job.
What is a maintenance job?
You can configure agent pools to periodically clean stale working directories and repositories. This process reduces the potential for agents to run out of disk space. Maintenance jobs are configured at the organization level in Agent pool settings.
Configure maintenance job settings:
Sign in to your organization (
https://dev.azure.com/{yourorganization}).Select Azure DevOps > Organization settings.
Select Agent pools.
Sign in to your project collection (
http://your-server/DefaultCollection).Select Azure DevOps > Collection settings.
Select Agent pools.
Select the desired pool, and then select Settings to configure maintenance job settings for that agent pool.
Important
You must have the Manage build queues permission to configure maintenance job settings. If you don't see the Settings or Maintenance History tabs, you don't have that permission, which the Administrator role has by default. For more information, see Security of agent pools.

Configure your desired settings, and then select Save.
Select Maintenance History to see the maintenance job history for the current agent pool. You can download and review logs to see the cleaning steps and actions taken.

The maintenance is done per agent pool, not per machine. If you have multiple agent pools on a single machine, you might still run into disk space issues.
The maintenance job of my self-hosted agent pool looks stuck. Why?
Typically, a maintenance job gets stuck when it's waiting to run on an agent that's no longer in the agent pool. For example, an agent was purposefully taken offline, or there are issues communicating with it.
Maintenance jobs that are queued to run wait seven days to run. If they aren't run during that time, they automatically are in a failed state. You can't change this time limit.
The seven-day limit is different from the maintenance job timeout setting. The latter controls the maximum number of minutes an agent can spend doing maintenance. The timer starts when the job starts, not when the job is queued on an agent.
I'm trying to create a project agent pool that uses an existing organization agent pool, but the controls aren't available. Why?
In the Create a project agent pool dialog, you can't use an existing organization agent pool if another project agent pool already references it. Each organization agent pool can be referenced by only one project agent pool within a project collection.
I can't select a Microsoft-hosted pool and I can't queue my build. How do I fix this problem?
Ask the owner of your Azure DevOps organization to grant you permission to use the pool. See Security of agent pools.
I need more hosted build resources. What can I do?
The Azure Pipelines pool provides all Azure DevOps organizations with cloud-hosted build agents and free build minutes each month. If you need more Microsoft-hosted build resources, or you need to run more jobs in parallel, then you can either: