Note
Access to this page requires authorization. You can try signing in or changing directories.
Access to this page requires authorization. You can try changing directories.
Use unified connectors to simplify connection management across Microsoft security products. If you already have an existing connector to a product, consider replacing it with a unified connector for centralized management.
Prerequisites
Microsoft Sentinel workspace
The following steps are required if you want to link an existing Okta connector to a Sentinel workspace:
- In the Microsoft Security portal, go to Settings > Microsoft Sentinel.
- Find the connected Sentinel workspace.
- You can link the Okta connector to any connected workspace. Choose which workspace to connect to your Okta account.
Azure access permissions
The user setting up the Okta connector must have these roles:
- Log Analytics Contributor – Required to write data into the Log Analytics workspace and manage the Data Collection Rule (DCR).
- Microsoft Sentinel Contributor – Required to modify connector settings in Sentinel.
If you connect to both Sentinel and Defender for Identity, you need permissions for both products.
Check user roles under the Access control (IAM) section of the Log analytics workspace. If you assign these roles, allow up to 15 minutes for the changes to take effect.
Okta credentials
From your Okta account, you need the following information:
- Domain name: Your Okta URL without the
http://prefix. For example,yourcompany.okta.com. - API token: An Okta API token. To generate an API token, follow the instructions in Create an API token.
For information about integrating Okta with Defender for Identity, see Integrate Okta with Microsoft Defender for Identity.
Configure a connector to a Sentinel workspace
To create a unified connector in Microsoft Sentinel:
Go to the Data connectors Gallery directly, or navigate to it via System > Data management > Data connectors.

For more information about the Data connectors Gallery, see Data connectors Gallery.
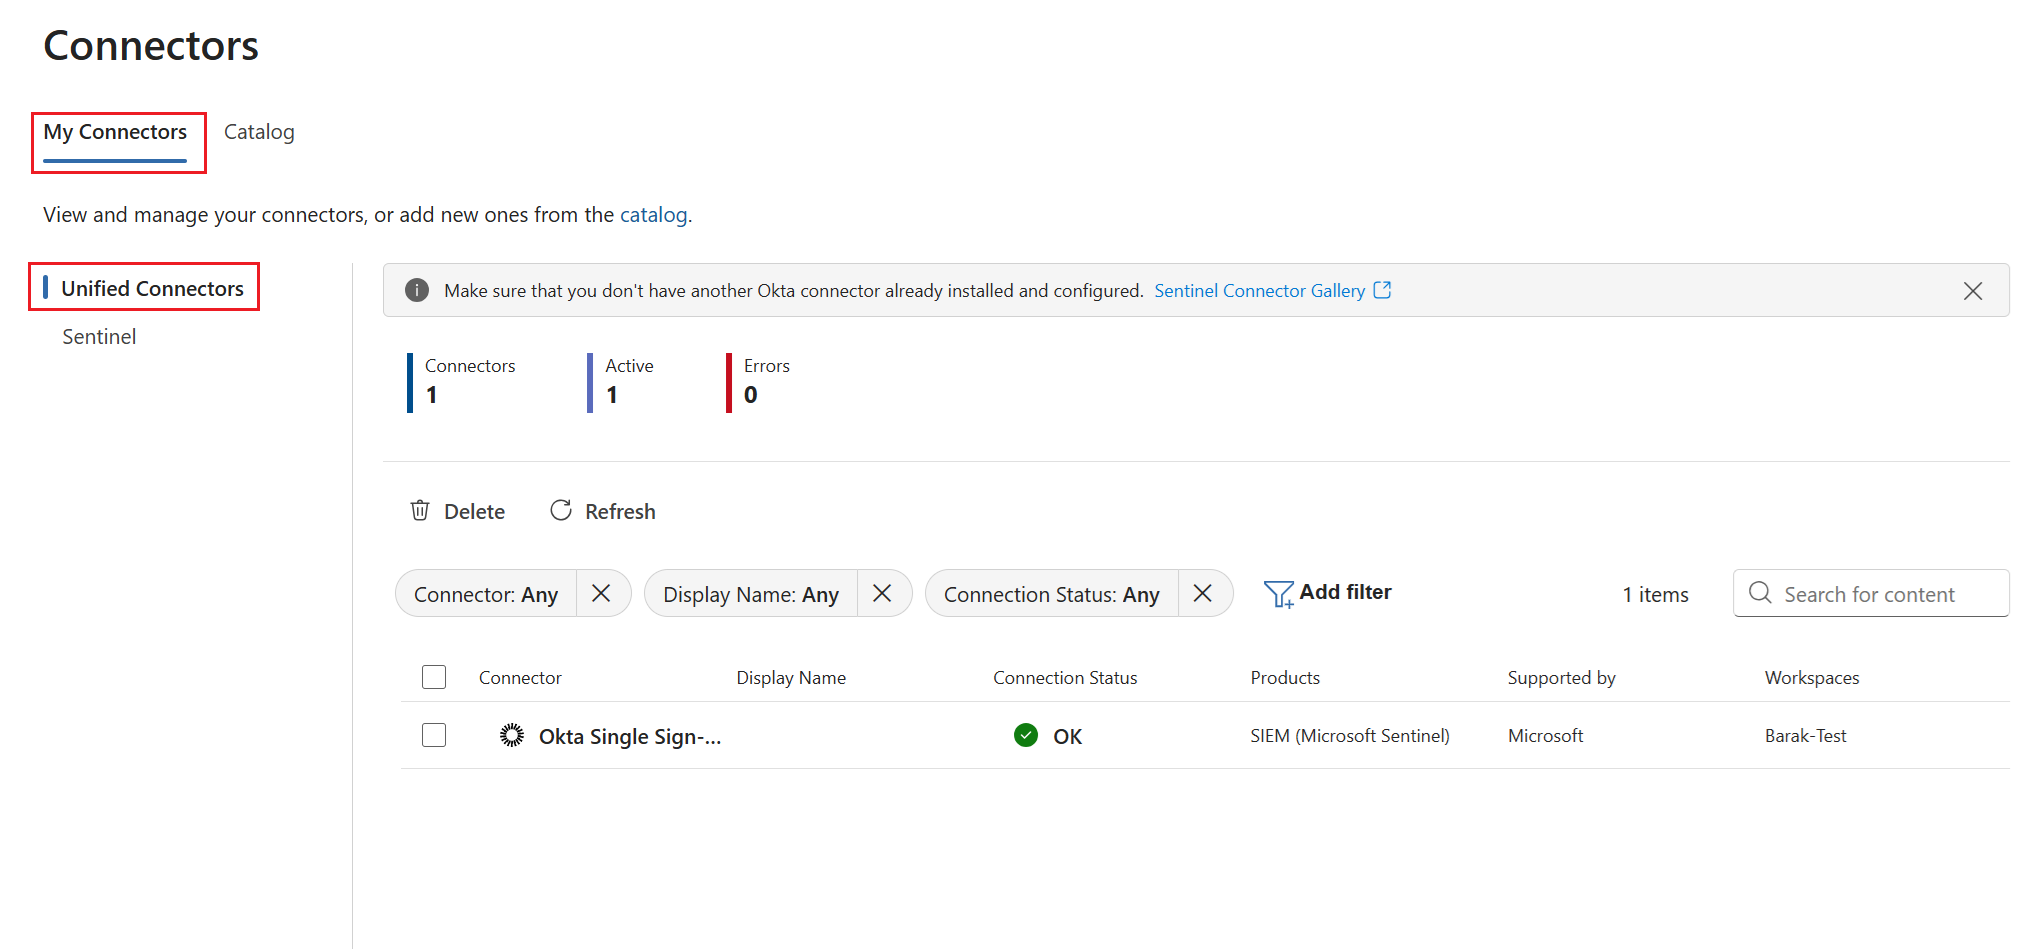
In the My connectors tab, find the Unified connectors section.

Select a connector, such as Okta Single Sign-On. A side panel opens with connector details and prerequisites.
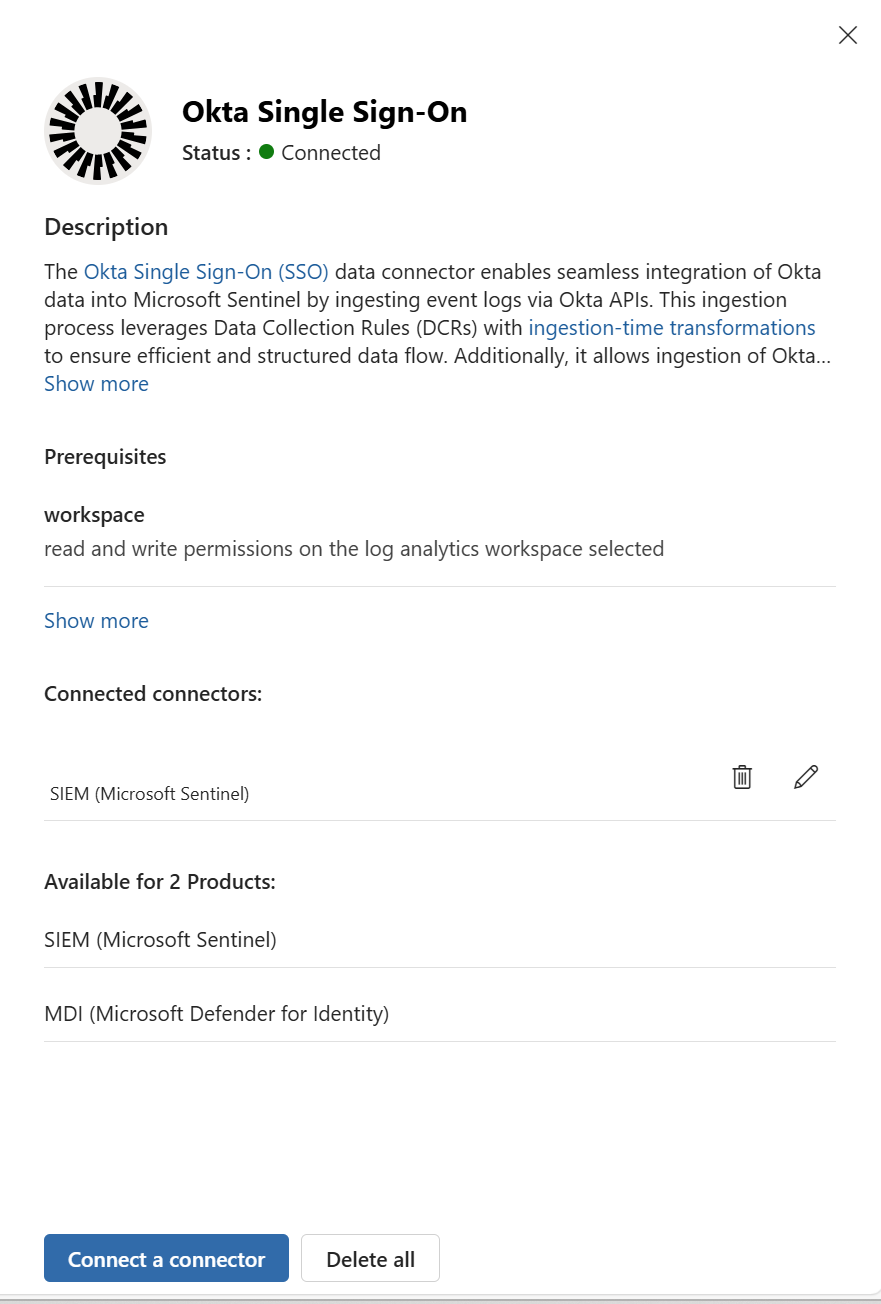
Select Connect a connector to open the connector configuration wizard.
In the Name and connection details section, provide the following information:
- Connector name: A descriptive user friendly name for the connector.
- Domain name: The Okta ___domain, such as
yourcompany.okta.com. - API key: Paste the API key. Include only the token value, not the Authorization prefix. Select Next.
In the Select products section, check the products you want to connect to. Check SIEM to enable the connector for Microsoft Sentinel.
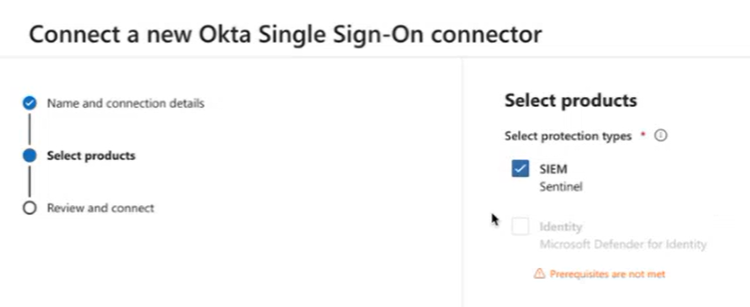
Configure the product details for each product you selected:
- Select the required workspace, whose permissions you validated earlier.
- Select the table manager.
Select Connect. The Connect button is only active when all the required fields are valid.
The connection process takes up to two minutes. If an error occurs, follow the error message to troubleshoot.
The initial state of the connector is Pending until data is received successfully. This takes up to 30 minutes. If data isn't successfully received, the connector shows an Error state.
Successfully connected connectors appear in the My Connectors tab, and Okta system logs flow to your Log Analytics workspace.
Manage your connector
Existing connectors appear in the My Connectors tab.
Edit a connector
To edit a connector, select it and then select Manage from the connector side panel.

Delete a connector
You can delete a connector in one of two ways:
- Select it and then select Delete from the connector side panel.
- Check the connector in the My Connectors tab and then select Delete from above the connector list.

Verify data ingestion in Log analytics
To verify that the Okta connector is successfully ingesting data into your Log Analytics workspace, first make sure your Okta account is generating system logs. If no logs are generated, manually generate some test logs.
- From the Microsoft Security portal: go to Investigation & response > Hunting > Advanced hunting. After Okta logs arrive in your workspace, you should find an OktaSystemLogs table under the Microsoft Sentinel tab.
- From Azure portal, go to your selected Log Analytics Workspace > Logs > OktaSystemLogs.
Note
- It takes up to 30 minutes from when you create the the connector instance for the OktaSystemLogs table to appear, containing your Okta system logs.
- The connector will only ingest system logs from one hour before the instance was created.
Considerations and limitations
- Unified connectors aren't visible in the Content hub. To see all connectors, including the traditional Sentinel connectors, go to the Data connectors Gallery.