Note
Access to this page requires authorization. You can try signing in or changing directories.
Access to this page requires authorization. You can try changing directories.
This page explains how to connect Microsoft Defender for Identity to your Okta account using the Unified Connectors experience. This connection provides visibility into Okta activity and enables shared data collection across Microsoft security products. The Unified Connectors experience allows Defender for Identity to collect Okta system logs once and share them with other supported Microsoft security products, such as Microsoft Sentinel. This reduces API usage, avoids duplicate data collection, and simplifies connector management. For more information, see Unified connectors overview.
Note
If your Okta environment is already integrated with Microsoft Defender for Cloud Apps, connecting it to Microsoft Defender for Identity can cause duplicate Okta data, such as user activity, to appear in the Defender portal.
Prerequisites
Before connecting your Okta account to Microsoft Defender for Identity, make sure the following prerequisites are met:
Okta licenses
Your Okta environment must have one of the following licenses:
Developer
Enterprise
Okta roles
The Super Admin role is required only to create the API token. After you create the token, remove the role and assign the Read-Only Administrator and Defender for Identity custom roles for ongoing API access.
Microsoft Entra and Defender XDR role-based access options
To configure the Okta connector in Microsoft Defender for Identity, your account must have either of the following access configurations assigned:
Microsoft Entra roles:
- Security Operator
- Security Admin
Defender XDR Unified RBAC permission:
- Core security settings (manage)
Connect Okta to Microsoft Defender for Identity
This section provides instructions for connecting Microsoft Defender for Identity to your dedicated Okta account using the connector APIs. This connection gives you visibility into and control over Okta use.
Create a dedicated Okta account
- Create a dedicated Okta account for Microsoft Defender for Identity use only.
- Assign your Okta account as a Super Admin role.
- Verify your Okta account.
- Store the account credentials for later use.
- Sign in to your dedicated Okta account created in step 1 to create an API token.
Create an API token
In the Okta console, select Admin.

Select Security > API.
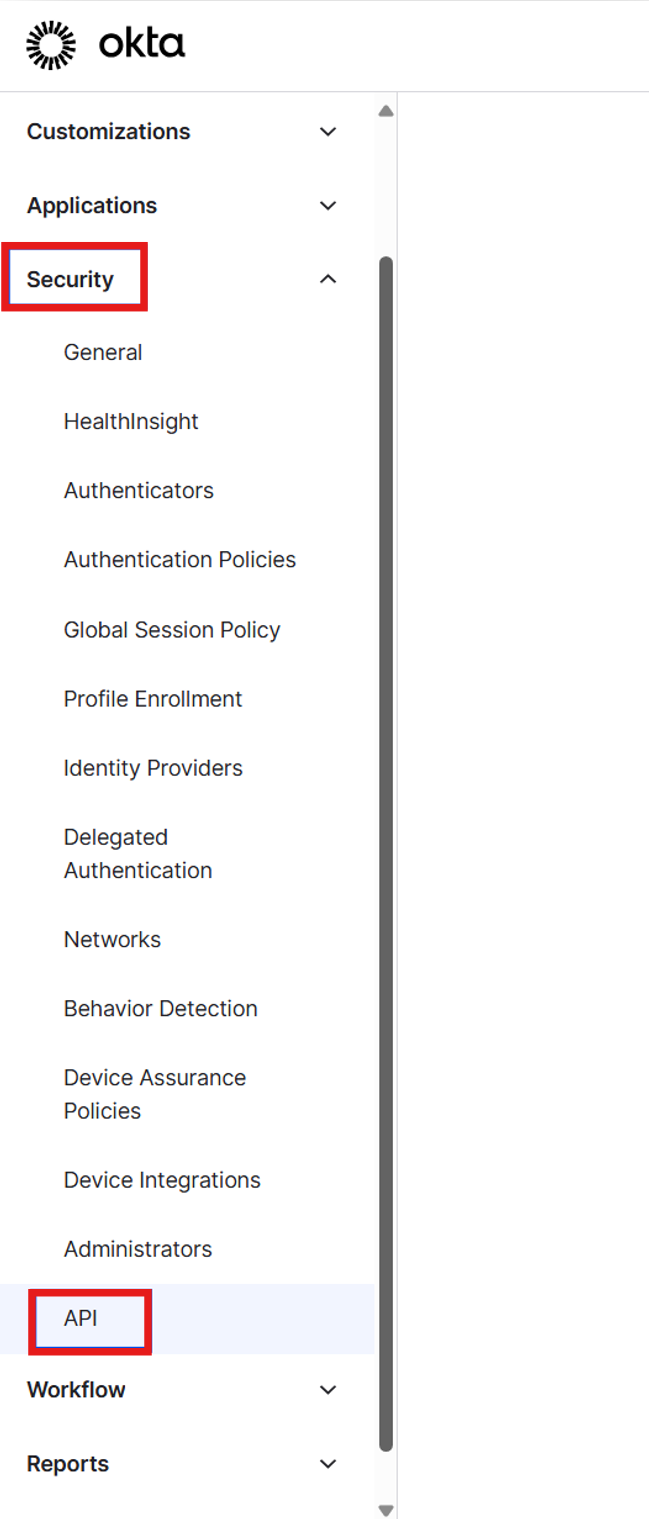
Select Tokens
Select Create Token.

In the Create token pop-up:
- Enter a name for your Defender for Identity token.
- Select Any IP.
- Select Create token.

In the Token created successfully pop-up, copy the Token value and store it securely. This token is used to connect Okta to Defender for Identity.

Add Custom user attributes
Select Directory > Profile Editor.
Select User (default).
Select Add Attributes.
- Set Data type to String.
- Enter the Display name.
- Enter the Variable name.
- Set User permission to Read Only.
Enter the following attributes:
Display Name Variable Name ObjectSid ObjectSid ObjectGuid ObjectGuid DistinguishedName DistinguishedName Select Save.
Verify that the three custom attributes you added are displayed correctly.

Create a custom Okta role
Note
To support ongoing API access, you must assign both the Read-Only Administrator role and the custom Microsoft Defender for Identity role. These roles are mandatory to successfully configure the Okta connector. Configuration fails if either role is missing.
After you assign both roles, you can remove the Super Admin role. This approach ensures that only relevant permissions are assigned to your Okta account at all times.
- Navigate to Security > Administrator.
- Select the Roles tab.
- Select Create new role.
- Set the role name to Microsoft Defender for Identity.
- Select the permissions you want to assign to this role. Include the following permissions:
- Edit user's lifecycle states
- Edit user's authenticator operations
- View roles, resources, and admin assignments
- Select Save role.

Create a resource set
Select the Resources tab.
Select Create new resource set.
Name the resource set Microsoft Defender for Identity.
Add the following resources:
- All users
- All Identity and Access Management resources

Select Save selection.
Assign the custom role and resource set
To complete the configuration in Okta, assign the custom role and resource set to the dedicated account.
Assign the following roles to the dedicated Okta account:
Read-Only Administrator.
The custom Microsoft Defender for Identity role
Assign the Microsoft Defender for Identity resource set to the dedicated Okta account.
When you're done, remove the Super Admin role from the account.
Connect Okta to Microsoft Defender for Identity
Navigate to the Microsoft Defender Portal.
Select System > Data management > Data connectors > Catalog

Select Okta Single Sign-On > Connect a connector.

Enter a name for your connector.
Enter your Okta ___domain (for example, my.project.okta.com).
Paste the API token you copied from your Okta account.
Select Next.

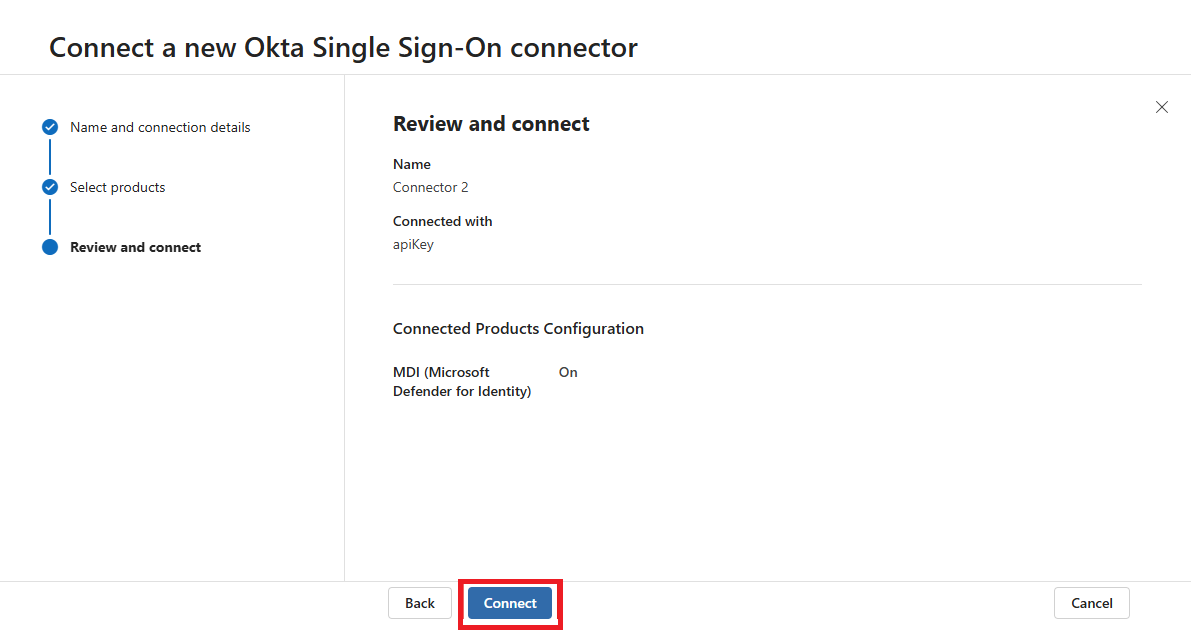
Select products > Microsoft Defender for Identity
Select Next

Review Okta details, and select Connect.
Verify that your Okta environment appears in the table as enabled.


Note
Connecting the Okta connector can take up to 15 minutes.