Note
Access to this page requires authorization. You can try signing in or changing directories.
Access to this page requires authorization. You can try changing directories.
Requirement groups bundle requirements commonly scheduled together. For example, you might require a preinspection, an installation, and a final inspection every time a specific job is performed. With a requirement group, all three requirements can be created with a single template. Each requirement in the template can have distinct characteristics, and the work can be scheduled collectively as a single unit. With the schedule assistant, resources are selected that match the characteristics for each requirement.
Create a requirement group template
In Resource Scheduling, open the Settings area. Under Scheduling, select Requirement Group Templates, and then select New.
Enter a Name for the requirement group and Save it.
In the bottom panel, select the requirement group. Consider the following options on how the schedule assistant should return results.
Select
- All (default): Resources must fulfill all requirements.
- Any: Resources can fulfill any requirement.
The All or Any setting allows you to add multiple options for fulfilling a requirement group, which is done by adding subgroups. If the root requirement is set to Any, and each subgroup is set to All, the schedule assistant searches for either all of option 1 or all of option 2.
Part of Same (schema name is msdyn_requirementrelationship)
Location: Only teams of resources working at the same physical ___location (organizational unit) are available to book. The Bookable Resource Association (msdyn_bookableresourceassociation) and the Bookable Resource Group (bookableresourcegroup) entities determine the ___location.
Resource Tree: The teams of resources must actually be associated to the same resource type in order to be returned as a team. This option adds more stringencies to the search.
Same Organizational Unit: Only teams with the same parent organizational unit are available to book. It ignores the Bookable Resource Group (bookableresourcegroup) and the Bookable Resource Association (msdyn_bookableresourceassociation) entities. It only checks the parent organizational unit. This option is the most stringent.

Add requirements and fill in the fields in the columns. All requirements within a requirement group must have the same duration. Change the duration of individual bookings after booking the requirement group by setting the Cascade Crew Changes option on the Scheduling tab of the booking to No.
To add more details to a resource requirement, select Open Form and enter more filters for the schedule assistant. For example, on the Scheduling tab, choose the work ___location.
Facility: The interaction takes place at a facility and travel time is calculated as the distance between the customer ___location and the facility ___location. The requirement's latitude and longitude fields are used as the customer ___location. It also means at least one facility or facility pool must return in schedule assistant search results in order for a resource to be returned.
On Site: The interaction takes place at the customer ___location and travel time is calculated as the distance between the customer ___location and the resource (typically field technician) ___location, which is variable based on the resource's schedule that day. The requirement's latitude and longitude fields are used as the customer ___location. Facility resources and facility pools are excluded from the results.
Location Agnostic: The interaction takes place remotely and neither the ___location of the customer nor the resource is considered for scheduling. Travel time isn't applicable and isn't calculated. Facility resources can still be returned as part of the schedule assistant search, but travel time isn't displayed or considered in ranking.
Save the requirement group template.
Create a requirement group
In Resource Scheduling, open the Resource Scheduling area. Under Scheduling, select Requirement Groups, and then select New.
Enter a Name.
To use a template, select an existing Requirement group template from the drop-down list and Save.
To create your own requirement group, select Save and fill out the information for the group and its requirements. Refer to the Requirement group template for more information.
Book a requirement group
Open a requirement group and select Book to launch the schedule assistant and get available resources that can fulfill the requirement group. By default, it recommends options that require the fewest resources first. Book the selected resource or resources. Then save and close the requirement group.
Booking an option for multiple requirements creates multiple bookings.
Keyboard shortcuts
You can use keyboard shortcuts when creating requirement groups.
| Command | Keys |
|---|---|
| Expand collapsed row | SHIFT ALT + |
| Collapse expanded row | SHIFT ALT - |
| Indent task | SHIFT ALT right arrow |
| Outdent task | SHIFT ALT left arrow |
| Move task up | SHIFT ALT up arrow |
| Move task down | SHIFT ALT down arrow |
| Add new row | SHIFT ALT insert |
| Delete row | SHIFT ALT delete |
| Refresh | SHIFT ALT F5 |
| Edit | SHIFT ALT F2 |
Requirement groups for field service scenarios
Requirement group templates are designed to work with incident types. Associate a requirement group template to an incident type to automatically add requirement groups to work orders. Requirement groups can influence the performance for creating work orders and work order incidents. The degree of influence depends on the number of requirements in a requirement group.
In Field Service, open the Settings area. Under Work Orders, select Incident Types.
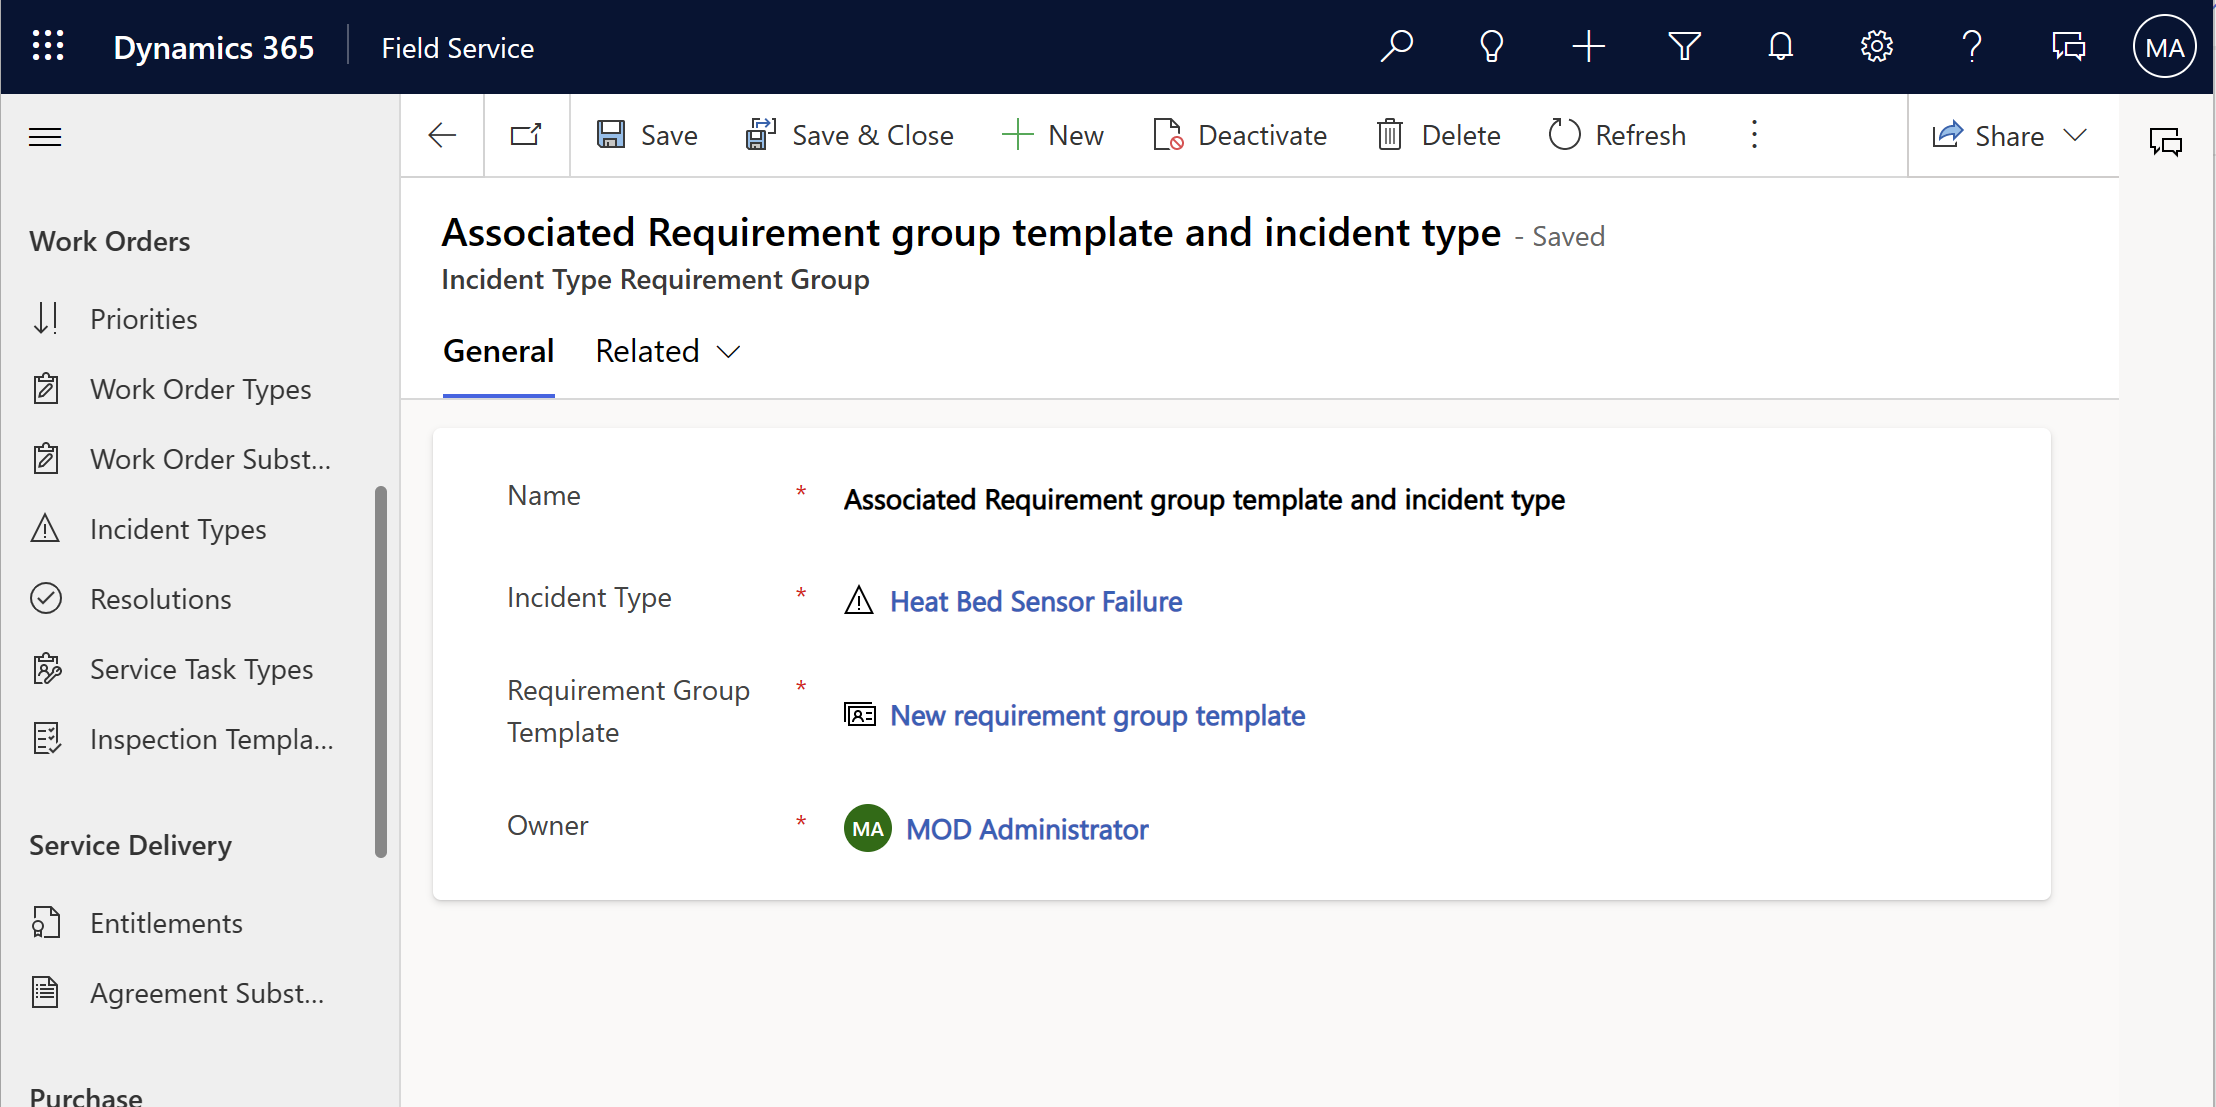
Select an incident type, open the Related > Requirement Groups tab, and select New Incident Type Requirement Group.
Note
Incident types with characteristics can't relate to requirement group templates. Associate the characteristics with requirements in the group instead.
Enter a Name and choose a Requirement Group Template to associate the template with the incident type. Then select Save and Close.
After saving the record, add the incident type to a work order.
You can now book the work order.
Note
When requirement groups perform onsite work, the schedule assistant looks for groups of resources that can arrive at the same time, not resources that can begin traveling at the same time.