Note
Access to this page requires authorization. You can try signing in or changing directories.
Access to this page requires authorization. You can try changing directories.
This module takes about 10 minutes to complete. You'll ingest raw data from the source store into a table in the bronze data layer of a data Lakehouse using the Copy activity in a pipeline.
The high-level steps in module 1 are:
- Create a pipeline.
- Create Copy Activity in the pipeline to load sample data into a data Lakehouse.
- Run and view the results of the the copy activity
Prerequisites
- A Microsoft Fabric tenant account with an active subscription. If you don't have one, you can create a free account.
- A Microsoft Fabric enabled Workspace. Learn how to create a workspace.
- Access to Power BI.
Create a pipeline
Sign into Power BI.
Select the default Power BI icon at the bottom left of the screen, and select Fabric.
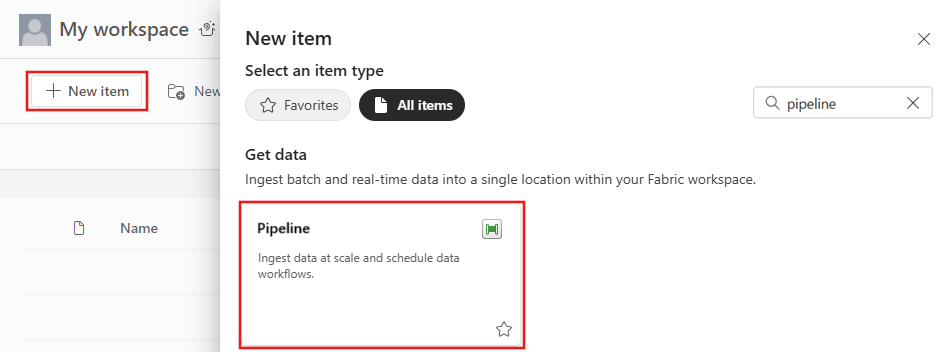
Select a workspace from the Workspaces tab, then select + New item, then search for and choose Pipeline.
Provide a pipeline name. Then select Create.

Create a Copy activity in the pipeline to load sample data to a data Lakehouse
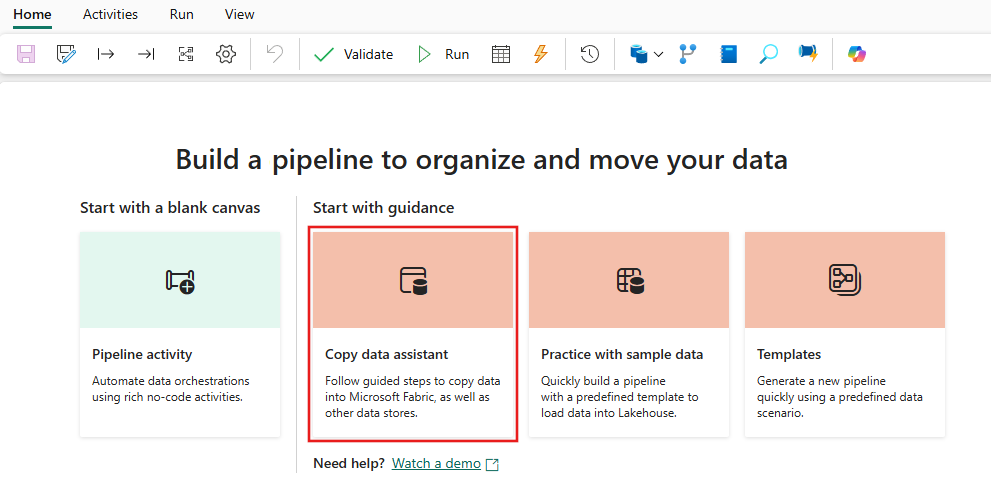
Select Copy data assistant to open the copy assistant tool.
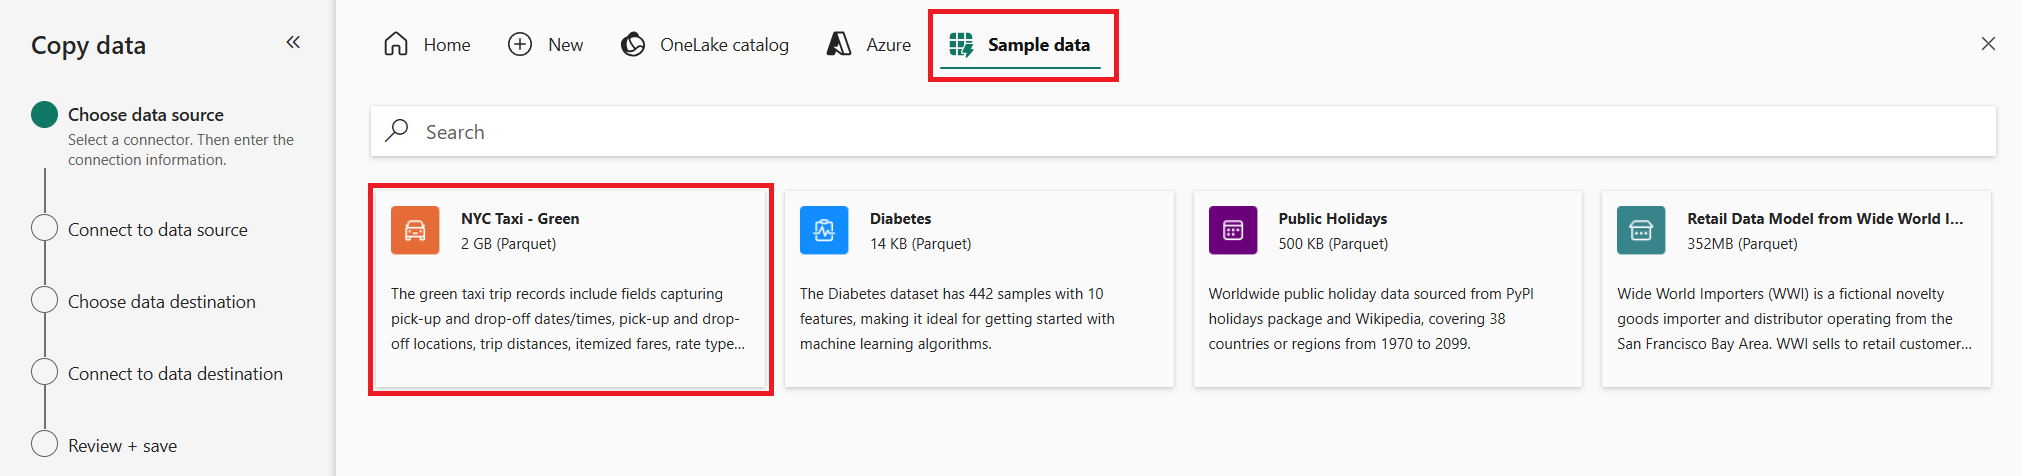
On the Choose data source page, select Sample data from the options at the top of the dialog, and then select NYC Taxi - Green.
The data source preview appears next on the Connect to data source page. Review, and then select Next.

For the Choose data destination step of the copy assistant, select Lakehouse.
Enter a Lakehouse name, then select Create and connect.
Select Connect.
Select Tables for the Root folder and Load to new table for Load settings. Provide a Table name (in our example we've named it Bronze) and select Next.

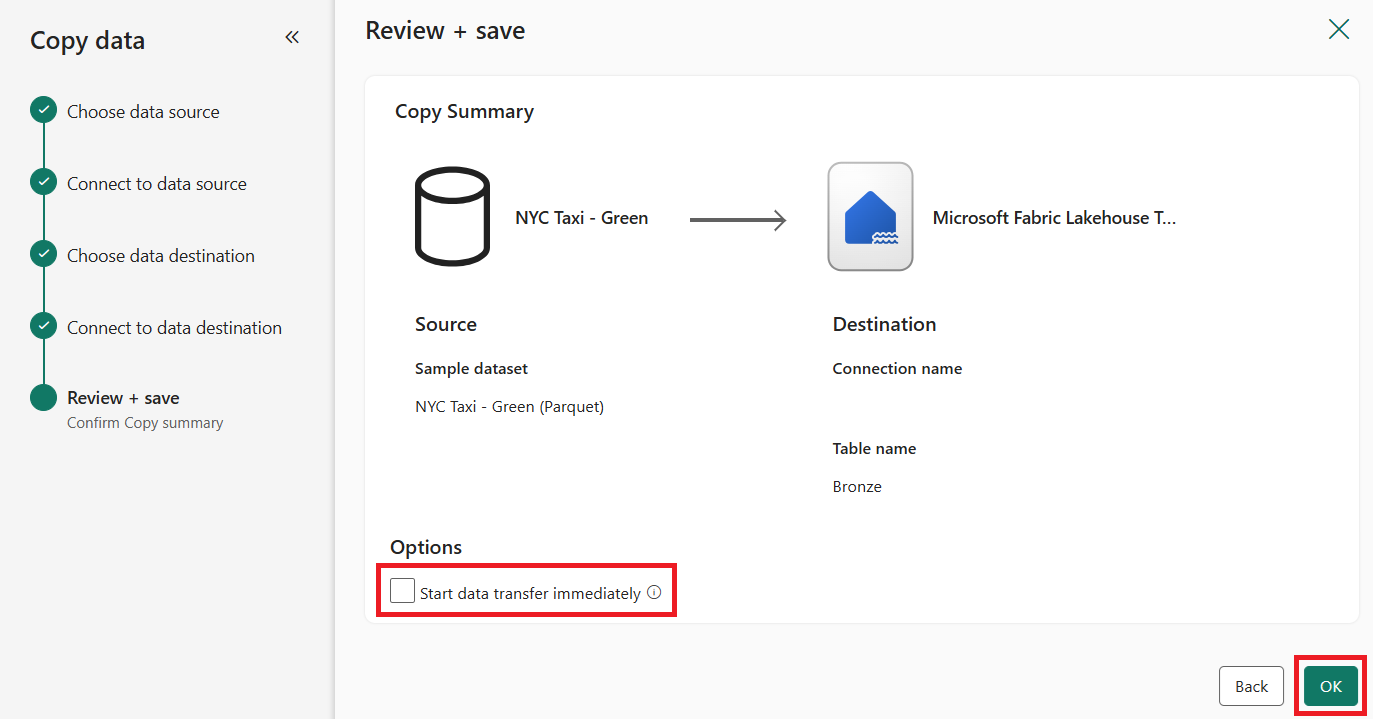
Finally, on the Review + save page of the copy data assistant, review the configuration. For this tutorial, uncheck the Start data transfer immediately checkbox, since we run the activity manually in the next step. Then select OK.


Run and view the results of your Copy activity
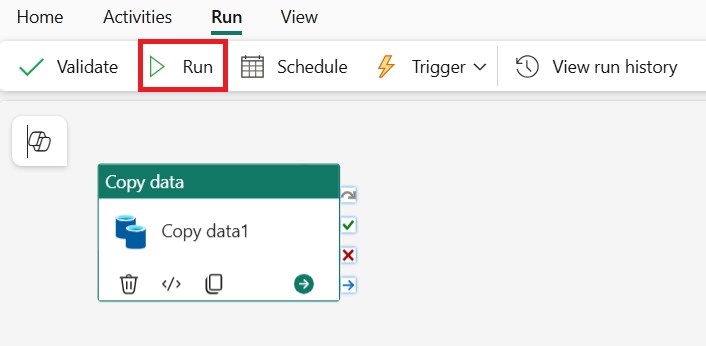
Select the Run tab in the pipeline editor. Then select the Run button, and then Save and run, to run the Copy activity.
You can monitor the run and check the results on the Output tab below the pipeline canvas. Select name of the pipeline to view the run details.
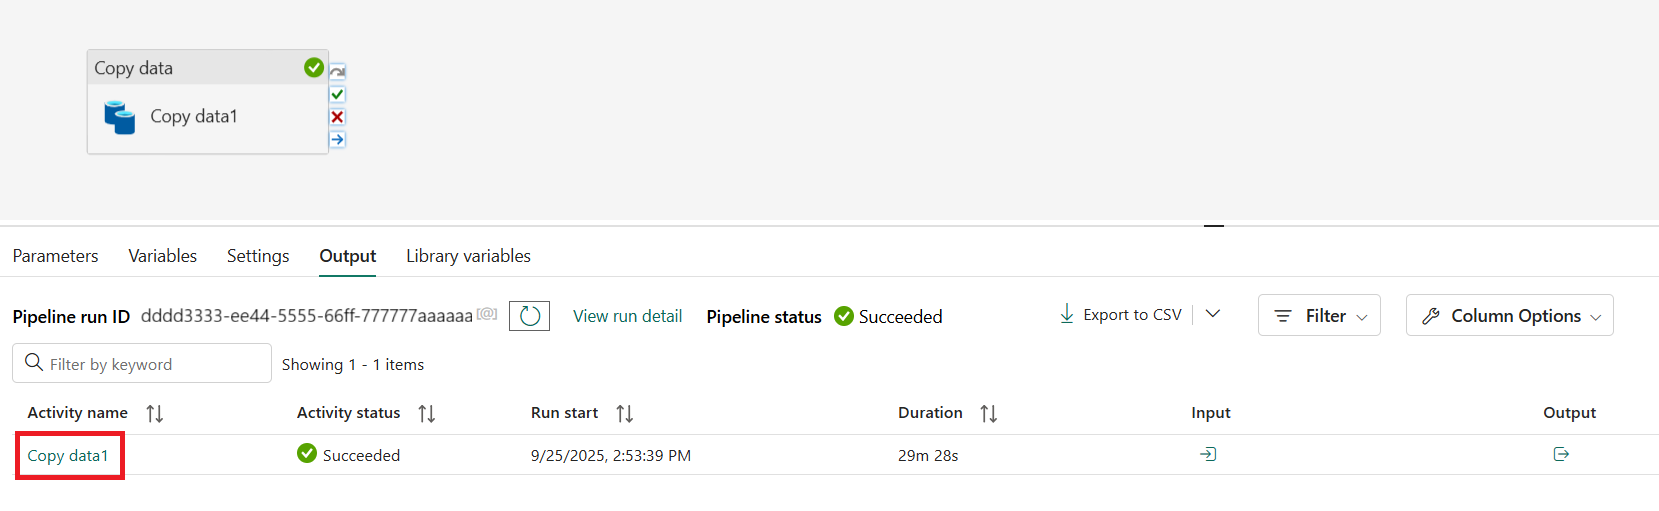
Expand the Duration breakdown section to see the duration of each stage of the Copy activity. After reviewing the copy details, select Close.

Next step
Continue to the next section to create your dataflow.