Note
Access to this page requires authorization. You can try signing in or changing directories.
Access to this page requires authorization. You can try changing directories.
Microsoft Copilot Studio is a graphical, low-code platform for building custom AI agents that understand natural language, answer user inquiries, and perform actions such as automating tasks. These agents can then be deployed across channels such as Microsoft Teams, websites, and Microsoft 365 Copilot.
One of the ways to consume a Fabric data agent is by adding it to a custom AI agent in Microsoft Copilot Studio as a connected agent. This connected agents setup enables agent-to-agent collaboration, allowing the custom AI agent in Copilot Studio to securely access enterprise data through the Fabric data agent and ground its responses in organizational knowledge for improved accuracy, relevance, and context.
Important
This feature is in preview.
Prerequisites
- A paid F2 or higher Fabric capacity resource
- Fabric data agent tenant settings is enabled.
- Copilot tenant switch is enabled.
- Cross-geo processing for AI is enabled.
- Cross-geo storing for AI is enabled.
- At least one of these: A warehouse, a lakehouse, one or more Power BI semantic models, or a KQL database with data.
- Power BI semantic models via XMLA endpoints tenant switch is enabled for Power BI semantic model data sources.
- Microsoft 365 Copilot license and a user license for each individual who builds and manages custom agents.
Prerequisites for making Fabric data agents available in Copilot Studio
Before you can connect a Fabric data agent to Microsoft Copilot Studio, ensure the following settings are configured:
Publish your Fabric data agent: The data agent must be published and in a Running state in Microsoft Fabric.
Tenant alignment: Both the Fabric data agent and Microsoft Copilot Studio must be on the same Microsoft 365 tenant.
Authentication: Sign in to both Microsoft Fabric and Microsoft Copilot Studio with the same account that has access to the data agent.
Permissions: Ensure you have the following permissions:
- Read access to the Fabric workspace containing the data agent
- Permission to create and modify agents in Microsoft Copilot Studio
- Access to the underlying data sources used by the Fabric data agent
Data agent visibility: Verify that the data agent appears in your list of available agents in the Fabric workspace before attempting to connect it in Copilot Studio.
Verify Fabric data agent readiness
Before adding your Fabric data agent to Copilot Studio, complete these verification steps:
In Microsoft Fabric, navigate to your workspace and confirm your data agent is listed with a "Running" status.
Test your data agent in Fabric to ensure it's responding correctly to queries.
Note the workspace name and data agent name - you need these when connecting in Copilot Studio.
How to add a Fabric data agent to the custom AI agent in Copilot Studio
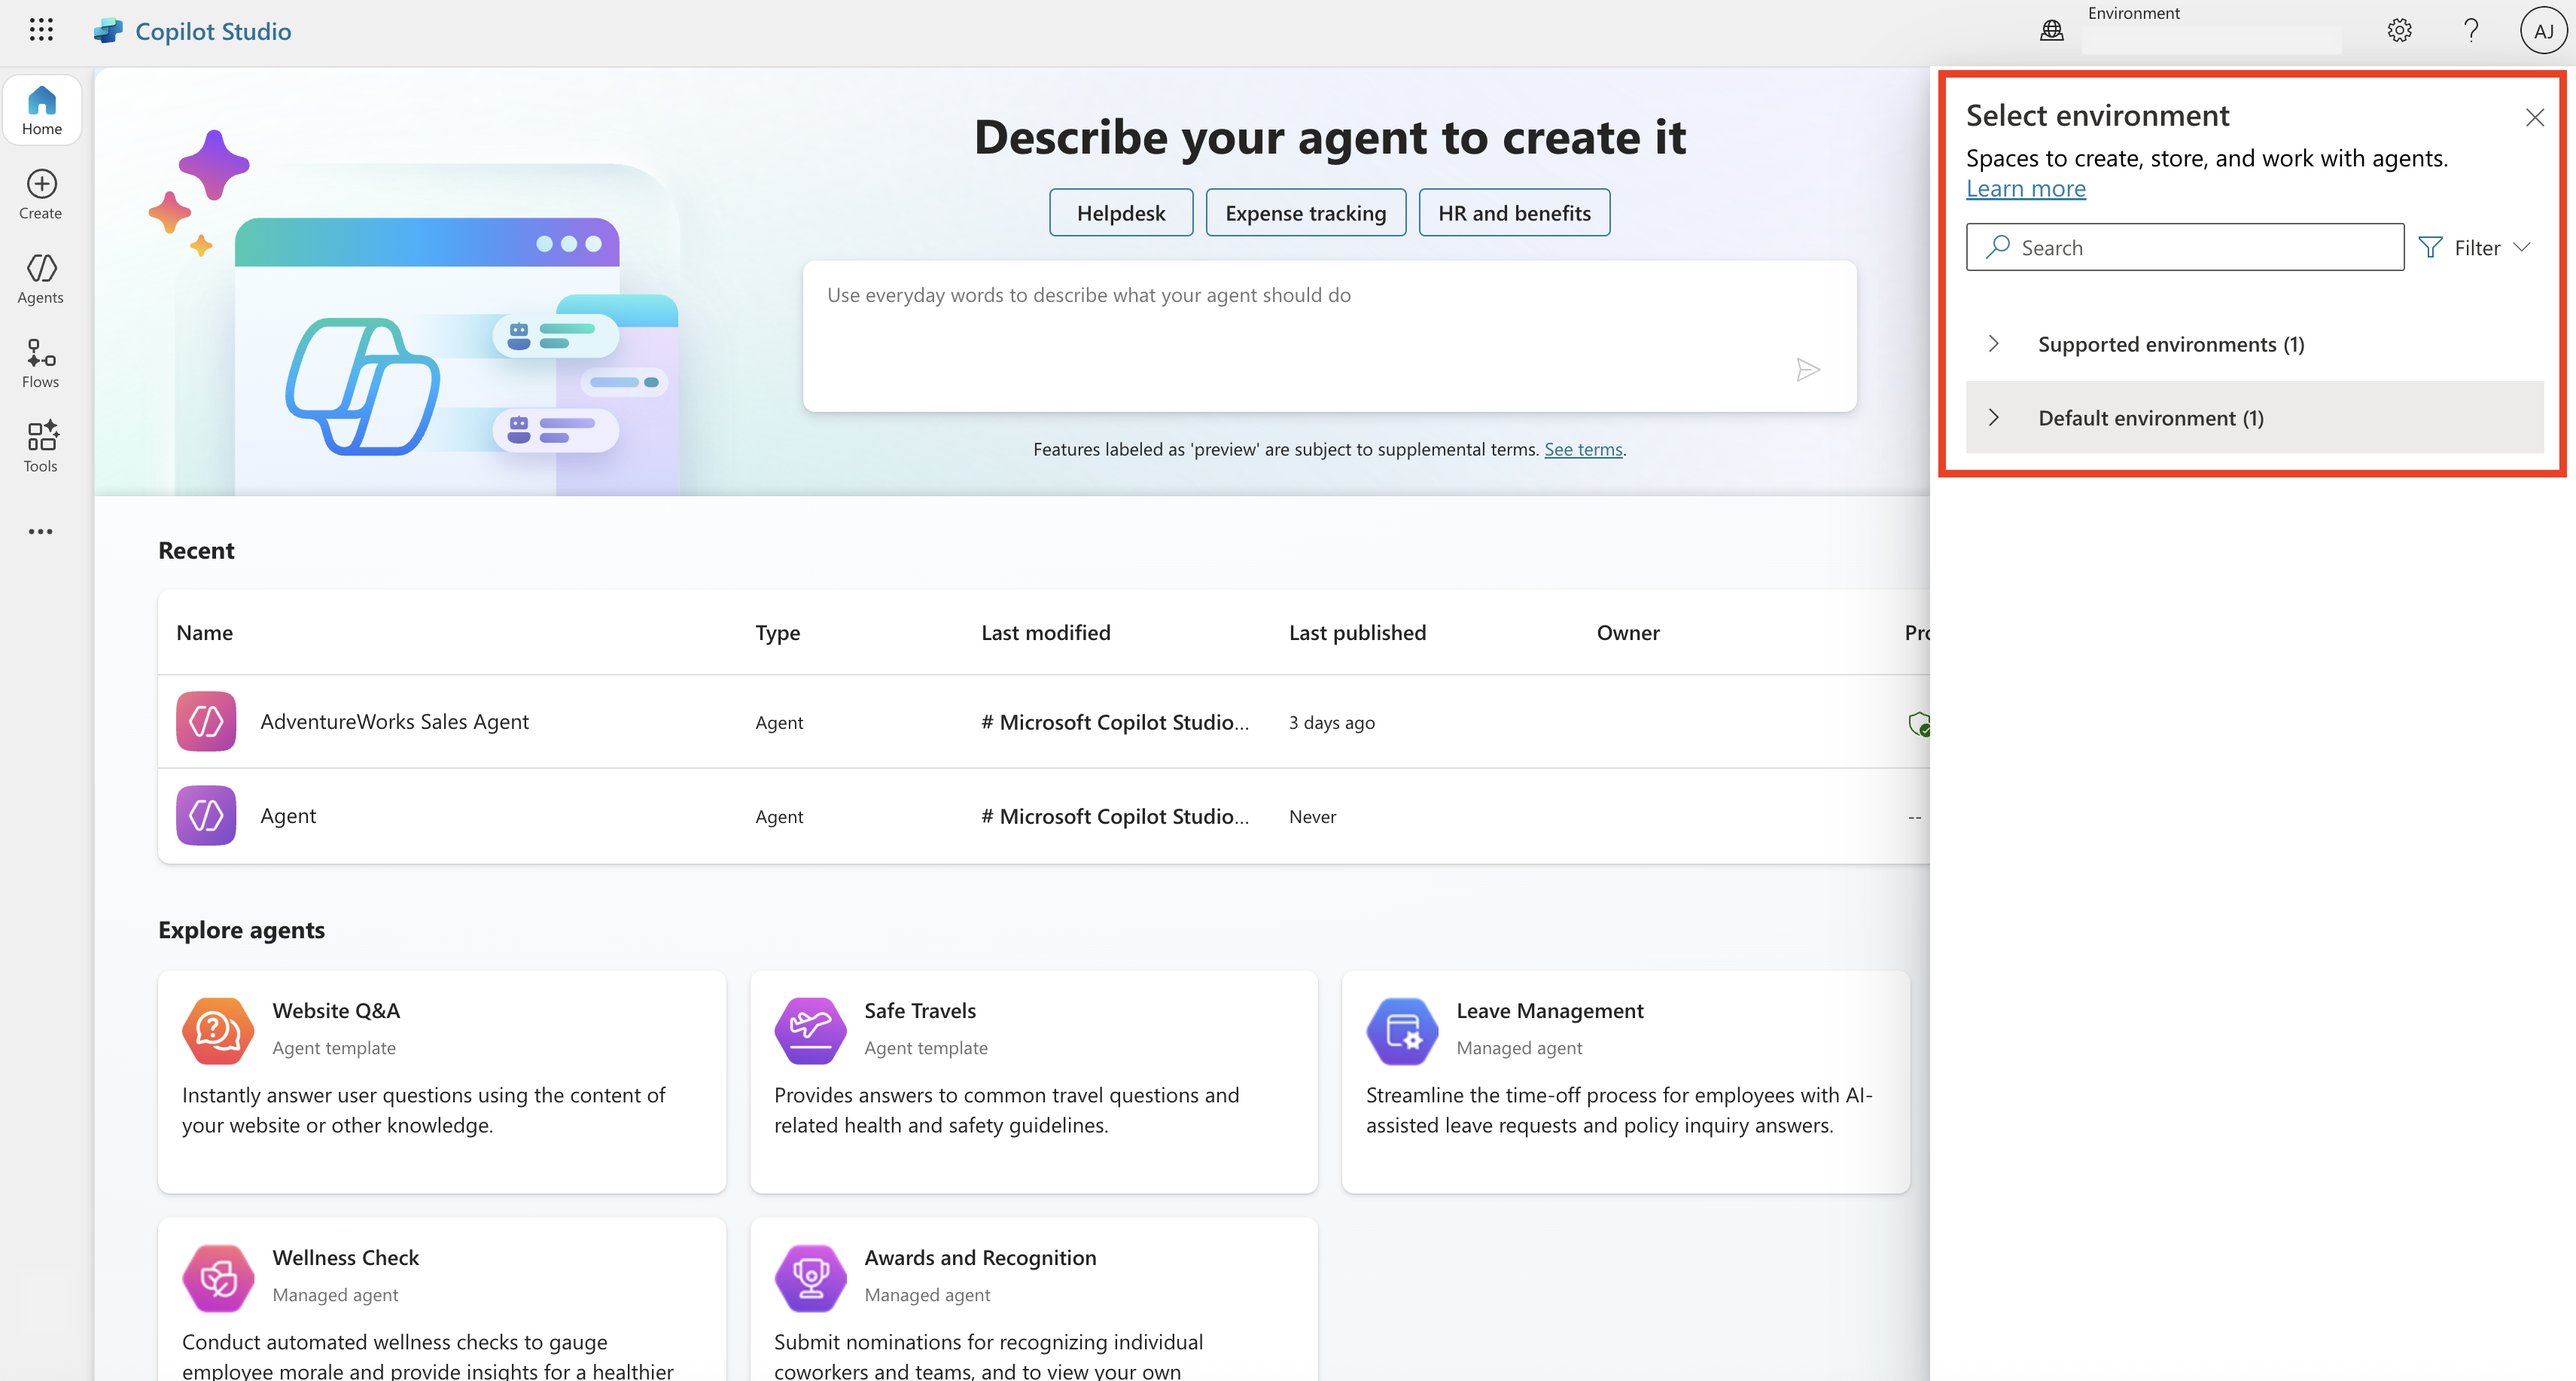
Navigate to Microsoft Copilot Studio and select your desired environment.
Once you select desired environment, on the left pane, select Create, then select + New agent to start building your custom AI agent. If you already have a custom AI agent, you can skip steps 2 and 3.

Configure your agent by giving it a Name and Description that describes its purpose and role. Make sure to save your changes.

Once you set the basic details, you can move forward by adding:
- Knowledge sources such as SharePoint, public websites, or uploaded files.
- Tools that enable the agent to perform specific tasks or access external systems.
- Connections to other agents, allowing more complex scenarios where multiple agents collaborate.
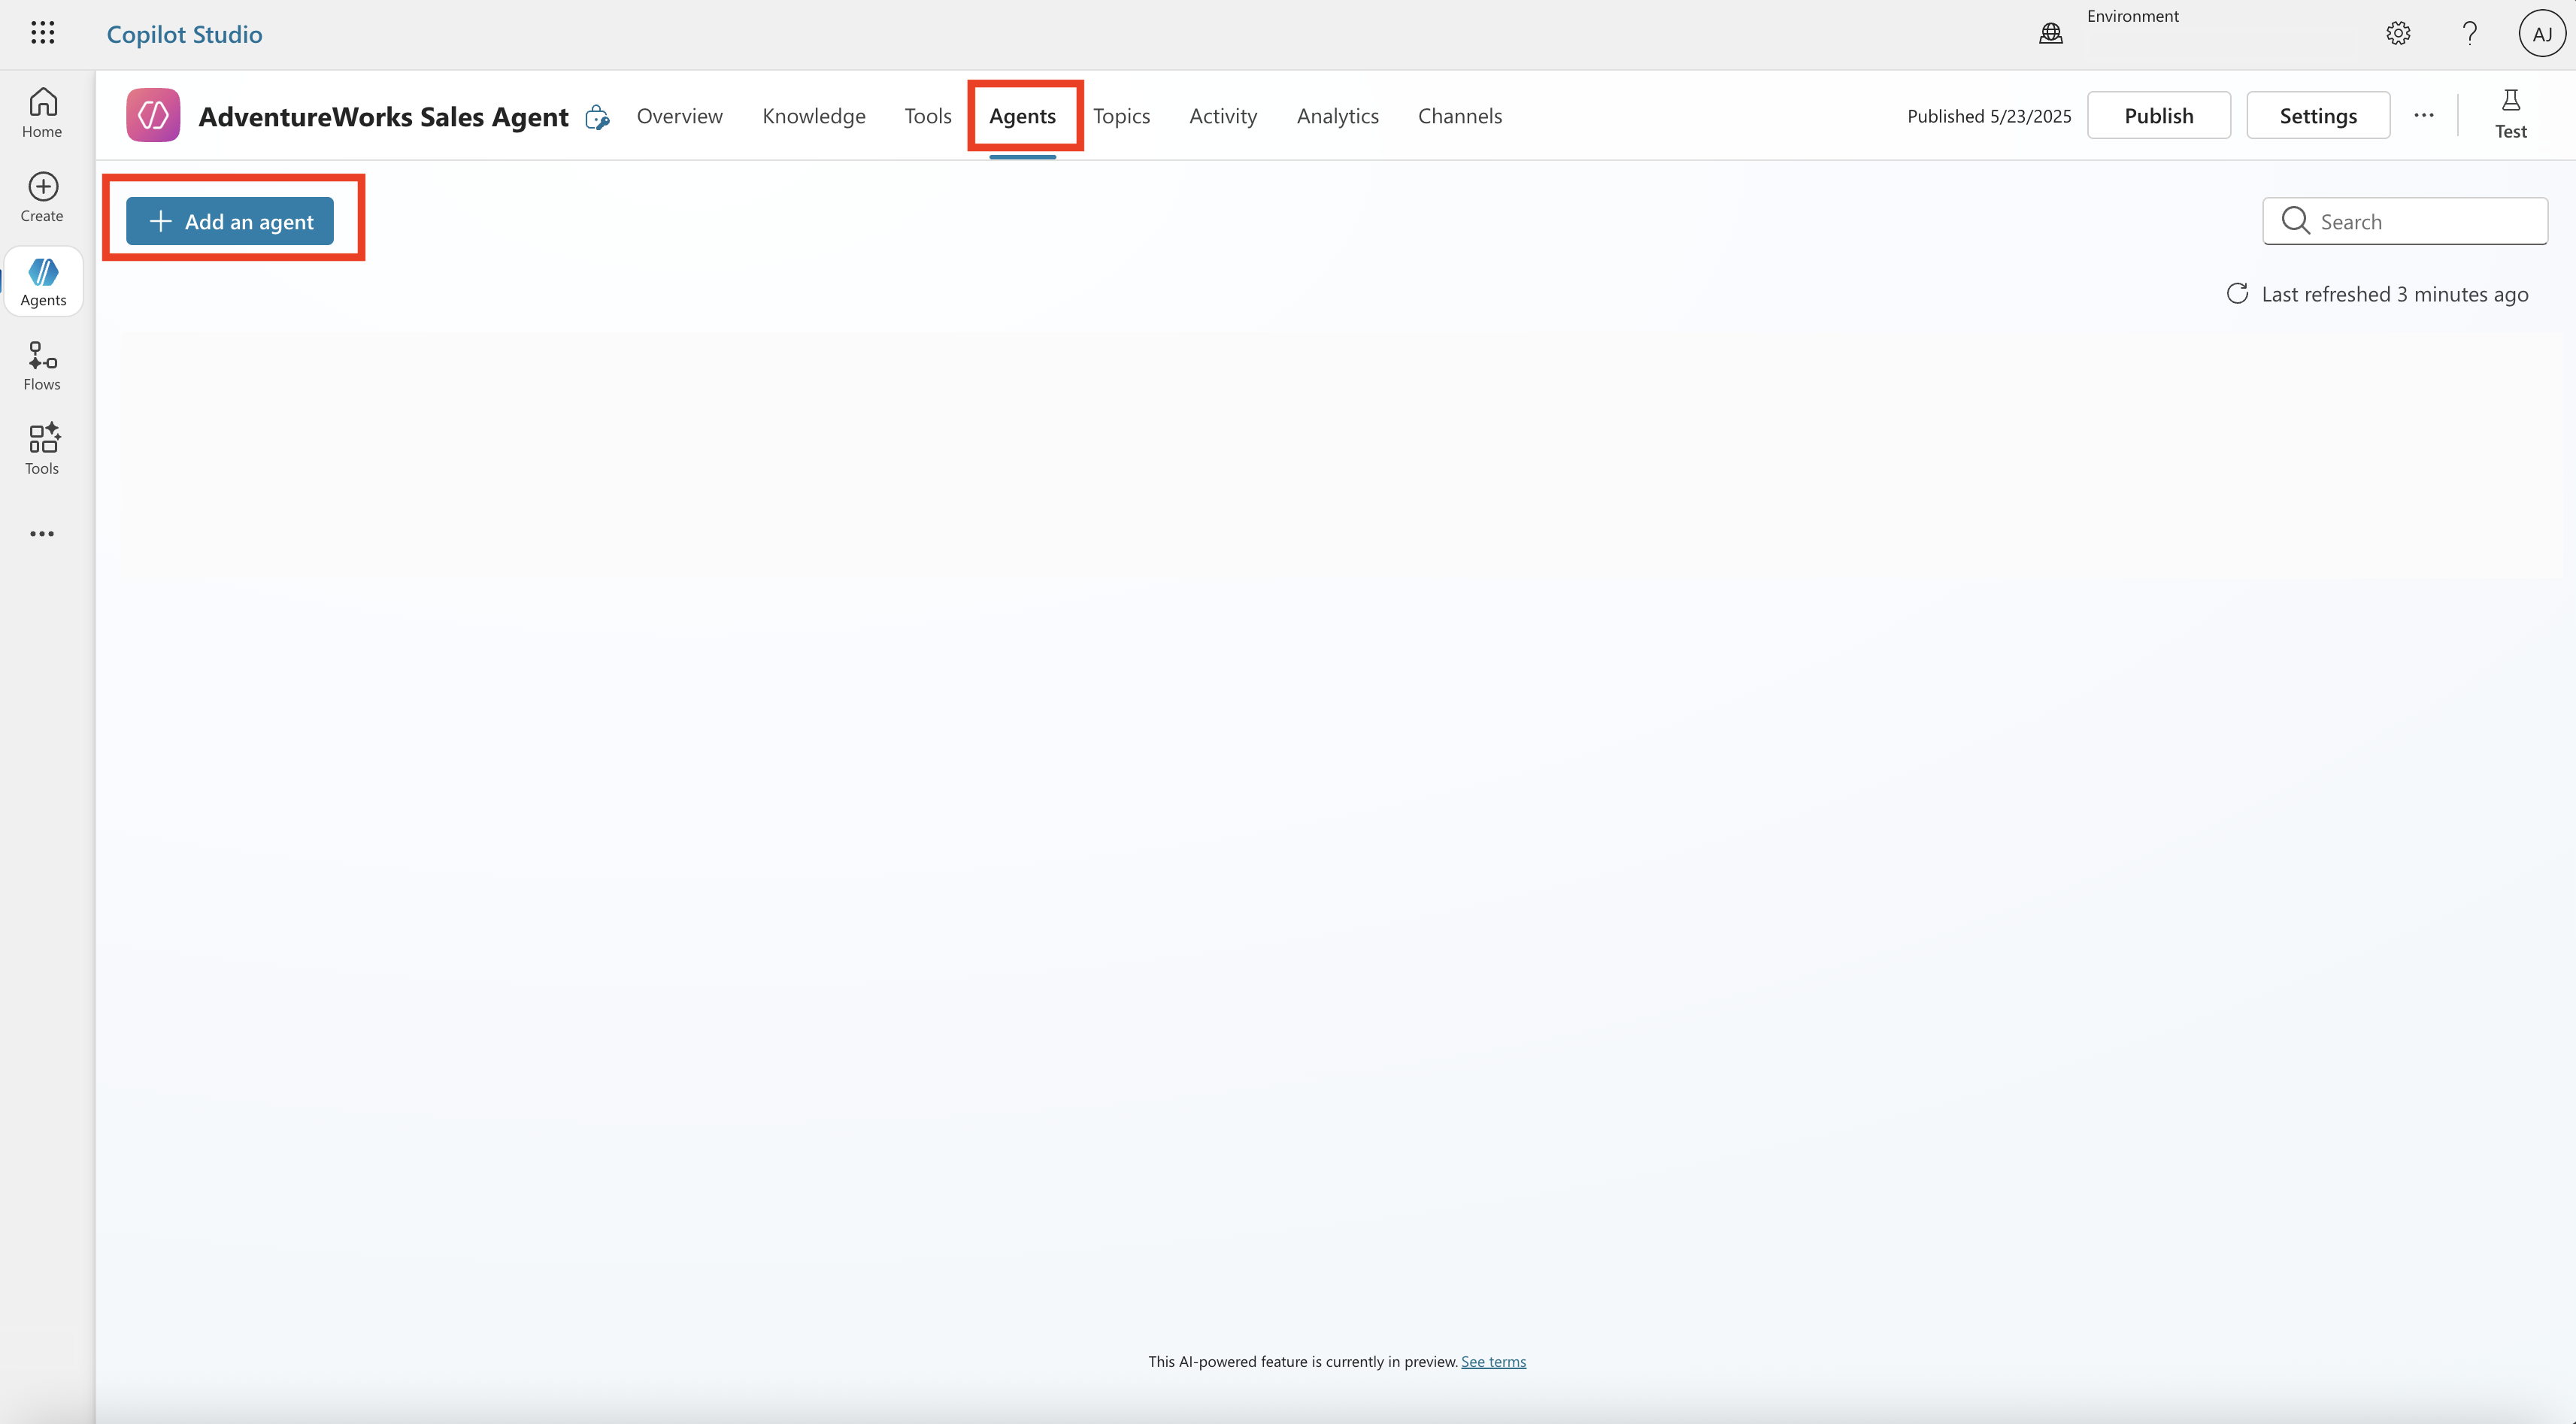
To add a Fabric data agent to your custom AI agent in Copilot Studio, navigate to Agents from the top pane and then select + Add to add agents to your custom AI agent.
Select Microsoft Fabric from the Choose how you want to extend your agent category.
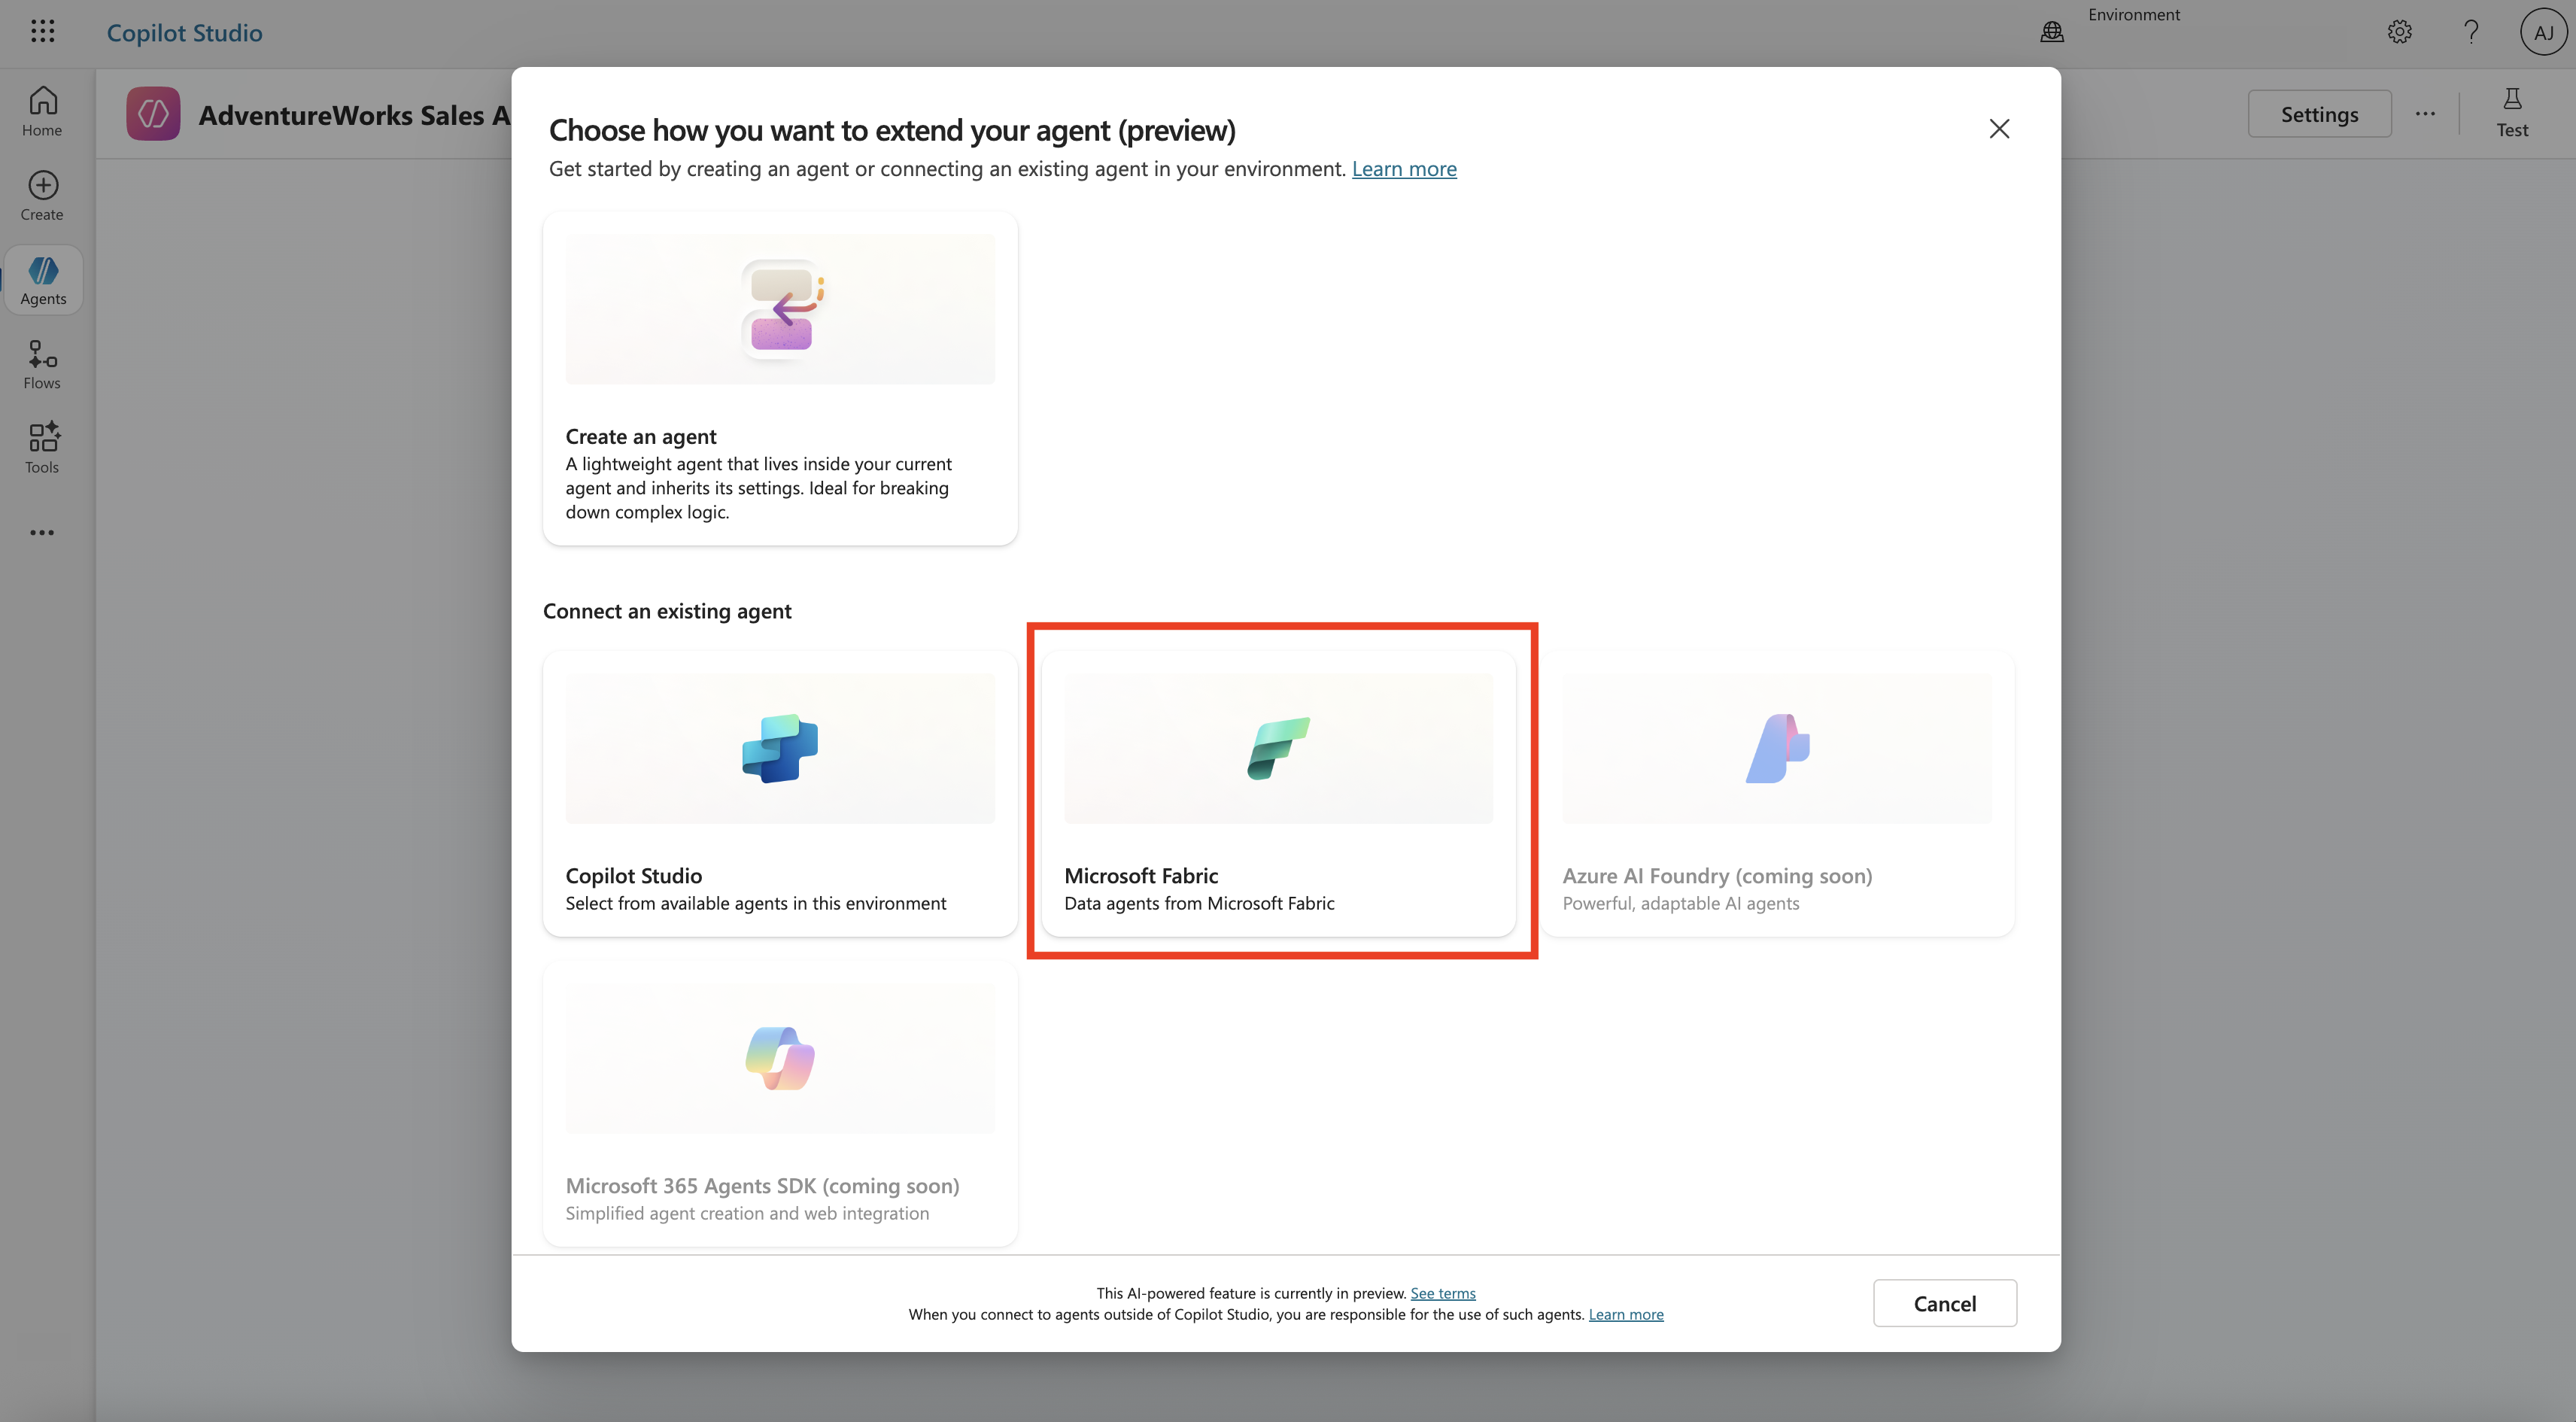
If there's already a connection between Microsoft Fabric and the custom AI agent, you can select Next and move to next step. Otherwise, select the dropdown and select Create new connection to establish a connection between Microsoft Fabric and Copilot Studio.

Note
Ensure to publish your Fabric data agent before adding to your custom AI agent in Copilot Studio. The Fabric data agent and Microsoft Copilot resources should be on the same tenant, and both Microsoft Fabric and Microsoft Copilot should be signed in with the same account.
From the list of Fabric data agents you have access to, select the data agent that you want to connect to the custom AI agent in Copilot Studio and select Next. The selected data agent works together with the custom AI agent to handle specific workflows.

Tip
If you don't see your Fabric data agent in the list, verify that:
- The data agent is published and running in Microsoft Fabric.
- You're signed in with the correct account that has access to the data agent.
- The data agent and Copilot Studio are on the same tenant.
- You have the necessary permissions to access the Fabric workspace.
You can adjust the description for the Fabric data agent that you select and then select Add agent. This step adds the Fabric data agent to the custom AI agent in Microsoft Copilot Studio.

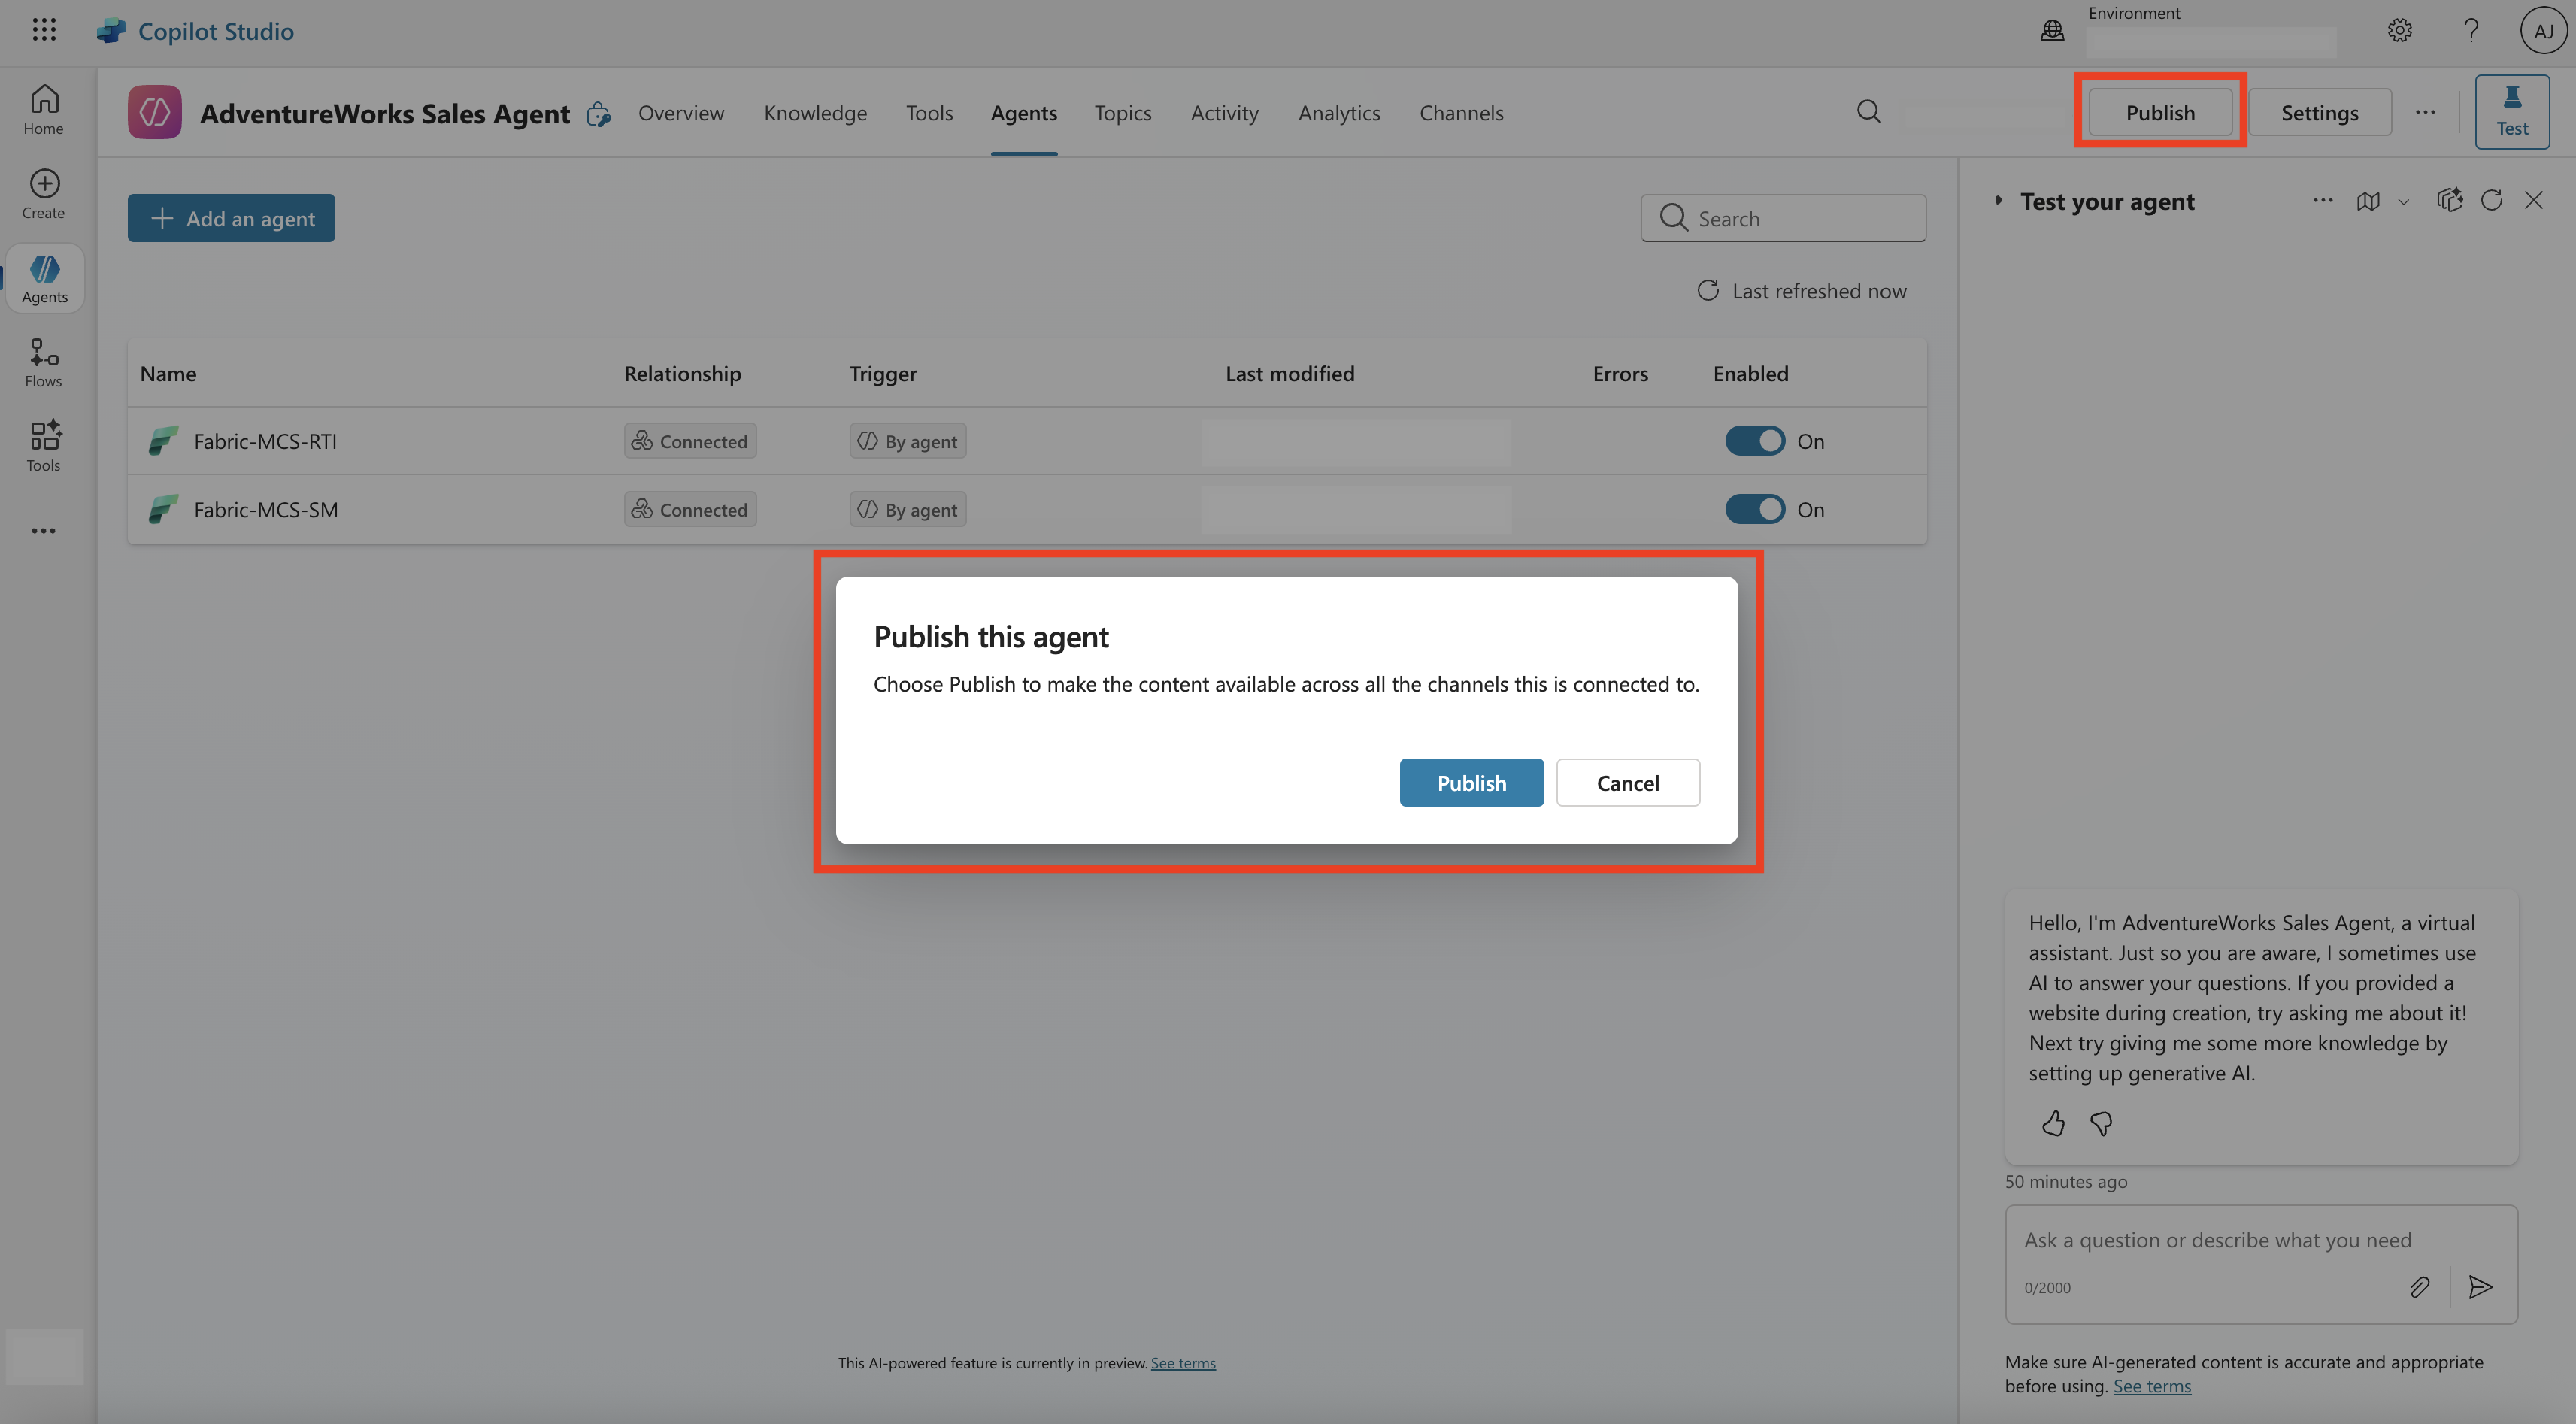
Once done, navigate back to the Agents from the top pane and you should see the Fabric data agent among the agents that are connected to the custom AI agent.
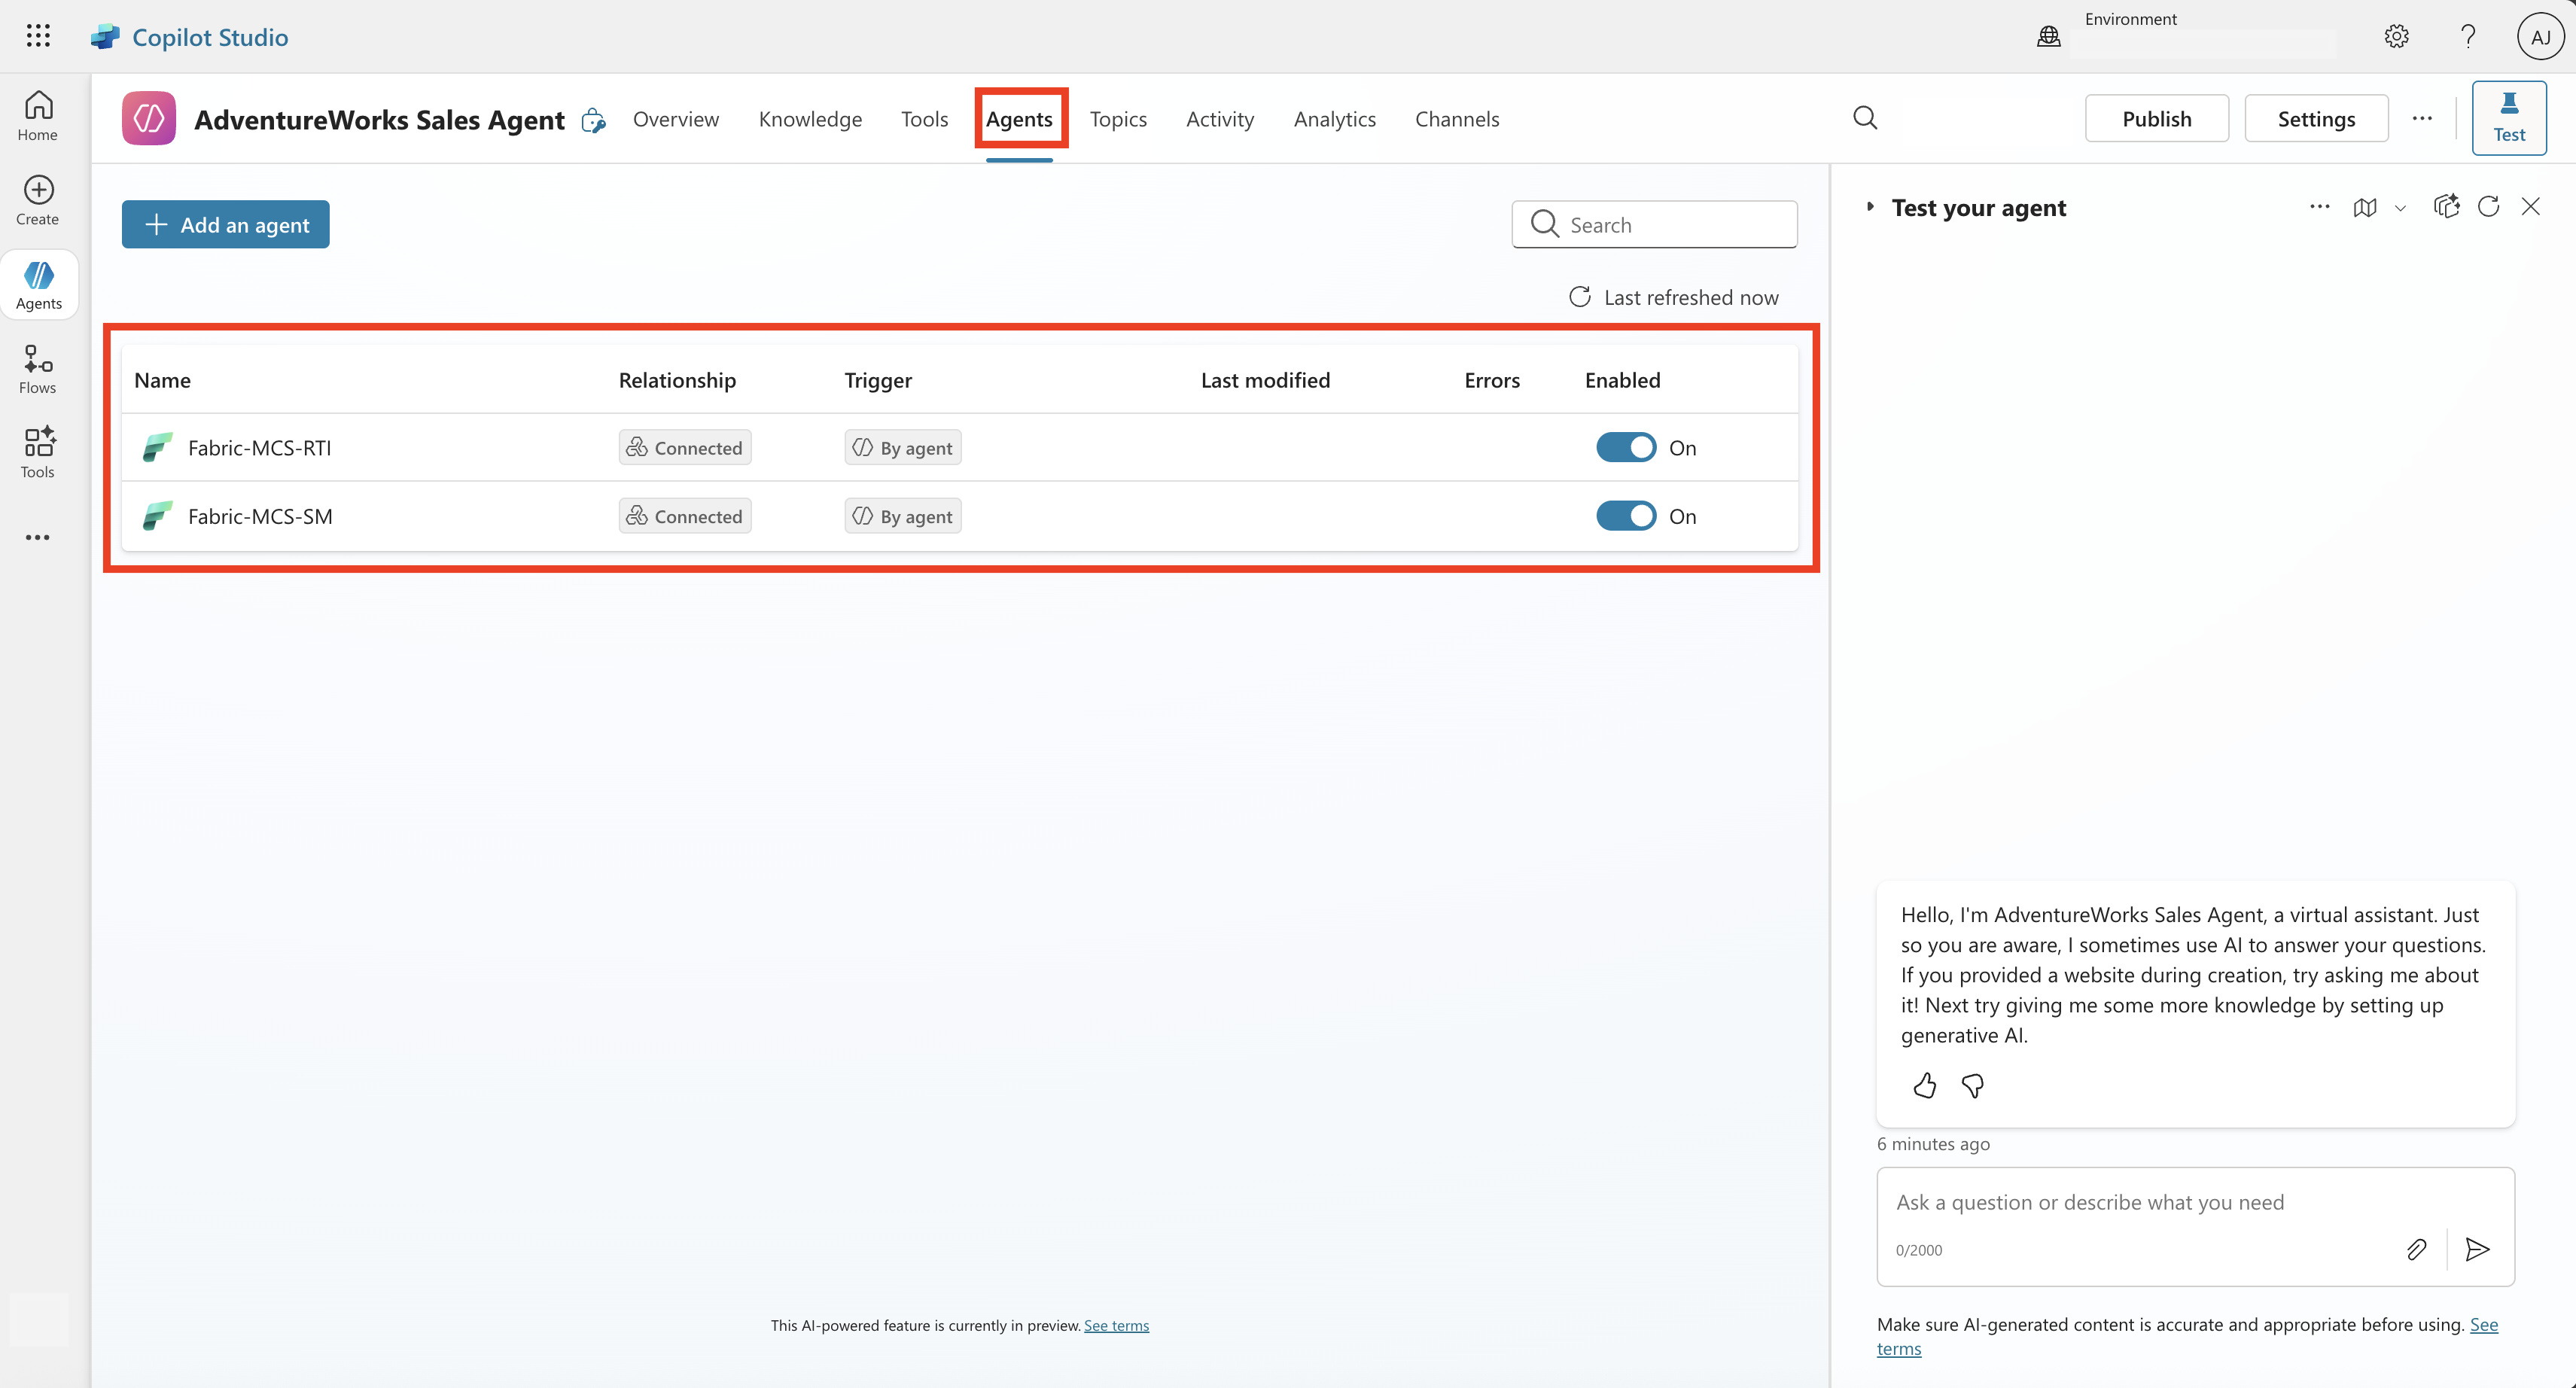
Select the connected Fabric data agent. Under additional details, you can optionally decide the authentication of the Fabric data agent to be the User authentication or Agent author authentication. If you select User authentication as the authentication, you need to ensure that users have access to the Fabric data agent and its underlying data sources.

To further enhance the responsiveness of your custom AI agent, you can define how the agent responds to users through adding topics and trigger phrases.
You could use the built-in test chat pane on the right to ask questions and get answers. This helps you to validate the performance of the custom AI agent to ensure it invokes the connected Fabric data agents to get answers and further fine-tune its behavior.
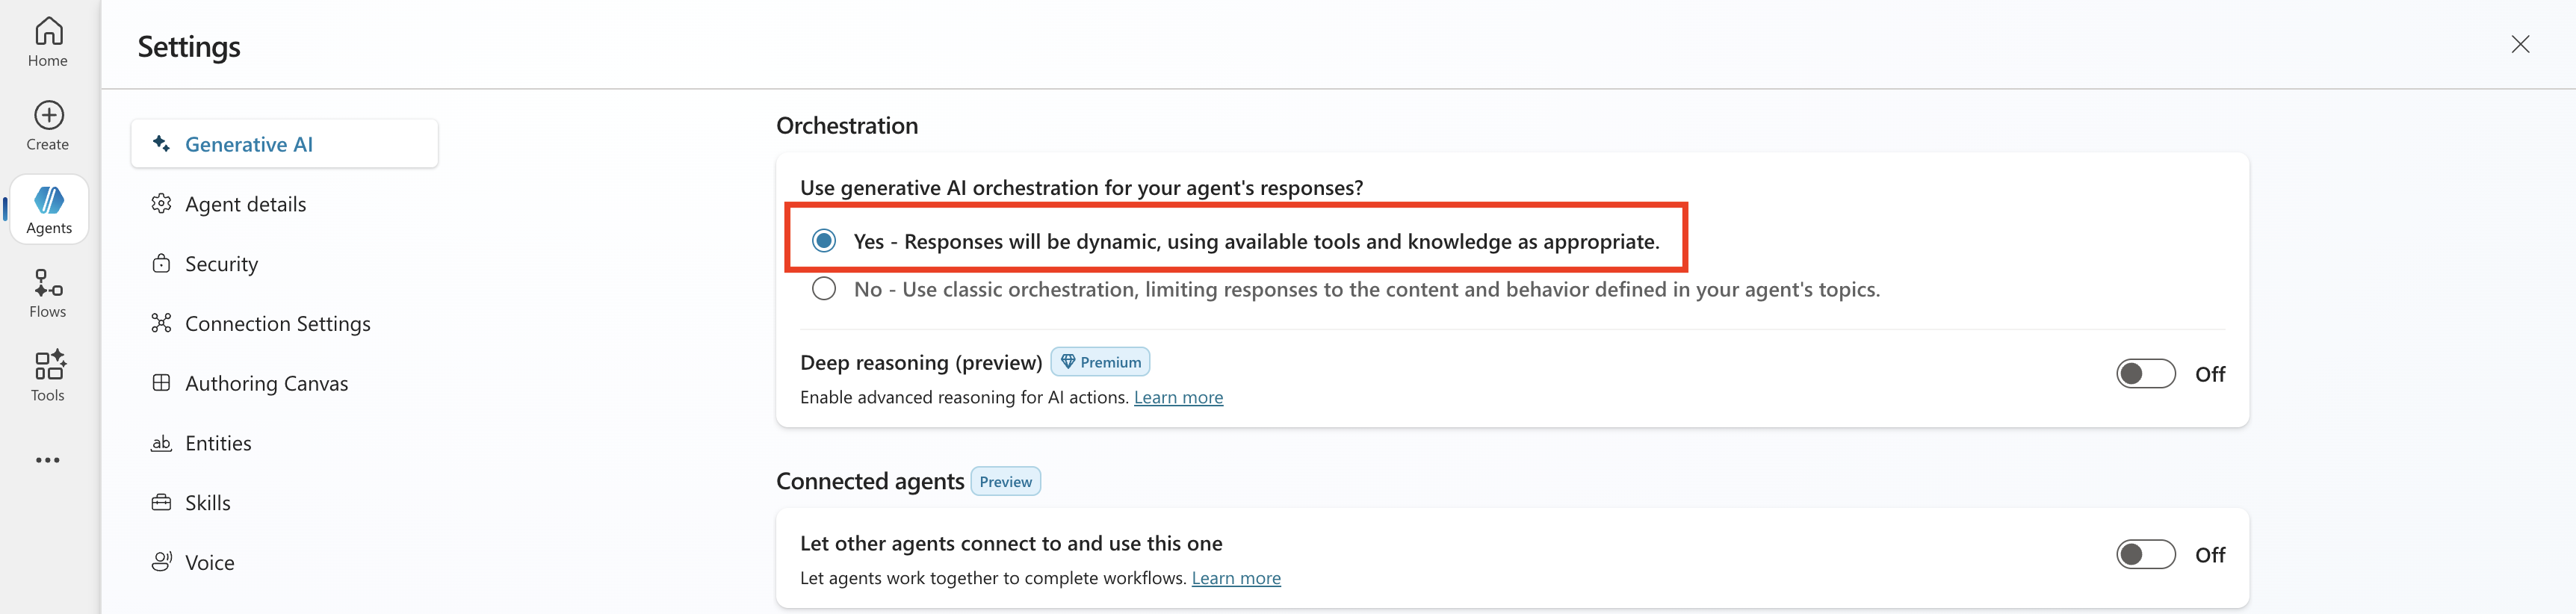
Ensure that you have enabled generative AI orchestration. To do this, select Settings that is located on the top of the chat pane and under Orchestration, select the first one.
You can publish the custom AI agent and then navigate to the Channels to select your desired consumption channel.

Note
The ability to use the custom agent with connected Fabric data agent isn't currently supported in Microsoft 365 Copilot.
To publish to Teams, select Teams and Microsoft 365 Copilot from the list of channels. This opens the window on left. Select Add channel to enable this channel. Once done, the See agent in Teams are active. You can select it, which prompts you to open Microsoft Teams.

This will then launch Microsoft Teams where you can ask questions from the custom AI agent and get answers.


