Note
Access to this page requires authorization. You can try signing in or changing directories.
Access to this page requires authorization. You can try changing directories.
In this tutorial, you configure an open mirrored database in Fabric. This example guides you to create a new open mirrored database and learn how to land data into the landing zone. You'll get proficient with the concepts of open mirroring in Microsoft Fabric.
Prerequisites
- You need an existing capacity for Fabric. If you don't, start a Fabric trial.
- The Fabric capacity needs to be active and running. A paused or deleted capacity will affect Mirroring and no data will be replicated.
Create a mirrored database
In this section, we provide a brief overview of how to create a new open mirrored database in the Fabric portal. Alternatively, you could use the Create mirrored database REST API together with the JSON definition example of open mirroring for creation.
- Use an existing workspace or create a new workspace. From your workspace, navigate to the Create hub. Select Create.
- Locate and select the Mirrored Database card.
- Enter a name for the new mirrored database.
- Select Create.
- Once an Open mirrored database is created via the user interface, the mirroring process is ready. Review the Home page for the new mirrored database item. Locate the Landing zone URL is in the details section of the mirrored database home page.

Start replicating data
Once you've created a mirrored database, start uploading your files. You can upload your initial data and future changed data sets using the Fabric portal or programmatically via the OneLake.
Upload via the Fabric portal
To upload initial data and/or incremental changed data for open mirroring:
Select the Upload files on the home page of the mirrored database.
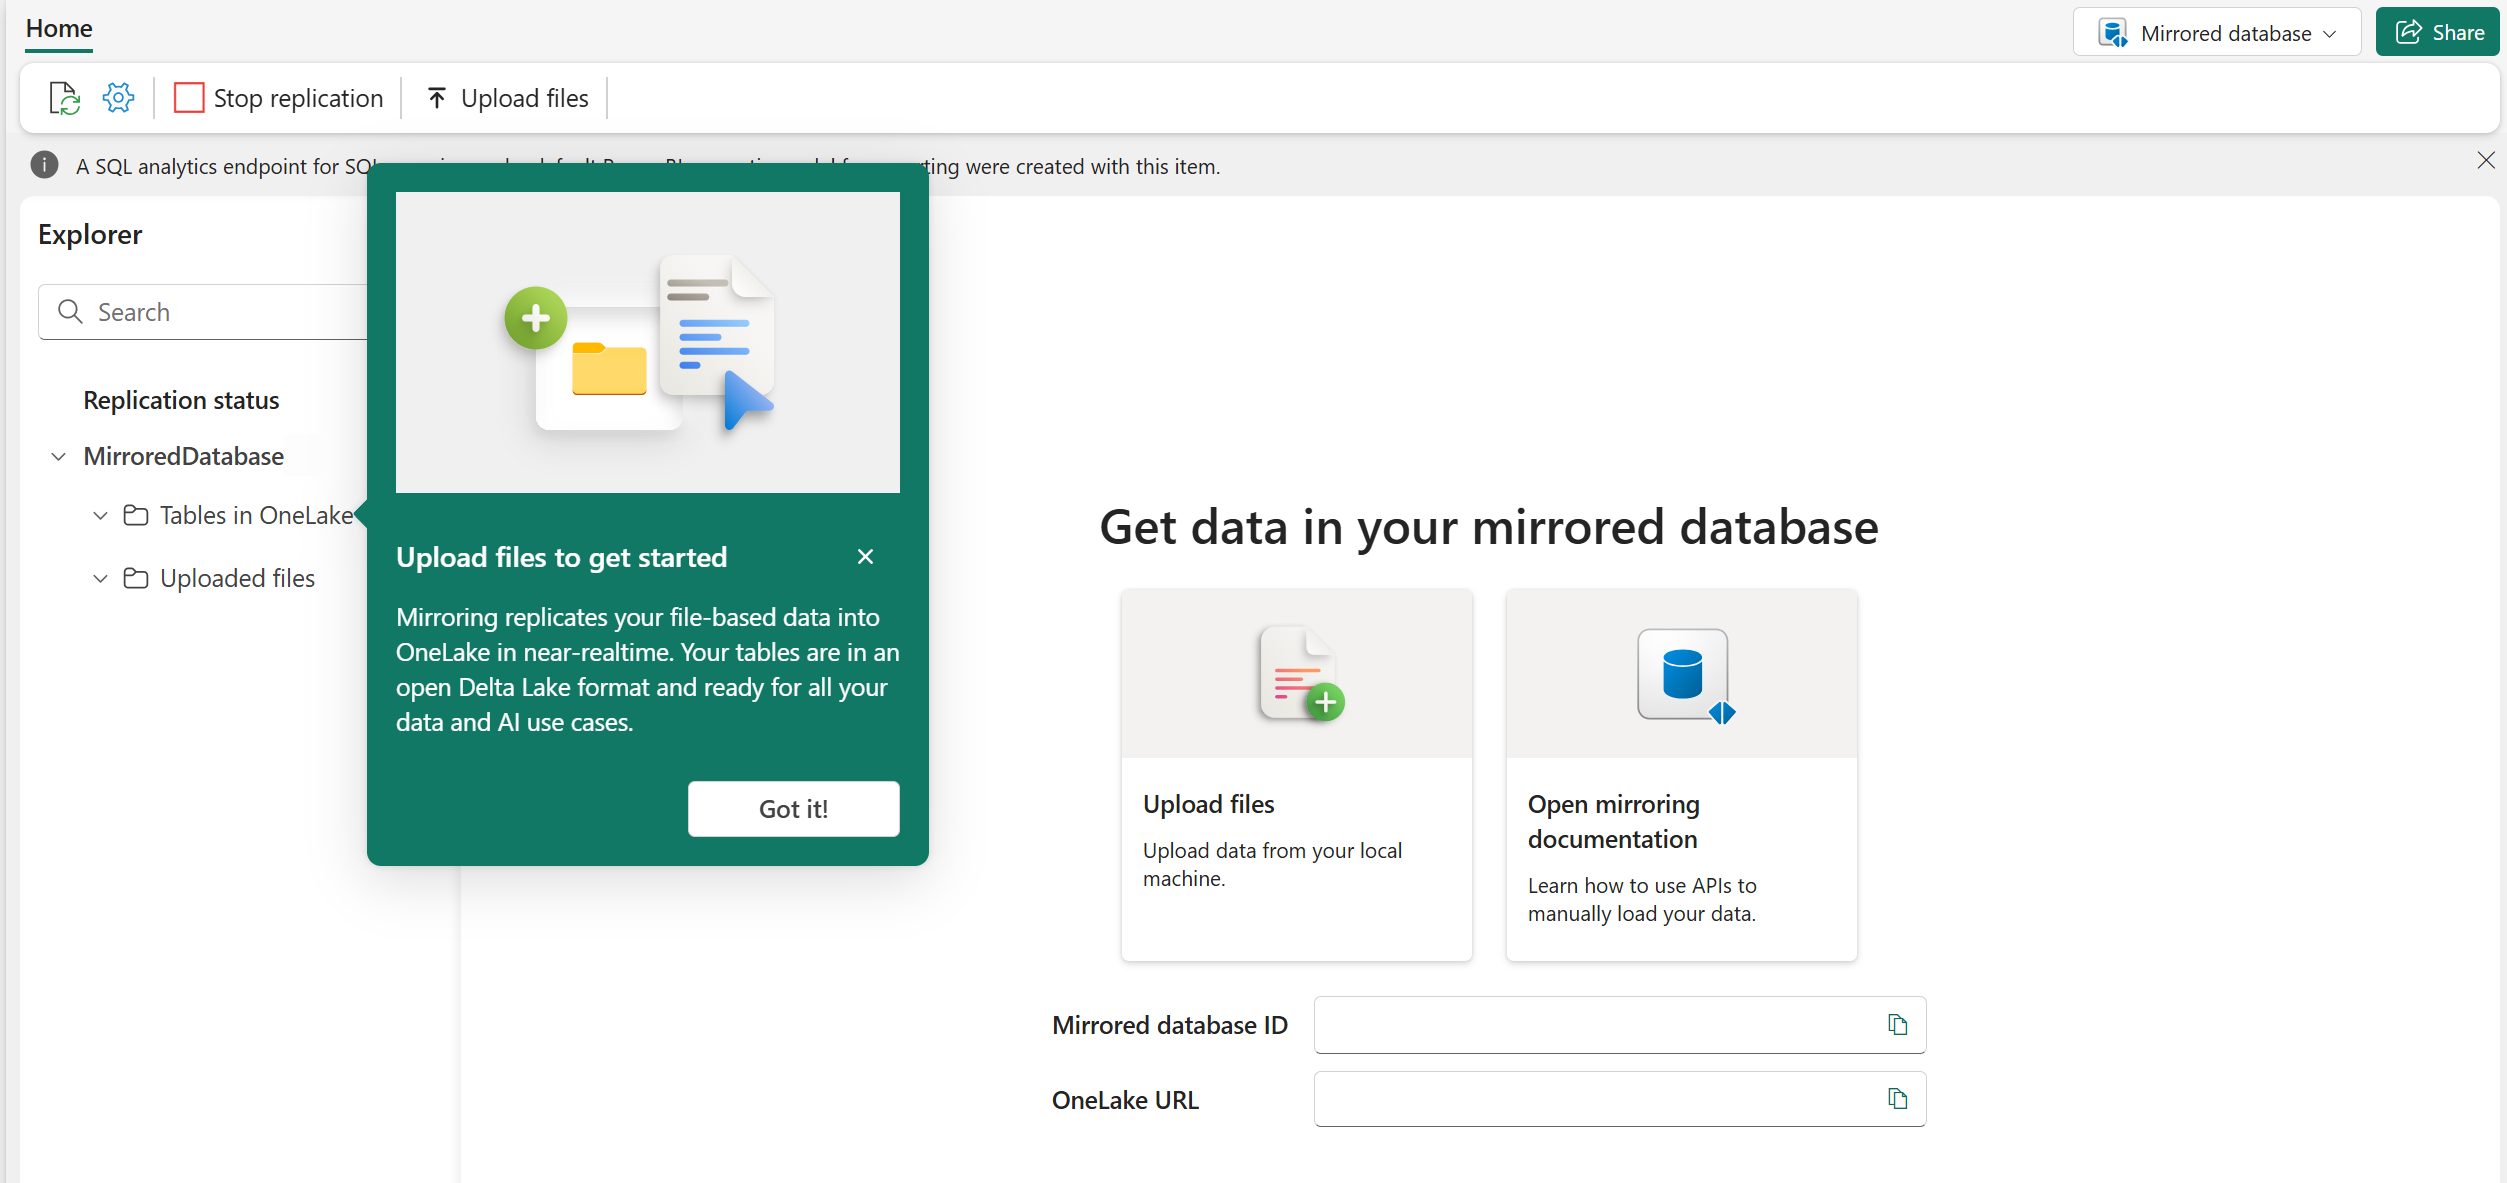
On the Upload files page, upload a file using the upload dialog in the Fabric portal.
Important
The file name of the Parquet or delimited text file needs to match the format and filename documented. For more information, see Open mirroring landing zone requirements and format.
On the Preview data page, you can see a preview of the data you are about to upload. Provide the Table name a name and specify Primary key column(s). Select Create table.
Once uploaded, your data immediately starts to replicate into OneLake. After a few minutes, in the Explorer, you can view the files that have been replicated in OneLake by selecting a file from Uploaded files or a table in Tables in OneLake.
From the Replication status in the Explorer, you can see how many rows have been replicated and any errors associated with the data you are mirroring into OneLake.
If you have changed data in a format for existing tables in your mirrored database, you can upload or drag and drop these change files. The changes are automatically reflected in OneLake.

Write change data into the landing zone using other mechanisms
Your application can now write initial load and incremental change data into the landing zone URL, which is your specific open mirroring path to the OneLake.
- Follow Connecting to Microsoft OneLake to authorize and write to the mirrored database landing zone in OneLake, using the ADLS Gen2 API.
- Review the Open mirroring landing zone requirements and format specifications.
- Use the Open Mirroring Python SDK to get started!
Start mirroring process
- The Configure mirroring screen allows you to mirror all data in the database, by default.
- Mirror all data means that any new tables created after Mirroring is started will be mirrored.
- Optionally, choose only certain objects to mirror. Disable the Mirror all data option, then select individual tables from your database. For this tutorial, we select the Mirror all data option.
- Select Mirror database. Mirroring begins.
- Wait for 2-5 minutes. Then, select Monitor replication to see the status.
- After a few minutes, the status should change to Running, which means the tables are being synchronized. If you don't see the tables and the corresponding replication status, wait a few seconds and then refresh the panel.
- When they have finished the initial copying of the tables, a date appears in the Last refresh column.
- Now that your data is up and running, there are various analytics scenarios available across all of Fabric.
Monitor Fabric Mirroring
Once mirroring is configured, you're directed to the Mirroring Status page. Here, you can monitor the current state of replication.
For more information and details on the replication states, see Monitor Fabric mirrored database replication.