Note
Access to this page requires authorization. You can try signing in or changing directories.
Access to this page requires authorization. You can try changing directories.
An eventhouse allows you to manage multiple databases at once, sharing capacity and resources to optimize performance and cost. It provides unified monitoring and management across all databases and per database. For more information, see Eventhouse overview.
In this article, you learn how to create an eventhouse, add new databases to an eventhouse, rename, and delete an eventhouse.
Prerequisites
Create an eventhouse
Browse to your workspace homepage in Real-Time Intelligence.
Select New > Eventhouse.

Enter a name for the eventhouse. Both an eventhouse and its default child Kusto Query Language (KQL) database are created with the same name. The database name, like all items in Fabric, can be renamed at any time.
Note
The eventhouse name can contain alphanumeric characters, underscores, periods, and hyphens. Special characters aren't supported.
The system overview opens in the main view area of the newly created eventhouse.

Note
Sharing the Eventhouse isn't supported. You can share individual databases only.


Add a new database to an eventhouse
From the explorer, select the New database [+].
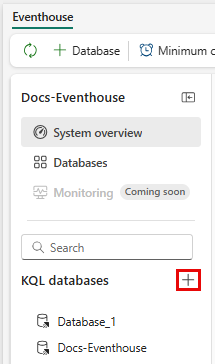
Enter a database name, and select Create.

The Database details page for your new database opens in the main view area.
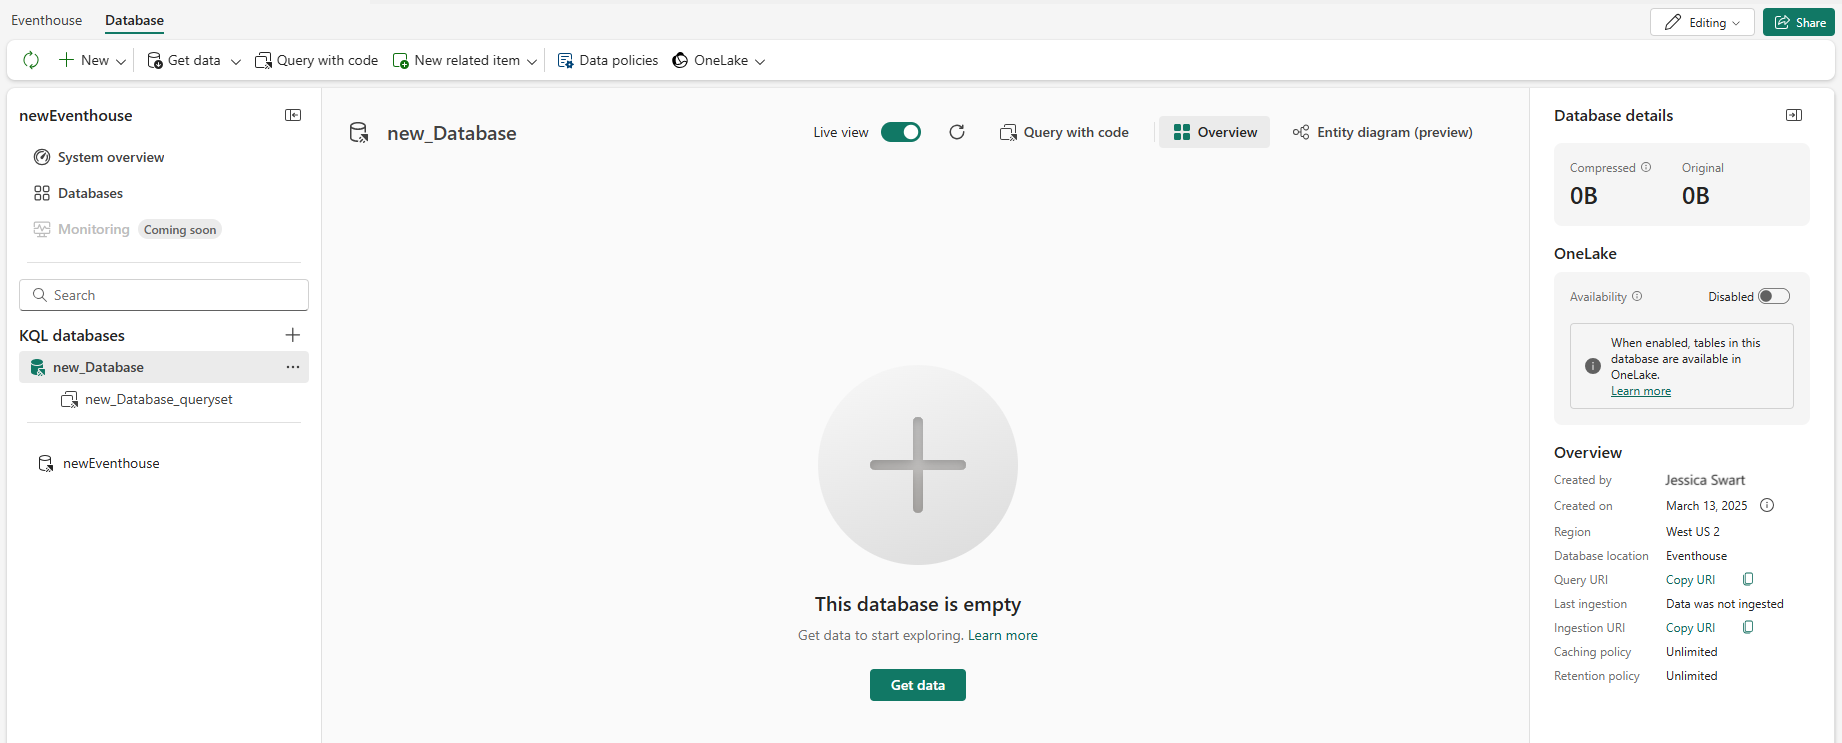

To learn more about creating KQL databases, see Create a KQL database.
Rename an eventhouse
Browse to the eventhouse in your workspace.
Click on the name of the eventhouse in the top left corner.
Enter a new name for the eventhouse.

Share an eventhouse
Sharing a direct link to an eventhouse enables users to access the eventhouse and its components, such as KQL databases and embedded querysets, with the same permissions as the sharer. For more information, see Share an Eventhouse.
Browse to the eventhouse item in your workspace.
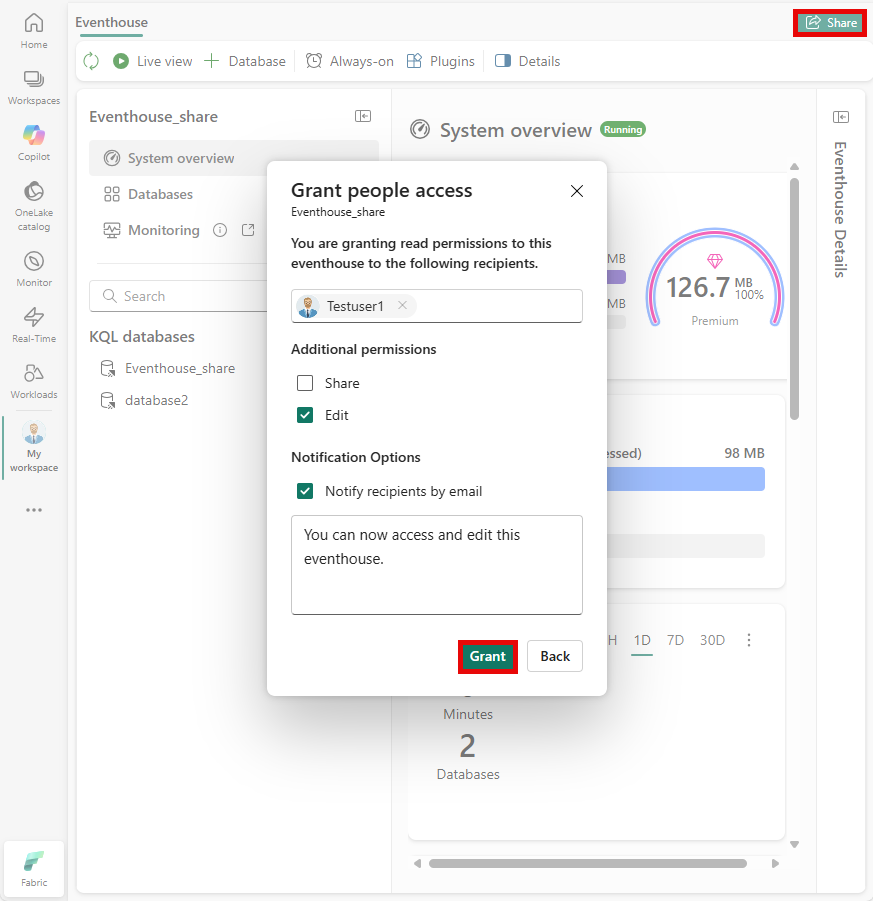
Select Share in the top right corner.
Enter the name or email address of the person you want to share the eventhouse with.
Set additional permissions, if needed.
- Select Share to allow recipients to share the eventhouse link with others.
- Select Edit to let recipients add or modify databases and tables.
Select Notify recipients by email to send an email notification with the shared link. You can also add a message to the email.
Select Grant to share the eventhouse link.

Note
To share a single database, select that database and then use the share a database link option.
Delete an eventhouse
When you delete an eventhouse, both the eventhouse and all its child KQL databases are deleted forever.
Browse to the eventhouse item in your workspace.
Select More menu [...] > Delete.
