Note
Access to this page requires authorization. You can try signing in or changing directories.
Access to this page requires authorization. You can try changing directories.
Form event handlers for Power Apps forms can be configured for the following areas in a form:
| Element | Event | Description |
|---|---|---|
| Form | OnLoad |
Occurs when the form loads. |
OnSave |
Occurs when data is saved. | |
| Tab | TabStateChange |
Occurs when the tab is expanded or collapsed. |
| Column | OnChange |
Occurs when data in the column changes and the control loses focus. |
| IFRAME | OnReadyStateComplete |
Occurs when the content of an IFRAME loads. |
An event handler consists of a reference to a JavaScript web resource and a function defined within that web resource that executes when the event occurs. Each element can have up to 50 separate event handlers configured.
Important
Configuring an event handler incorrectly can result in script errors that might cause the form to fail to load or function correctly. If you aren't the developer of the script, make sure you understand exactly what configuration options the script requires.
Don't configure a script event handler using a library that doesn't come from a source you trust. Scripts can be used to perform any action a user might perform and a poorly written script can significantly damage the performance of a form.
After you configure an event handler, always test it to verify it's working correctly.
Configure an event handler
The following procedure describes how to configure an event handler for a form. Use similar steps to configure an event handler for a tab, column, or IFrame.
Sign in to Power Apps, open the table that you want, and then open the form in the form designer where you want to configure an event handler.
Depending on the library state, choose from the following options:
- If the library containing the function you want to set as the event handler is already available, on the right properties pane under Account Main form, select the Events tab, and then go to step 3.
- If the library containing the function you want isn't already available, select Form libraries on the left navigation pane, and then select Add library:
- On the Add JavaScript Library page, select New.
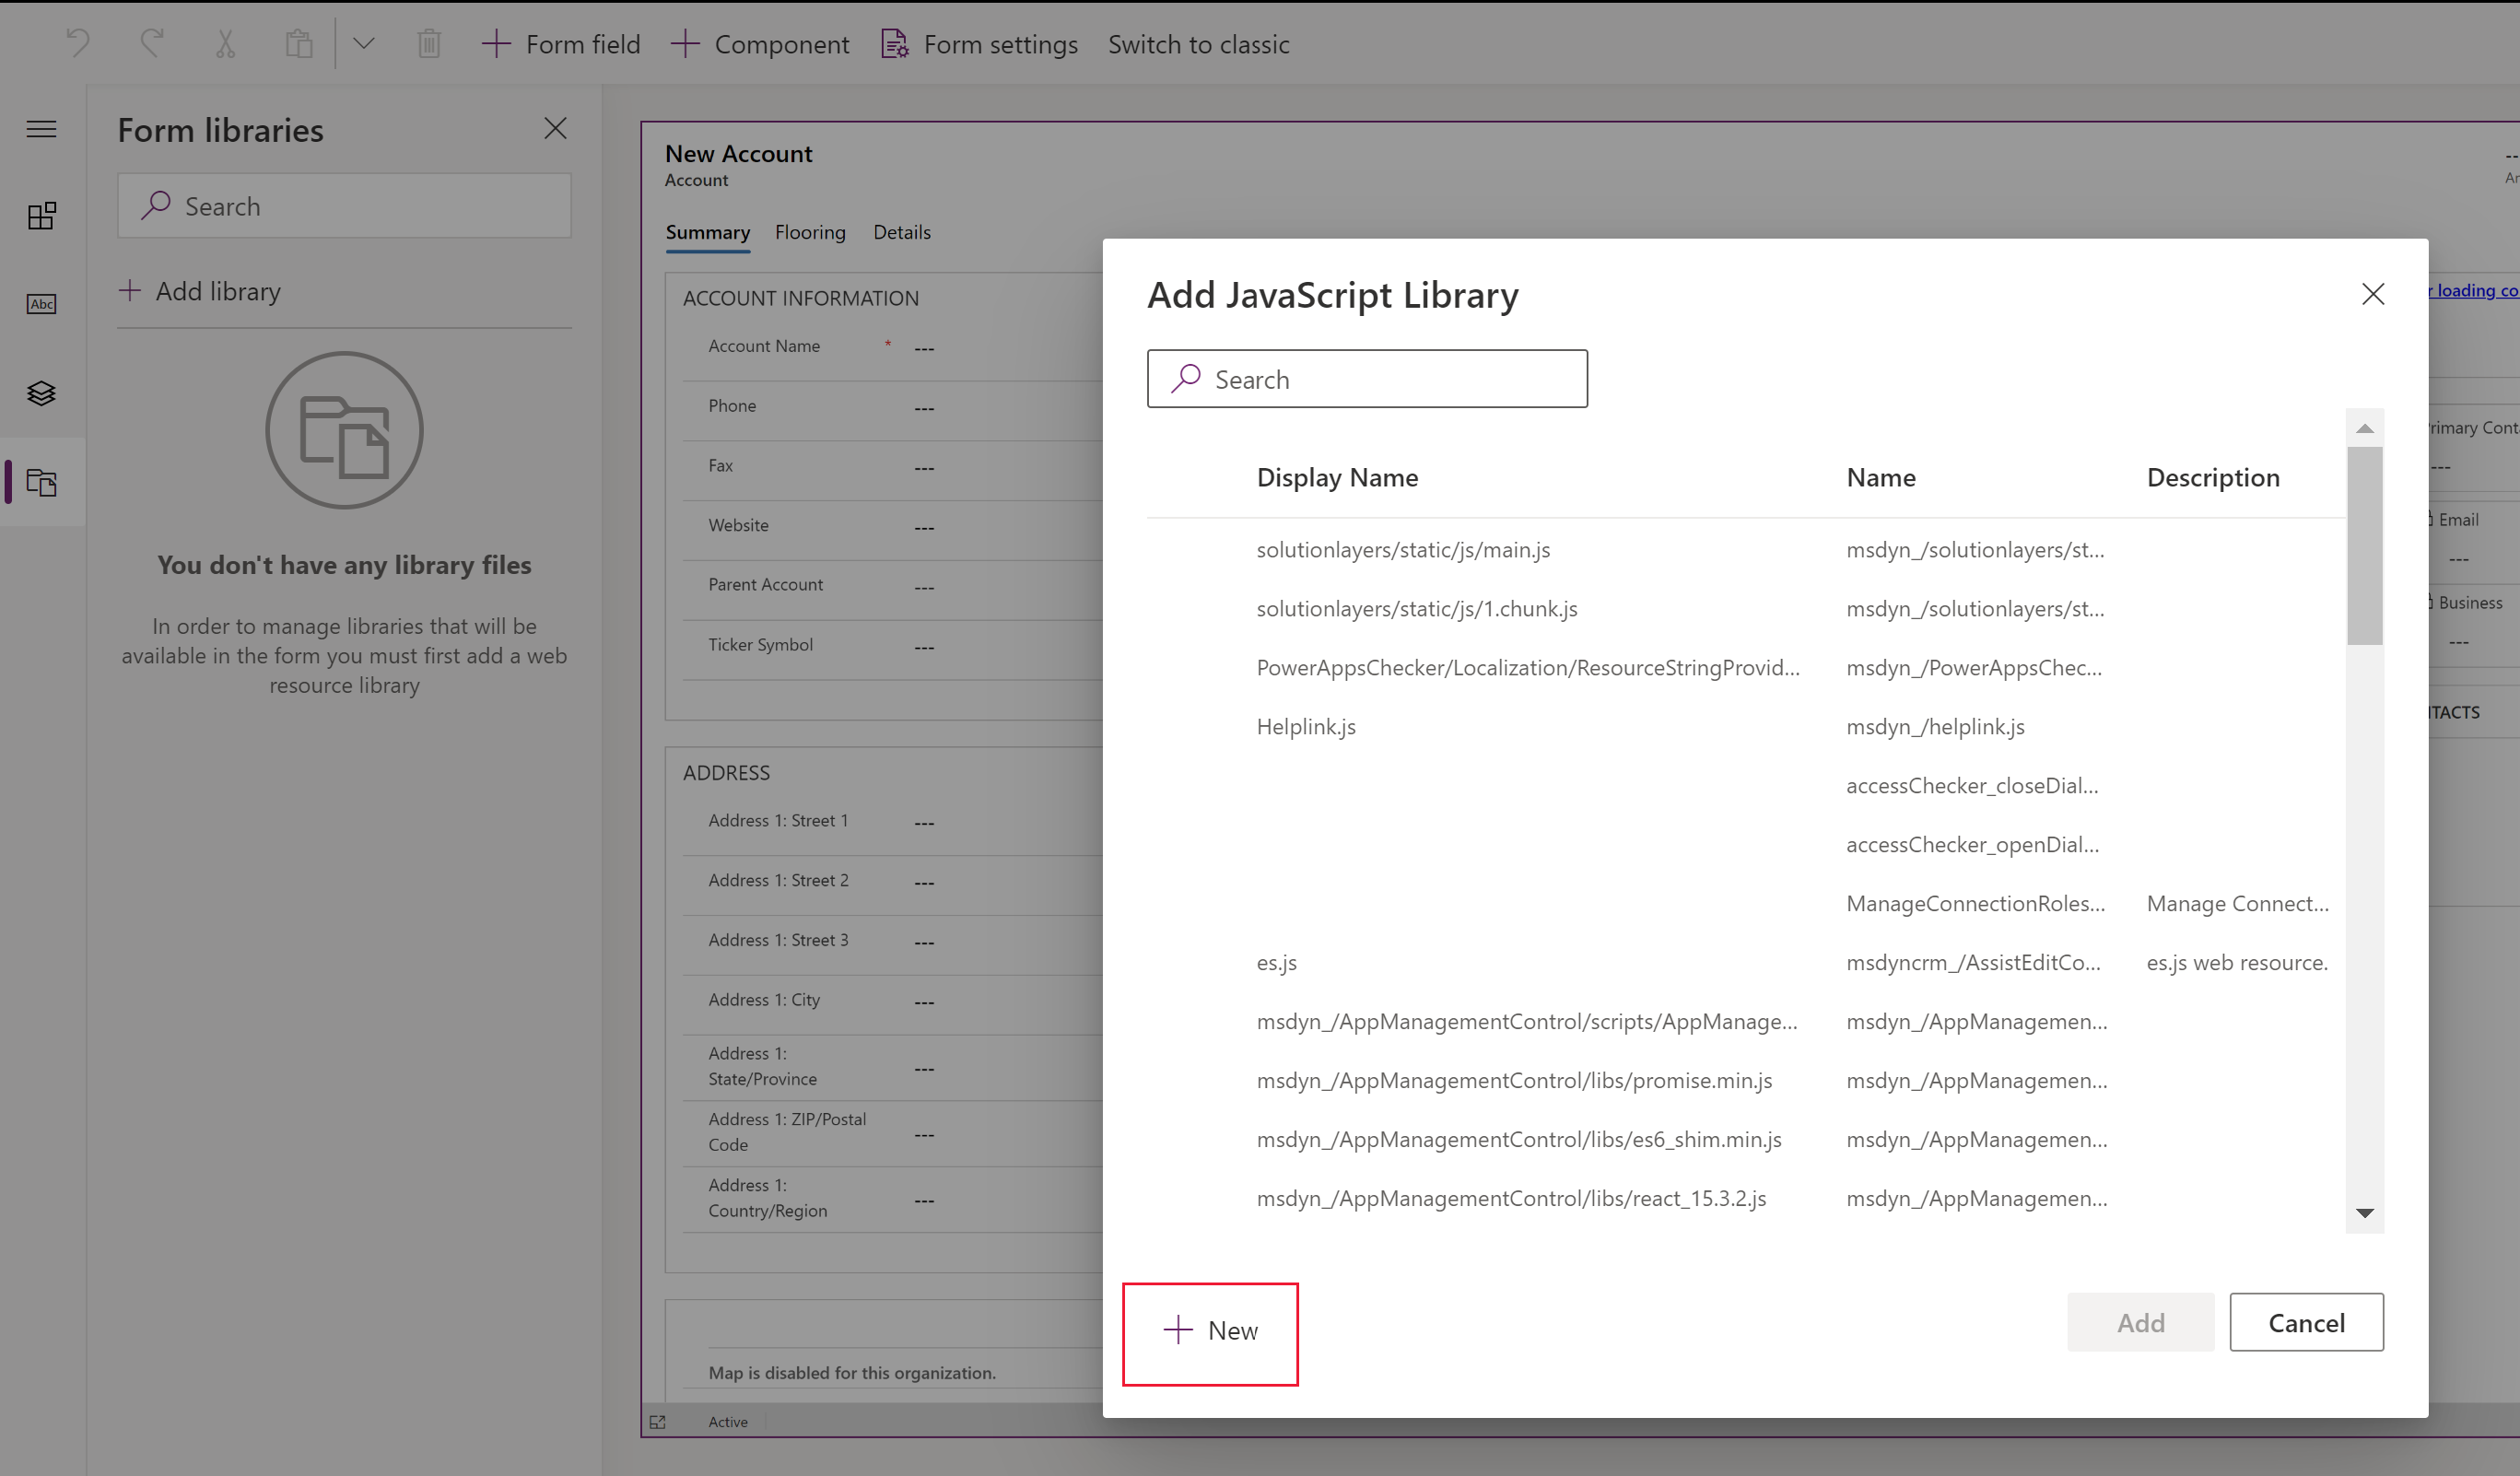
- In the new browser tab, complete the properties to create the JScript web resource, and then select Save, and then select Publish. More information: Create a JavaScript web resource
- Close the browser tab and go back to the Add JavaScript Library list.
- Select the JavaScript web resource from the list, select Add, and then select the Events tab.
Note
You might have to select Cancel, and then select Add library to refresh the list.
- On the Add JavaScript Library page, select New.
On the Events tab, select Event Handler and complete the following information to configure the form event, and then select Done:
Event Type:
- On Save: When a record is saved after a form field change.
- On Load: When the form opens.
Library: The JavaScript web resource.
Function: The name of the function within the JavaScript web resource that should be executed for the event.
Enabled: By default, the event handler is enabled. Clear the Enabled checkbox if you don’t want to enable this event.
Pass execution context as the first parameter: Some functions require an execution context to be passed to the function. Select Pass execution context as the first parameter if it's required.
Comma-separated list of parameters that will be passed to the function: Some functions can accept a set of parameters to control the behavior of a function. The list of parameters can include variables or another function as accepted by the function parameters allowed by the JavaScript scripting language. If passing in parameters is required, enter them in the Comma separated list of parameters that will be passed to the function.
Table column dependencies: For On Save events, select the columns where you want the event to be triggered after a record save.

Save, and then Publish the form.
Example hello world for the onload event
This simple example demonstrates how to configure an onload form event using parameter passing of a single defined variable in the event handler, which displays an alert when the form loads.
- Create the web resource using the Hello world JavaScript sample. More information: Create or edit model-driven app web resources to extend an app
- Open the table Main form for editing in the form designer. This example uses the Student custom table main form.
- On the left Information pane, select the Events tab.
- Select Add library, select the web resource you created (in this example the resource is named javascript-hello-world), and then select Add.

- Select On Load to expand it, and then select Event Handler.
- In the Configure Event pane, enter the Function name (in this example, helloworld), and then in the Comma separated list of parameters that will be passed to the function box enter a parameter such as
n = "Hello world!".
- Select Done.
- Save and publish the form.

Test the event by playing a model-driven app that includes the form. When the main form loads, an alert displays the modal dialog message "Hello world!" For this example, the user must select OK to dismiss the alert to continue using the form.

Hello world JavaScript sample
function helloworld(n) {
alert(n);
}
Configure an event handler using the classic experience
In the classic form editor, select the element with the event you want to configure a handler for.
On the Home tab, in the Edit group, select Change Properties or simply double-click the element.
In the element properties dialog, select the Events tab.
Expand the Form Libraries area. If the library containing the function you want to set as the event handler isn't already listed, add the library.
To add a form library to an event handler:
In the Form Libraries section of the Event List, select Add.
Locate the JavaScript web resource in the list of available web resources. Select it and then select Add.
If the JavaScript web resource you need doesn't exist, select New to open a new web resource form and create one.
To create a JavaScript web resource, see Create a JavaScript web resource.
The web resource you created is now selected in the Look Up Row dialog. Select Add to close the dialog.
In the Event Handlers section, select the event you want to set an event handler for.
Select Add to open the Handler Properties dialog.
On the Details tab, choose the appropriate library and type the name of the function that should be executed for the event.
By default the event handler is enabled. Clear the Enabled checkbox if you do not want to enable this event.
Some functions require an execution context to be passed to the function. Select Pass execution context as the first parameter if it's required.
Some functions can accept a set of parameters to control the behavior of a function. If these are required, enter them in the Comma-separated list of parameters that will be passed to the function.
On the Dependencies tab, add any columns that the script depends on into the Dependent Columns area.
Select OK to close the Handler Properties dialog.
When the event handler is entered, you can adjust the order in which the function is executed relative to any other functions by using the green arrows to move it up or down.
Select OK to close the element properties dialog.
Select Save to save your changes. Select Publish to publish the form.
Note
While the user interface (UI) lets you adjust the order in which the scripts are loaded by using the up and down green arrows, the scripts are actually not loaded sequentially.
Create a JavaScript web resource
In the web resource form set the following properties:
Property Value Name Required. Type the name of the web resource. Display Name Required. Type the name to be displayed in the list of web resources. Description Optional. Type a description of the web resource. Type Required. Select Script (JScript). Language Optional. Choose one of the languages available for your organization. If you have been provided with a script, we highly recommend that you use the Browse button to locate the file and upload it.
Alternatively, you can select the Text Editor button and paste or type the contents of the script in the Edit Content dialog.
Note
Because this simple text editor doesn't provide any features to check the correctness of the script, generally you should always try to use a separate application like Visual Studio to edit scripts, and then upload them.
- Select Save and close the web resource page.
Next steps
Walkthrough: Write your first client script
Use the Main form and its components