Note
Access to this page requires authorization. You can try signing in or changing directories.
Access to this page requires authorization. You can try changing directories.
Visual Studio Code is a lightweight, powerful source code editor for Windows, macOS, and Linux. It supports JavaScript, TypeScript, and Node.js and has a rich ecosystem of extensions for other languages like C++, C#, Java, Python, PHP, and Go, and runtimes like .NET and Unity. Learn more about Visual Studio Code in Get started with VS Code.
Visual Studio Code allows you to extend your capability through extensions. Visual Studio Code extensions can add more features to the overall experience. With the release of this feature, you can now use the Visual Studio Code extension to work with Power Pages.
Visual Studio Code extension for Power Pages
The Power Platform Tools adds the capability to configure websites using Visual Studio Code, and use the built-in Liquid language IntelliSense enabling help with code completion, assistance, and hinting while customizing websites interface using Visual Studio Code. Using the Visual Studio Code extension, you can also configure portals through the Microsoft Power Platform CLI.
Note
- You need to ensure that node.js is downloaded and installed on the same workstation as Visual Studio Code for the Power Pages features to work.
- Make sure that only Power Platform Tools are installed and not both Power Platform Tools and Power Platform Tools [PREVIEW]. See known issues for details.

Prerequisites
Before using the Visual Studio Code extension for Power Pages, you must:
Download, install, and configure Visual Studio Code. More information: Download Visual Studio Code
Configure your environment and system for Power Pages CI/CD support using CLI. More information: Microsoft Power Platform CLI (preview)
Install Visual Studio Code extension
After you install Visual Studio Code, you need to install the extension for the Power Platform tools plug-in for Visual Studio Code.
To install the Visual Studio Code extension:
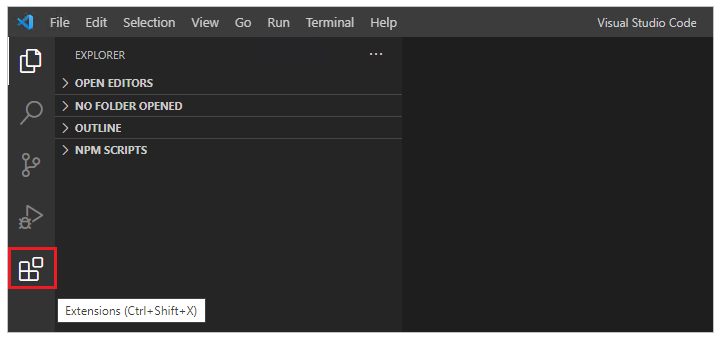
Open Visual Studio Code.
Select Extensions from the left pane.
Select the Settings icon from the top-right on the extensions pane.
Search for and select Power Platform Tools.
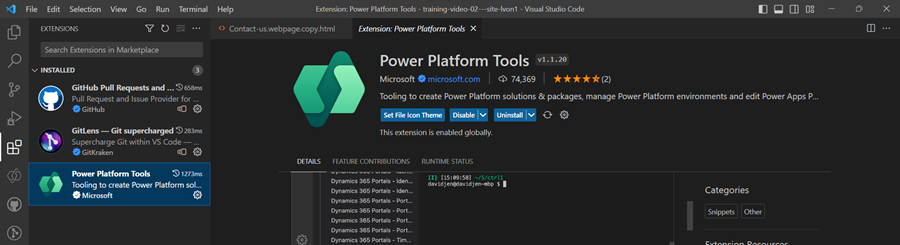
Select Install.
Verify the extension is installed successfully from the status messages.
Tip
The Power Platform Tools Extension automatically enables using Microsoft Power Platform CLI commands from within Visual Studio Code through Visual Studio Integrated Terminal.
Power Pages Actions
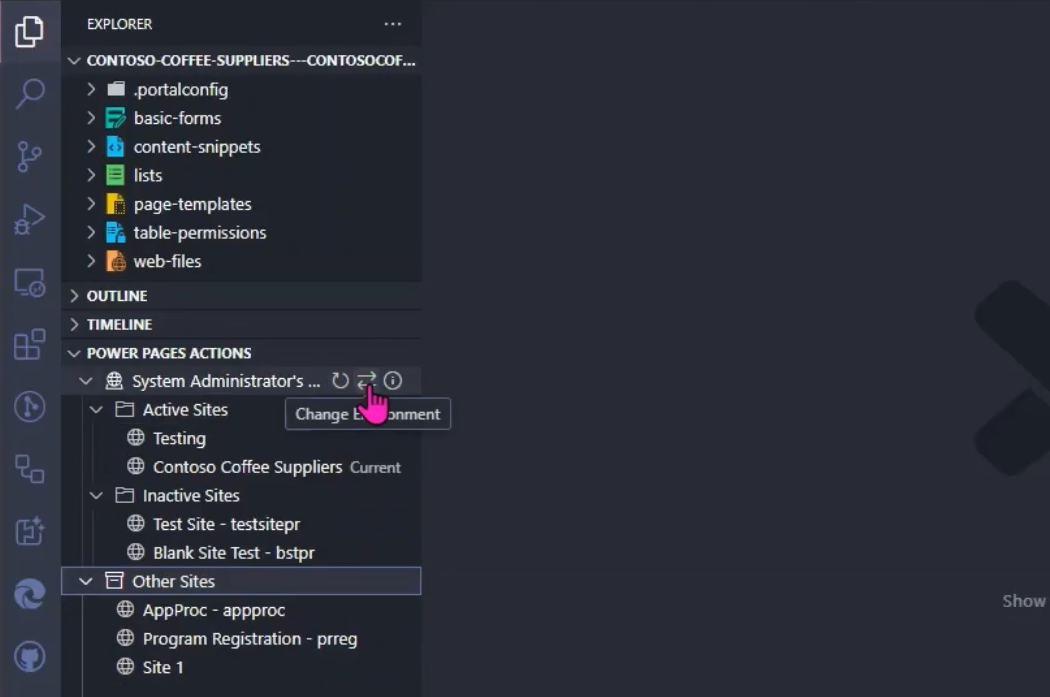
Power Pages Actions streamline site management and reduce reliance on Microsoft Power Platform CLI commands. Power Pages Actions is available in the pane titled Power Pages Actions in the Explorer sidebar of Visual Studio Code.
Within this pane, sites are categorized as follows:
- Active Sites: Sites that are currently available and active in the selected environment.
- Inactive Sites: Sites that are present in the environment but not currently active.
- Other Sites: Sites downloaded locally but not yet associated with the selected environment.
Changing environments
To switch environments:
Select on the Change Environment button within the Power Pages Actions pane.
Select your desired environment from the displayed list.
When you select an environment, the list of sites updates automatically.
Actions for sites
Different types of sites provide context-specific actions that you can access by right-clicking.
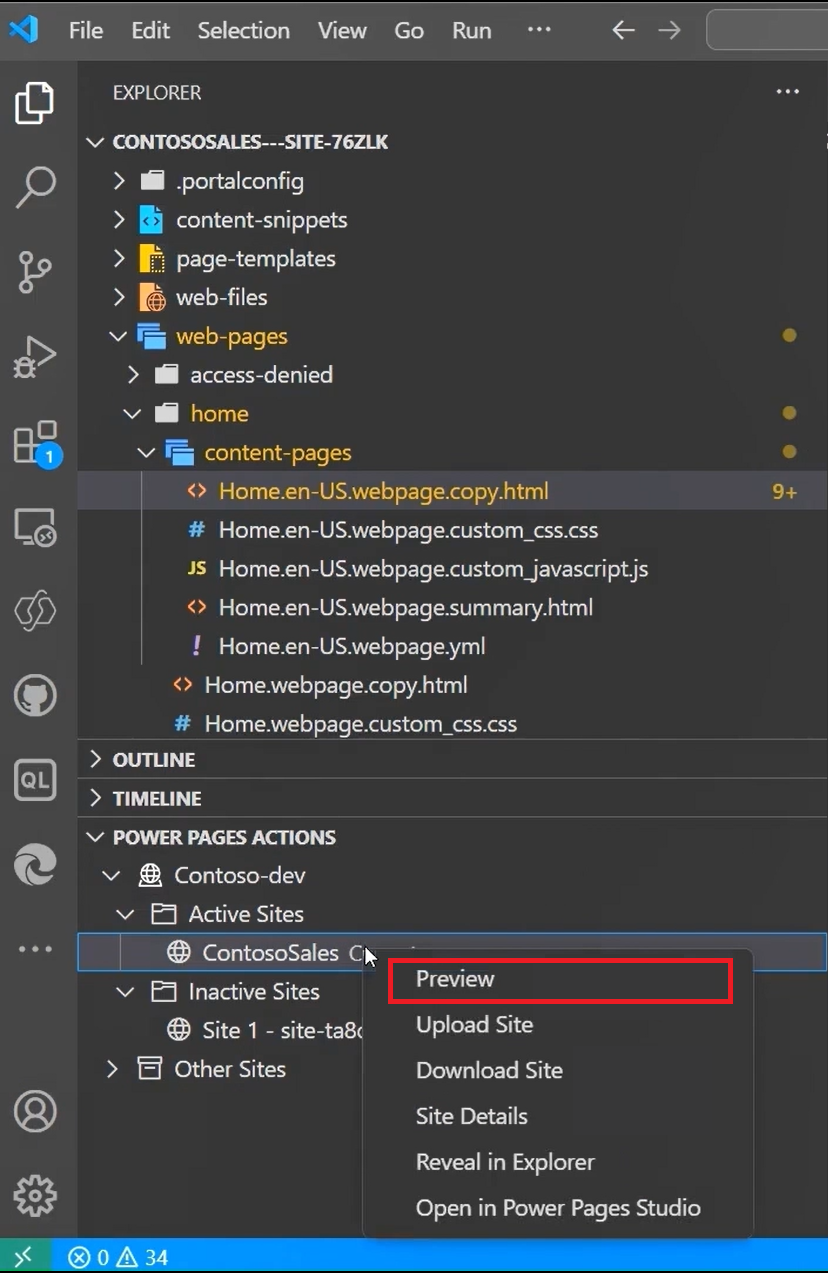
Active Sites actions
Right-click on Active Sites to access the following actions:
- Preview: Clears the cache and opens the site within VS Code for immediate preview.
- Upload: Uploads local changes back to your environment.
- Download: Downloads the site content to a local folder for offline editing.
- Site Details: Displays detailed information about the site.
- Reveal in Explorer: Navigates to the local directory containing the site's code.
- Open in Power Pages Studio: Opens the site in Power Pages studio.
Inactive Sites actions
Inactive Sites provide these actions:
- Open Site Management: Opens the site within the Power Pages management application.
- Site Details: Provides detailed information about the selected site like website ID, website URL, data model version and more.
Other Sites actions
Sites stored locally but not yet in your environment offer the following actions:
- Upload Site: Uploads the local site to your connected environment. After uploading, the site appears in the Inactive Sites list, where you can activate it from Power Pages home.
- Reveal in Explorer: Navigates to the local directory containing the site's code.
File icons
The Visual Studio Code extension for Power Pages automatically identifies and shows icons for files and folders inside the downloaded website content.
![]()
Visual Studio Code uses the default file icon theme which doesn’t show Power Pages specific icons. To view file icons specific to your websites, you have to update the Visual Studio Code instance to use the Power Pages specific file icon theme.
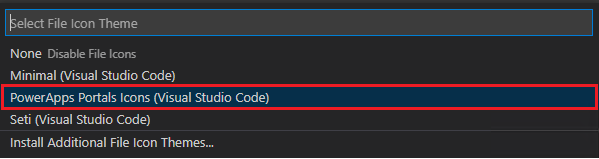
To enable a portals-specific file-icon theme:
Open Visual Studio Code.
Go to File > Preferences > Theme > File Icon Theme
Select the theme for PowerApps portals Icons.
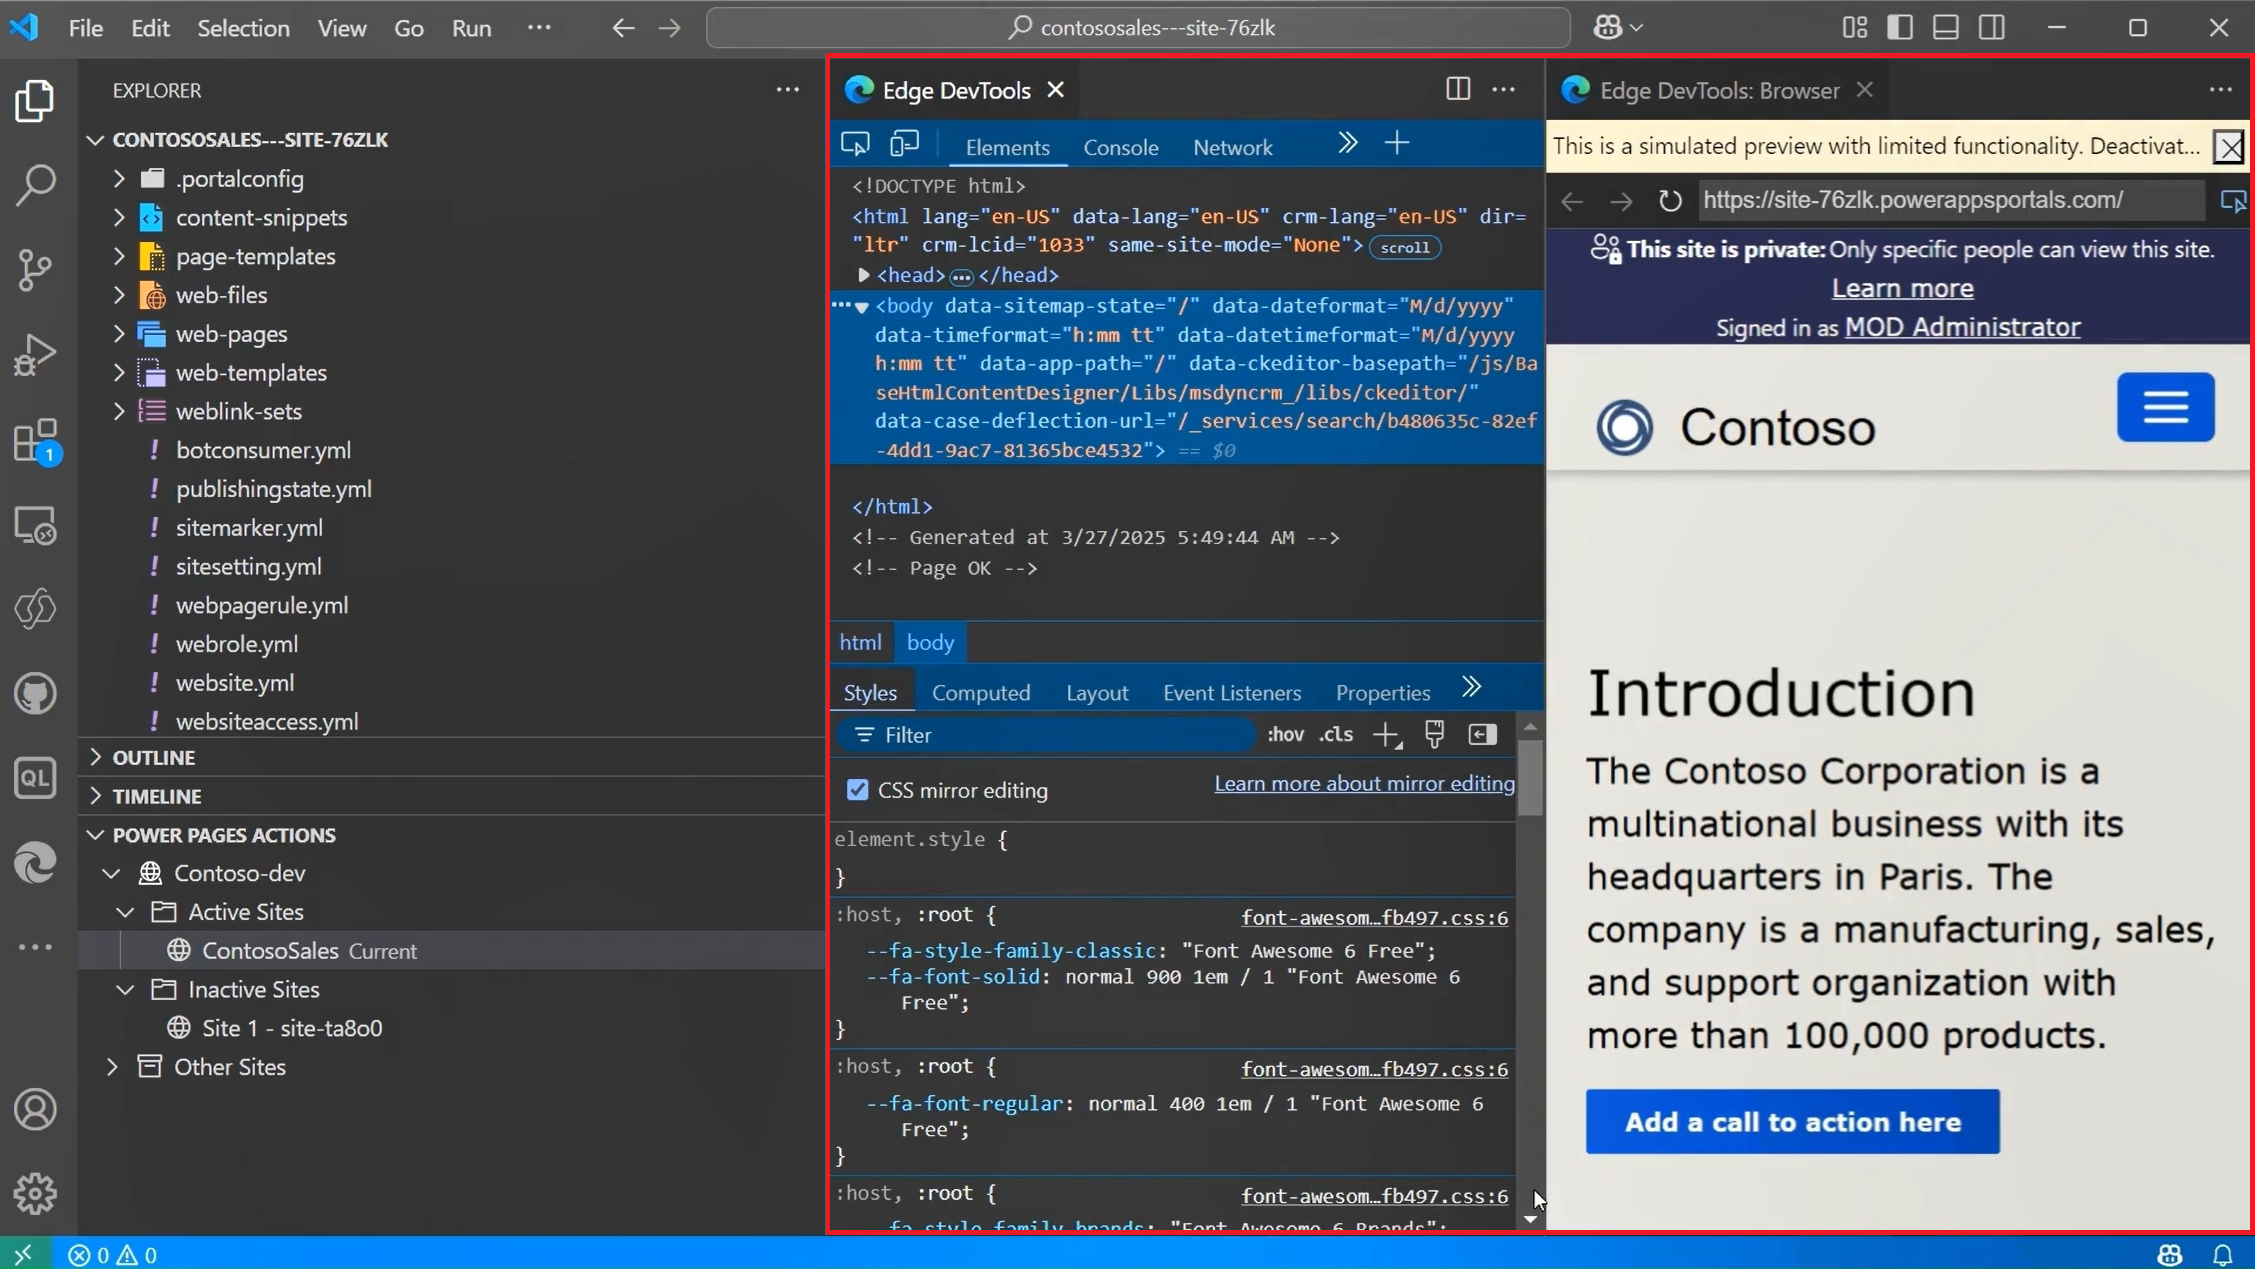
Site preview
The preview action uses the Microsoft Edge DevTools extension for Visual Studio Code to provide an in-editor site preview. This feature runs Microsoft Edge DevTools and an embedded Microsoft Edge browser with device emulation right inside VS Code, giving you nearly all of the same debugging and inspection capabilities found in the full Microsoft Edge DevTools.
The preview always shows the changes you uploaded to your site, so ensure you push any local edits before opening it. Each time you launch the preview, the site cache clears automatically to ensure you view the most recent updates.
To open the preview, right-click your active site under Power Pages Actions, and select Preview. This action opens the embedded Microsoft Edge browser pointing to your chosen site.
The preview pane opens on the right side.
Autocomplete
The autocomplete capability in the Visual Studio Code extension shows the current context being edited, and the relevant autocomplete elements through IntelliSense.

Liquid tags
When customizing downloaded content using Visual Studio Code, you can now use IntelliSense for Power Pages Liquid tags.
Start typing to see a list of Liquid tags. Select a tag to format it correctly and continue with your input.
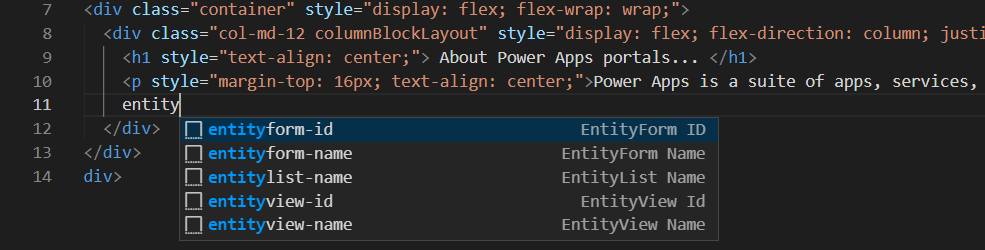
Liquid objects
You can see Liquid object code completions by entering {{ }}. With the cursor placed between the brackets, select <CTRL + space> to display a list of Liquid objects that you can select. If the object has more properties, you can enter a . and then select <CTRL + space> again to see specific properties of the Liquid object.
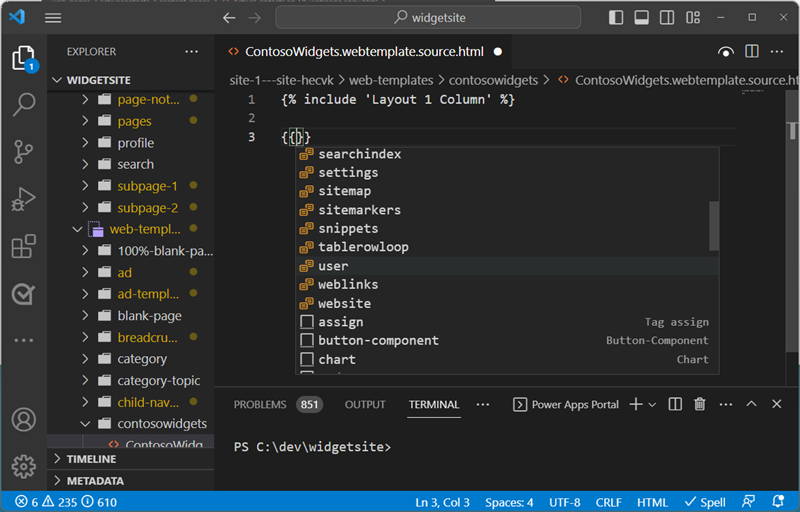
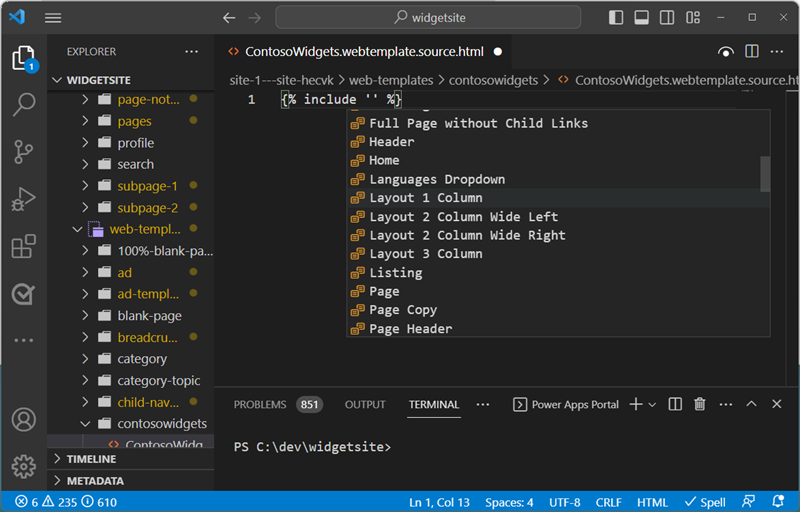
Template tags
You can see Power Pages web template suggestions by place your cursor in the {include ' '} statement and select <CTRL> - space. A list of existing web templates appear for you to select.
Create, delete, and rename website objects
From within Visual Studio Code, you're able to create, delete, and rename the following website components:
- Web pages
- Page templates
- Web templates
- Content snippets
- New assets (Web files)
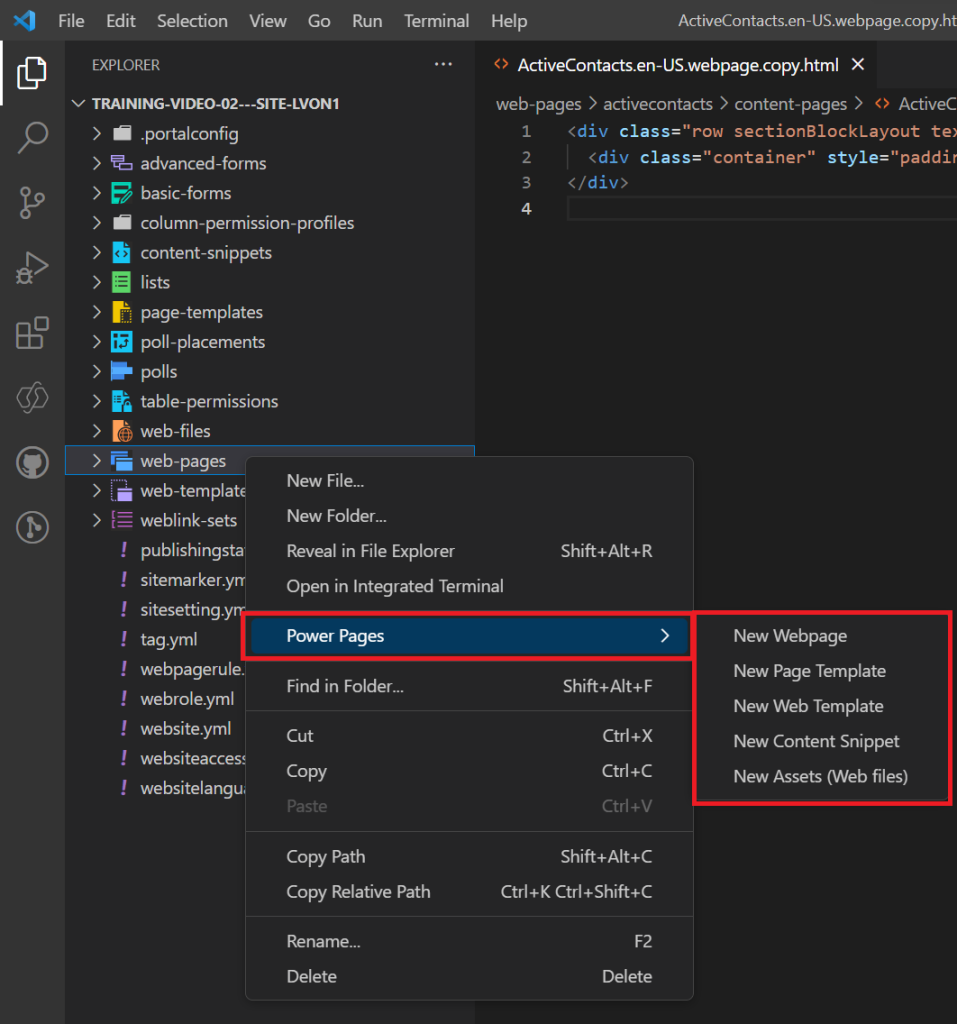
Create operations
You can use the context menu options to create new website components. Right-click one of the supported objects, choose Power Pages, and select the website object type you wish to create.
Alternatively, you can use the Visual Studio Code command palette by selecting Ctrl + Shift + P.
You need to specify more parameters to create the object.
| Object | Parameters |
|---|---|
| Web pages | Name, page template, parent page |
| Page templates | Name, web template |
| Web templates | Name |
| Content snippets | Name, and if the snippet will be HTML or text. |
| New assets (Web files) | Name, parent page, and select file to upload. |
Rename and delete operations
From the file navigation, you can use the context menu to rename or delete Power Pages components.
Note
Deleted objects can be restored from the desktop recycle bin.
Limitations
The following limitations currently apply to the Power Platform Tools for portals:
- Autocomplete features only support limited functionality.
Related information
Power Pages support for Microsoft Power Platform CLI (preview)