Applies to:✅ Warehouse in Microsoft Fabric
Data pipelines offer an alternative to using the COPY command through a graphical user interface. A data pipeline is a logical grouping of activities that together perform a data ingestion task. Pipelines allow you to manage extract, transform, and load (ETL) activities instead of managing each one individually.
In this tutorial, you'll create a new pipeline that loads sample data into a Warehouse in Microsoft Fabric.
Note
Some features from Azure Data Factory are not available in Microsoft Fabric, but the concepts are interchangeable. You can learn more about Azure Data Factory and Pipelines on Pipelines and activities in Azure Data Factory and Azure Synapse Analytics. For a quickstart, visit Quickstart: Create your first pipeline to copy data.
Create a data pipeline
To create a new pipeline navigate to your workspace, select the +New button, and select Data pipeline.

새 파이프라인을 만들려면 작업 영역으로 이동하여 + 새 항목 단추를 선택하고 데이터 파이프라인선택합니다.
- 작업 공간에서 + 새 항목을 선택하고, 데이터 가져오기 섹션에서 데이터 파이프라인 카드를 찾아보세요.
- Or, select Create in the navigation pane. Look for the Data pipeline card in the Data Factory section.
In the New pipeline dialog, provide a name for your new pipeline and select Create.
시작 옵션이 표시되는 파이프라인 캔버스 영역에 도착합니다.

Pick the Copy data assistant option to launch the Copy assistant.
The first page of the Copy data assistant helps you pick your own data from various data sources, or select from one of the provided samples to get started. 이 페이지 상단의 메뉴 모음에서 샘플 데이터을 선택하세요. For this tutorial, we'll use the COVID-19 Data Lake sample. Select this option and select Next.
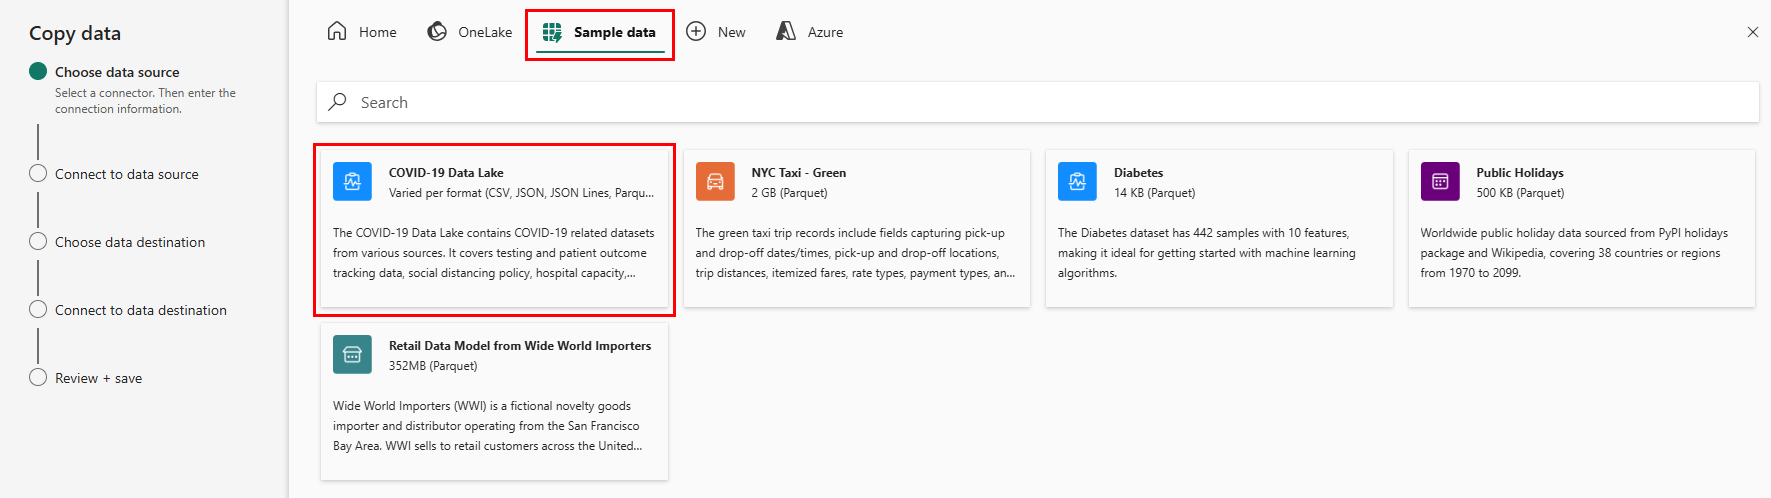
In the next page, you can select a dataset, the source file format, and preview the selected dataset. Select Bing COVID-19, the CSV format, and select Next.

The next page, Data destinations, allows you to configure the type of the destination workspace. 작업 영역의 웨어하우스에 데이터를 로드합니다. Select your desired warehouse in the dropdown list and select Next.
The last step to configure the destination is to provide a name to the destination table and configure the column mappings. Here you can choose to load the data to a new table or to an existing one, provide a schema and table names, change column names, remove columns, or change their mappings. You can accept the defaults, or adjust the settings to your preference.

When you're done reviewing the options, select Next.
다음 페이지에서는 스테이징을 사용할 옵션이나 T-SQL COPY 명령을 사용하는 데이터 복사 작업에 대한 고급 옵션을 제공합니다. 옵션을 변경하지 않고 검토한 후 다음선택합니다.
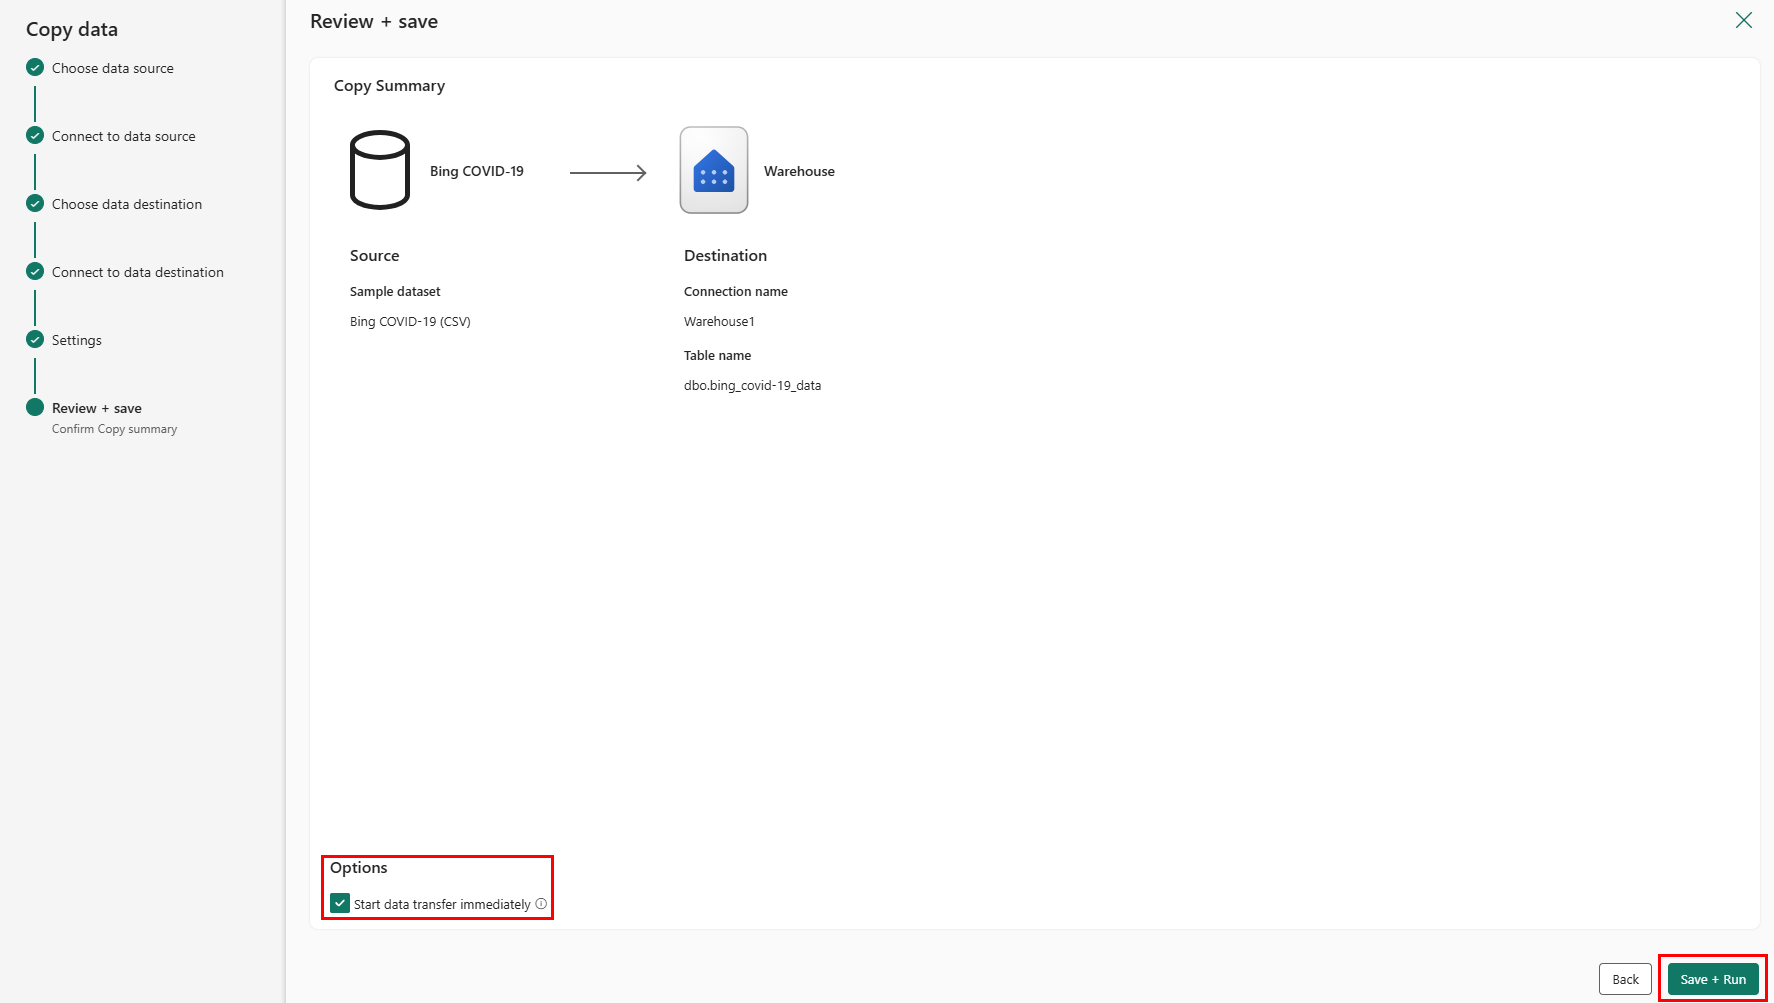
The last page in the assistant offers a summary of the copy activity. Select the option Start data transfer immediately and select Save + Run.
You are directed to the pipeline canvas area, where a new Copy Data activity is already configured for you. The pipeline starts to run automatically. You can monitor the status of your pipeline in the Output pane:

After a few seconds, your pipeline finishes successfully. Navigating back to your warehouse, you can select your table to preview the data and confirm that the copy operation concluded.


For more on data ingestion into your Warehouse in Microsoft Fabric, visit:
- Ingesting data into the Warehouse
- Ingest data into your Warehouse using the COPY statement
- Ingest data into your Warehouse using Transact-SQL