Note
Access to this page requires authorization. You can try signing in or changing directories.
Access to this page requires authorization. You can try changing directories.
This article details how to register Azure Local using Azure Arc gateway and with the proxy configuration enabled. Once you create an Arc gateway resource in your Azure subscription, you can enable the Arc gateway features.
Configure proxy with a script: Using this method, you can configure Arc proxy with a script. This method is useful as you don't need to configure the Arc proxy across WinInet, WinHttp, or environment variables manually.
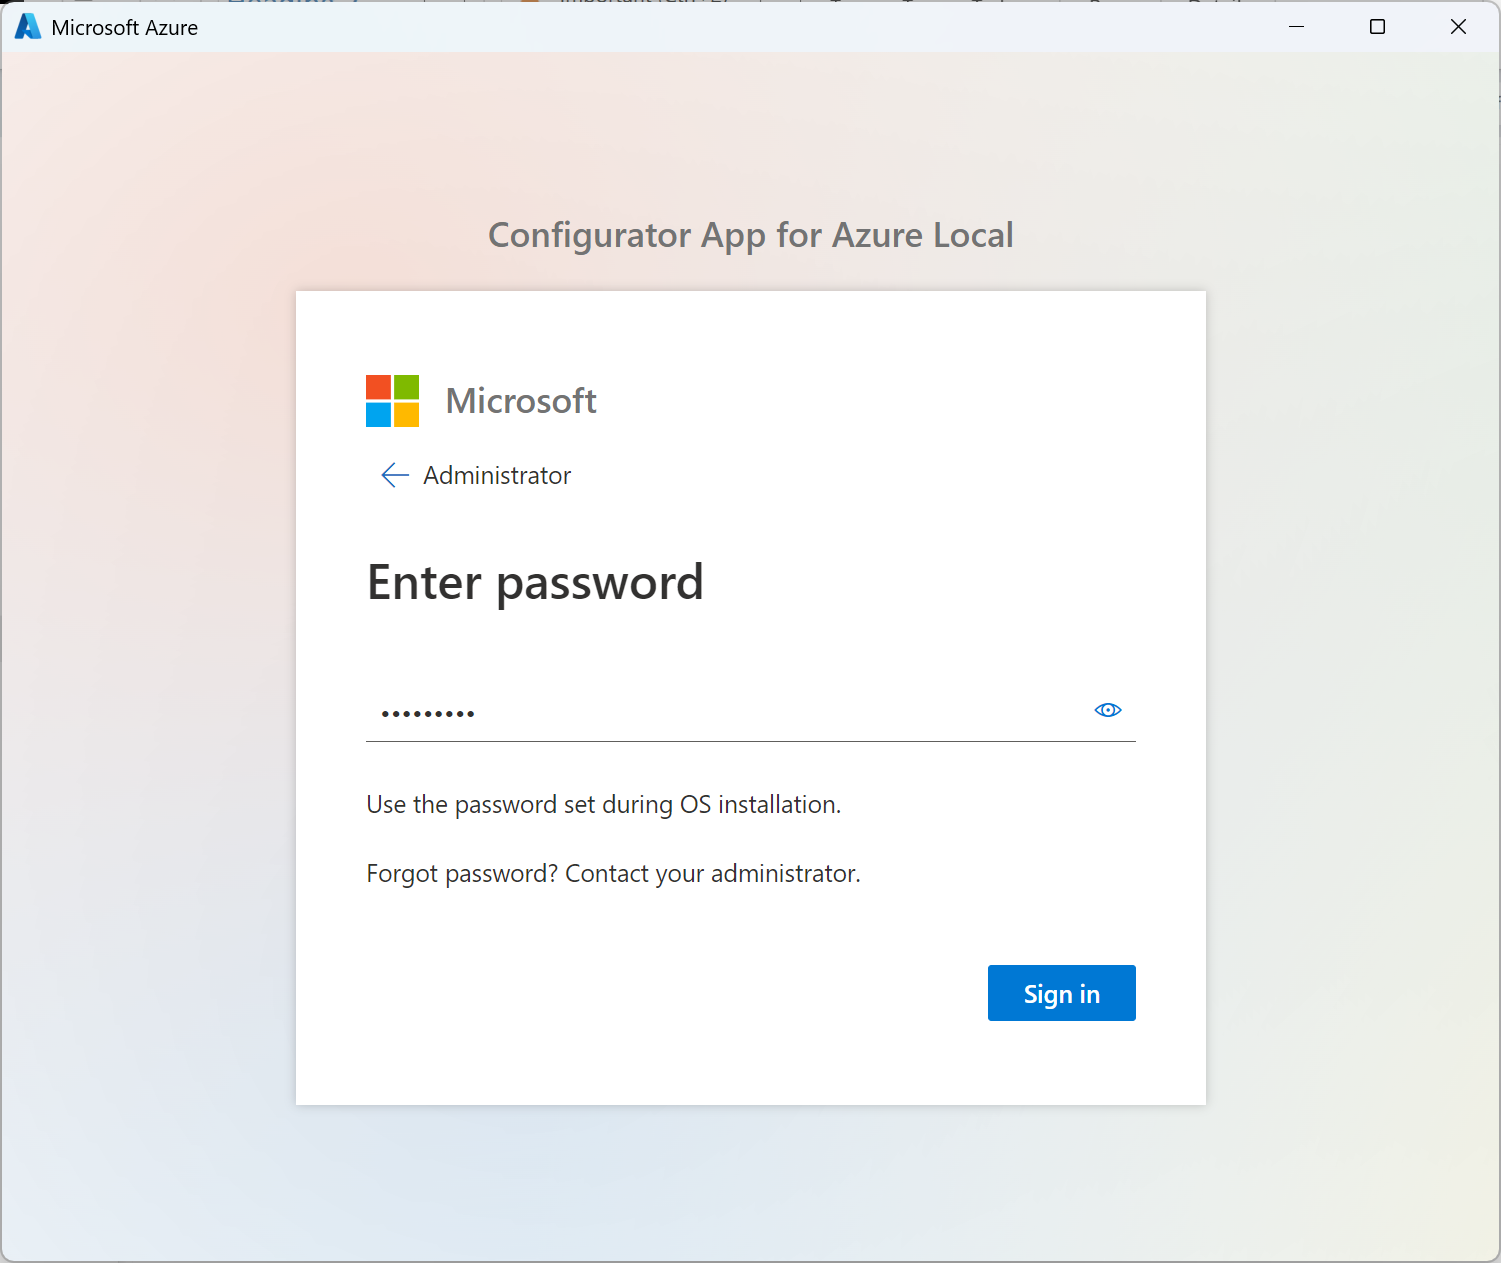
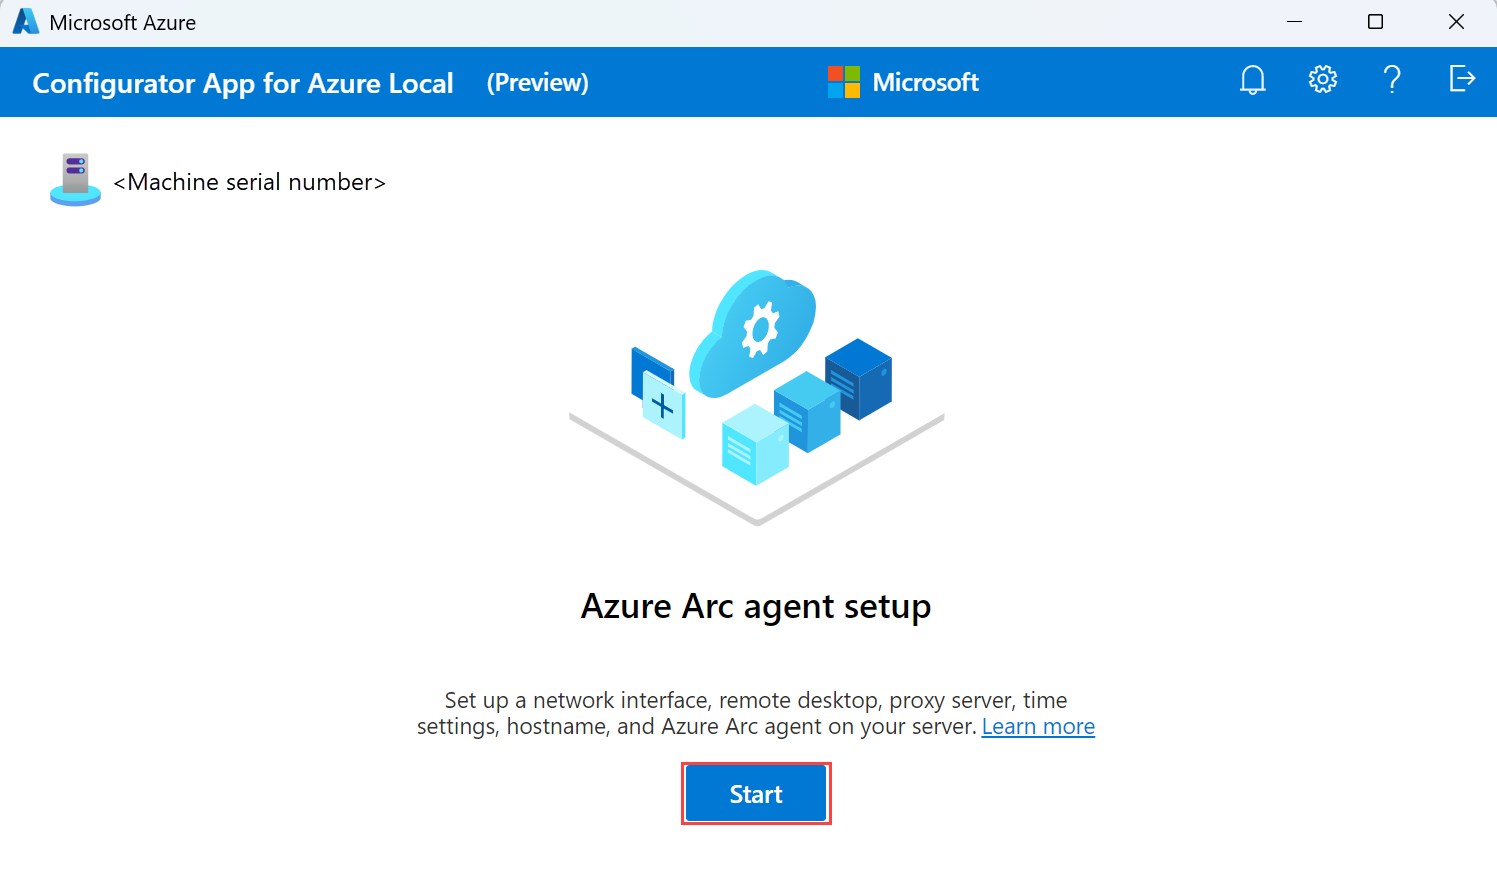
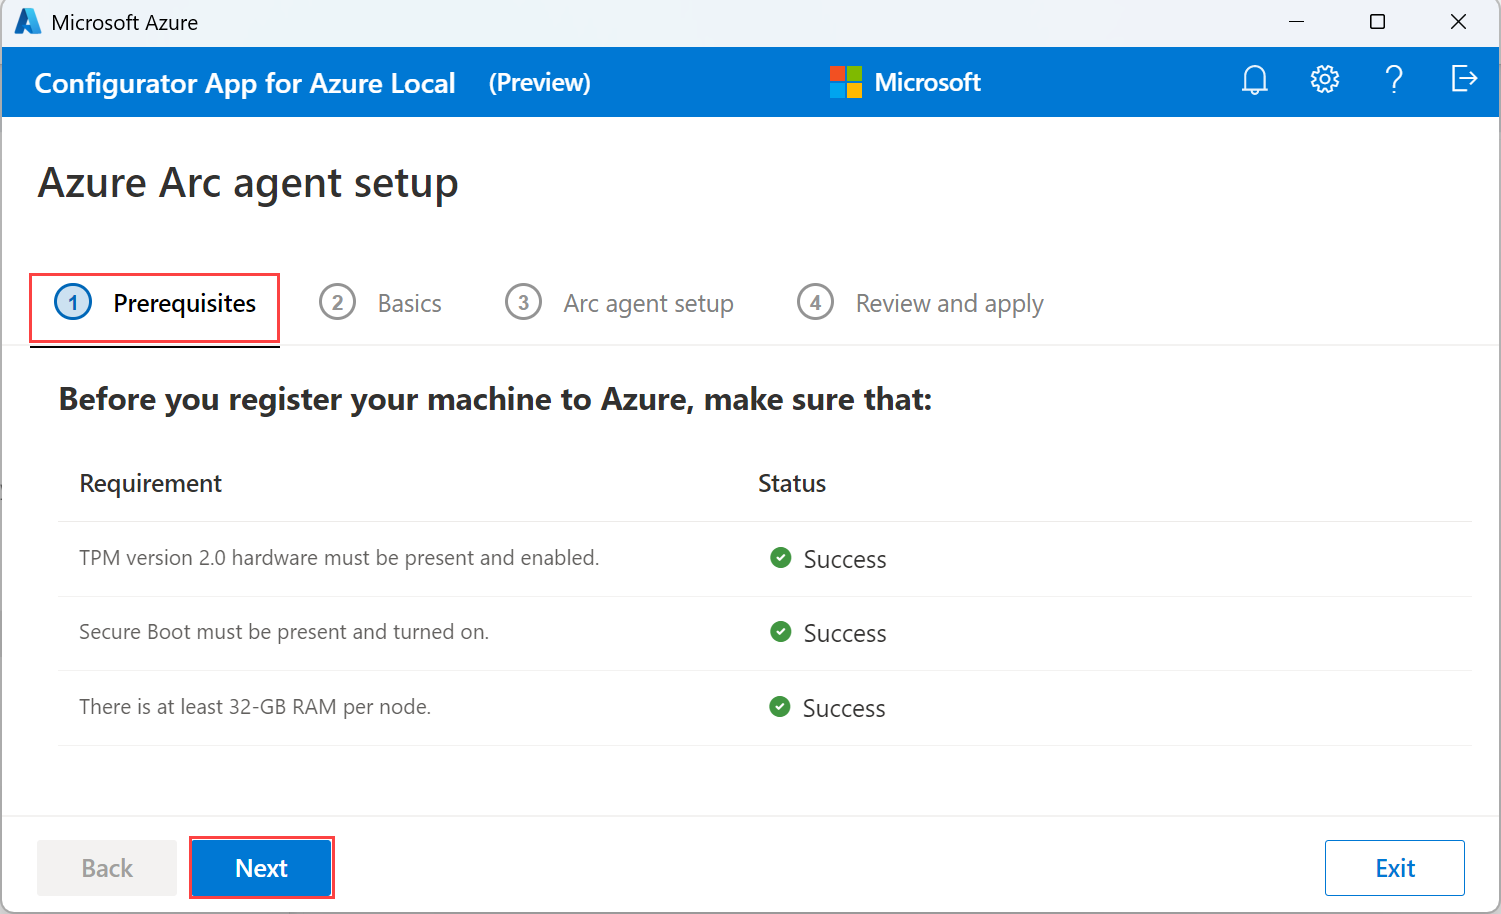
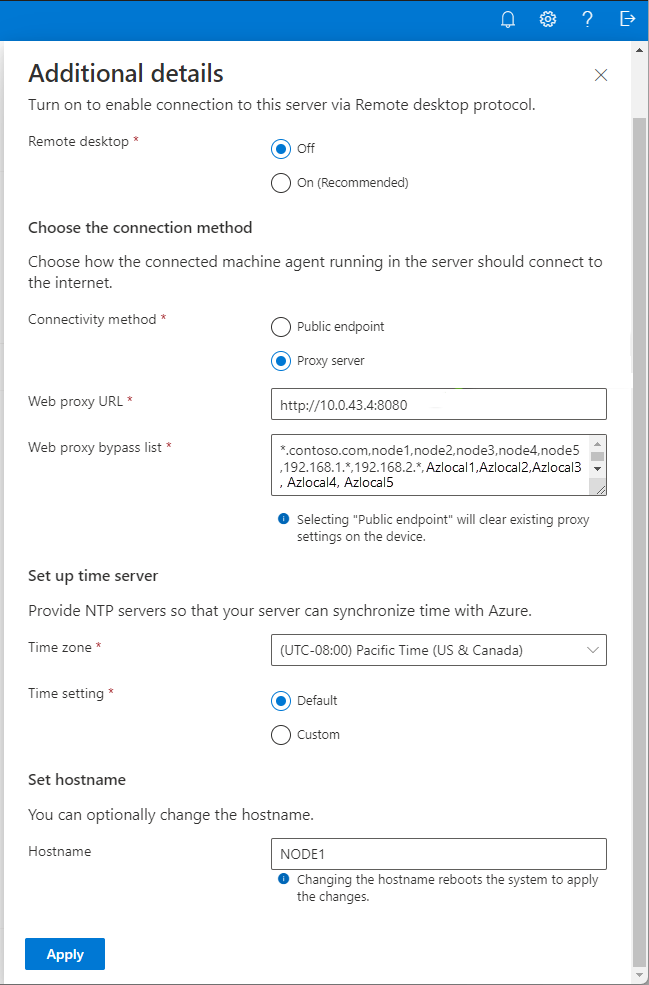
Set up proxy via the Configurator app: Using this method, you can configure the Arc proxy via a user interface. This method is useful if you prefer not to use scripts or if you want to configure the proxy settings interactively.
Important
This feature is currently in PREVIEW. See the Supplemental Terms of Use for Microsoft Azure Previews for legal terms that apply to Azure features that are in beta, preview, or otherwise not yet released into general availability.
Prerequisites
Make sure the following prerequisites are met before you proceed:
You have access to Azure Local machines running release 2505 or later. Prior versions don't support this scenario.
You have assigned the appropriate permissions to the subscription used for registration. For more information, see Assign required permissions for Azure Local deployment.
An Arc gateway resource created in the same subscription as used to deploy Azure Local. For more information, see Create the Arc gateway resource in Azure.
Step 1: Get the Arc gateway ID
Get Arc gateway ID. To create Azure Arc gateway, see Set up an Azure Arc gateway and get the resource ID of the Arc gateway. This is also referred to as the
ArcGatewayID.- In the Azure portal, go to the Arc gateway resource that you created.
- On the Overview page, copy the Resource ID. You use this Arc gateway ID later.
Step 2: Set parameters
Set the parameters required for the registration script.
Here's an example of how you should change these parameters for the
Invoke-AzStackHciArcInitializationinitialization script.#Define the subscription where you want to register your Azure Local machine with Arc. $Subscription = "yourSubscriptionID" #Define the resource group where you want to register your Azure Local machine with Arc. $RG = "yourResourceGroupName" #Define the region to use to register your server as Arc device #Do not use spaces or capital letters when defining region $Region = "eastus" #Define the proxy address for your Azure Local deployment to access the internet via proxy. $ProxyServer = "http://proxyaddress:port" #Define the bypass list for the proxy. Use comma to separate each item from the list. # Parameters must be separated with a comma `,`. # Use "localhost" instead of <local> # Use specific IPs such as 127.0.0.1 without mask # Use * for subnets allowlisting. 192.168.1.* for /24 exclusions. Use 192.168.*.* for /16 exclusions. # Append * for ___domain names exclusions like *.contoso.com # DO NOT INCLUDE .svc on the list. The registration script takes care of Environment Variables configuration. # At least the IP address of each Azure Local machine. # At least the IP address of the Azure Local cluster. # At least the IPs you defined for your infrastructure network. Arc resource bridge, Azure Kubernetes Service (AKS), and future infrastructure services using these IPs require outbound connectivity. # NetBIOS name of each machine. # NetBIOS name of the Azure Local cluster. $ProxyBypassList = "localhost,127.0.0.1,*.contoso.com,machine1,machine2,machine3,machine4,machine5,192.168.*.*,AzureLocal-1" #Define the Arc gateway resource ID from Azure $ArcgwId = "/subscriptions/yourarcgatewayid/resourceGroups/yourResourceGroupName/providers/Microsoft.HybridCompute/gateways/yourArcGatewayName"
Step 3: Run registration script
Run the Arc registration script. The script takes a few minutes to run.
#Invoke the registration script with Proxy and ArcgatewayID
Invoke-AzStackHciArcInitialization -SubscriptionID $Subscription -ResourceGroup $RG -Region australiaeast -Cloud "AzureCloud" -Proxy $ProxyServer -ArcGatewayID $ArcgwId -ProxyBypass $ProxyBypassList
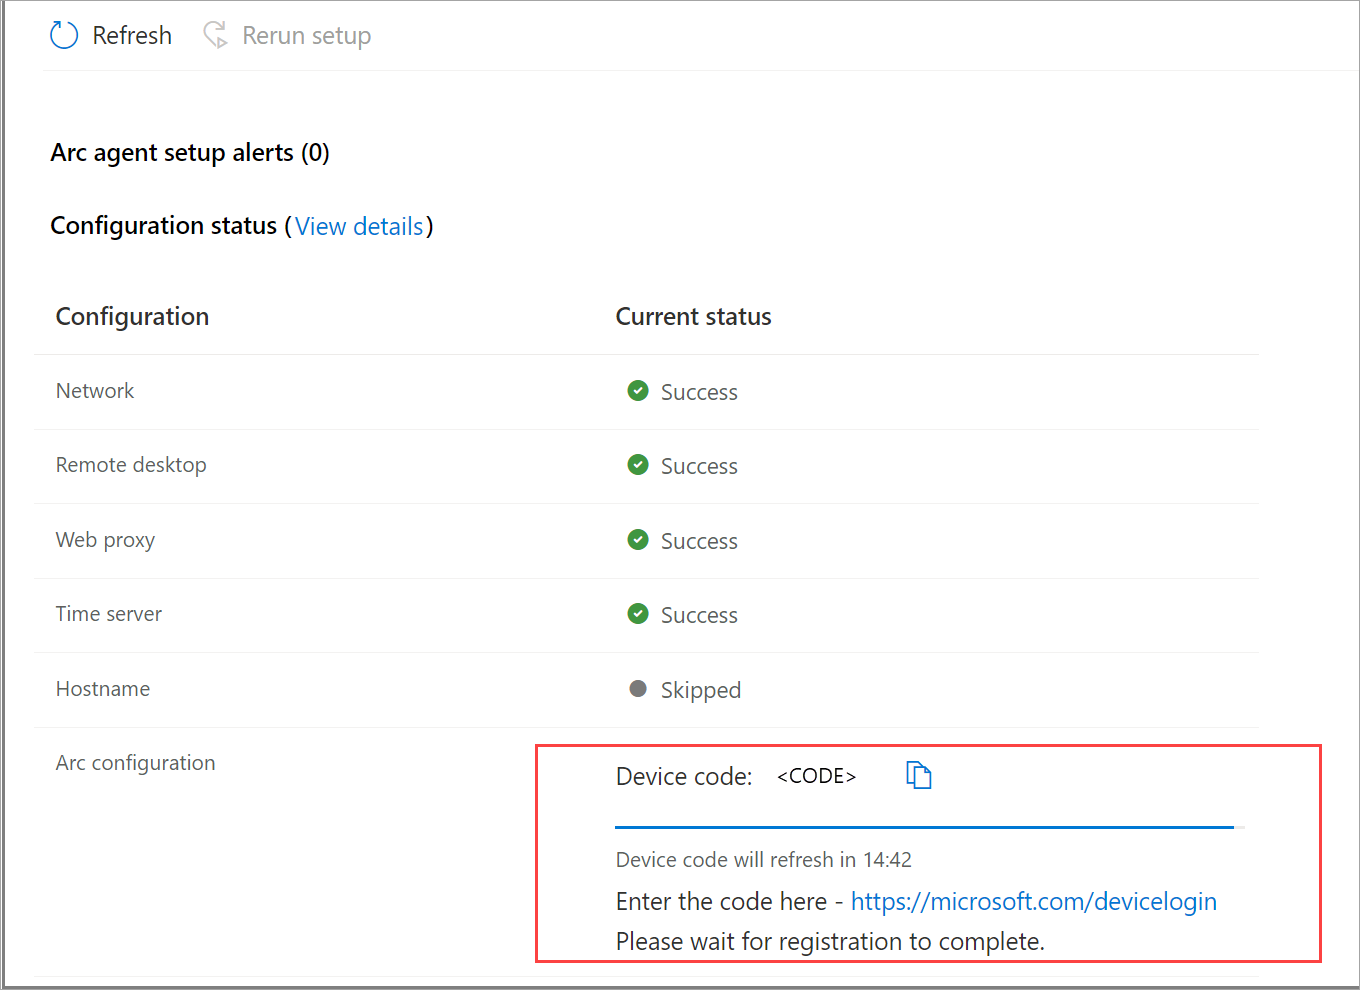
During the Arc registration process, you must authenticate with your Azure account. The console window displays a code that you must enter in the URL, displayed in the app, in order to authenticate. Follow the instructions to complete the authentication process.
Step 4: Verify the Azure Arc gateway setup is successful
Once the registration is complete, follow these steps to verify that Azure Arc gateway setup is successful.
connect to the first Azure Local machine from your system.
Open the Arc gateway log to monitor which endpoints are being redirected to the Arc gateway and which ones continue using your firewall or proxy. You can find the Arc gateway log at: c:\programdata\AzureConnectedMAchineAgent\Log\arcproxy.log.
To check the Arc agent configuration and verify that it's using the gateway, run the following command:
C:\program files\AzureConnectedMachineAgent>.\azcmagent showThe values displayed should be as follows:
Agent version is 1.45 or later.
Agent Status should show as Connected.
Using HTTPS Proxy shows as
http://localhost:40343when the Arc gateway is enabled.Upstream Proxy shows your enterprise proxy server and port.
Azure Arc Proxy shows as running when the Arc gateway is enabled.
Additionally, to verify that the setup was done successfully, run the following command:
C:\program files\AzureConnectedMachineAgent>.\azcmagent checkThe response should indicate that the connection.type is set to gateway, and the Reachable column should indicate true for all URLs.
Here's an example of the Arc agent using the Arc gateway:
You can also audit your gateway traffic by viewing the gateway router logs.
To view gateway router logs on Windows, run the
azcmagent logscommand in PowerShell. In the resulting .zip file, the logs are located in the C:\ProgramData\Microsoft\ArcGatewayRouter folder.
This article details how to register using Azure Arc gateway on Azure Local without the proxy configuration. You can register via the Arc script or the Configurator app.
Configure with a script: Using this method, configure the registration settings via a script.
Set up via the Configurator app: Configure Azure Arc gateway via a user interface. This method is useful if you prefer not to use scripts or if you want to configure the registration settings interactively.
Prerequisites
Make sure the following prerequisites are met before proceeding:
- You have access to Azure Local machines running release 2505 or later. Prior versions don't support this scenario.
- You have assigned the appropriate permissions to the subscription used for registration. For more information, see Assign required permissions for Azure Local deployment.
Step 1: Get the Arc gateway ID
Get Arc gateway ID. To create Azure Arc gateway, see Set up an Azure Arc gateway and get the resource ID of the Arc gateway. This is also referred to as the
ArcGatewayID.- In the Azure portal, go to the Arc gateway resource that you created.
- On the Overview page, copy the Resource ID. You use this Arc gateway ID later.
Step 2: Set parameters
#Define the subscription where you want to register your Azure Local machine with Arc.
$Subscription = "yoursubscriptionID"

#Define the resource group where you want to register your Azure Local machine with Arc.
$RG = "yourresourcegroupname"

#Define the Arc gateway resource ID from Azure
$ArcgwId = "/subscriptions/yourarcgatewayid/resourceGroups/yourresourcegroupname/providers/Microsoft.HybridCompute/gateways/yourarcgatewayname"
Step 3: Run the registration script
To use the Arc gateway feature for Azure Local systems without a proxy, only use the ArcGatewayID parameter.
Run the initialization script as follows.
#Invoke the registration script with ArcgatewayID
Invoke-AzStackHciArcInitialization -SubscriptionID $Subscription -ResourceGroup $RG -Region australiaeast -Cloud "AzureCloud" -ArcGatewayID $ArcgwId
During the Arc registration process, you must authenticate with your Azure account. The console window displays a code that you must enter in the URL, in order to authenticate. Follow the instructions to complete the authentication process.
Step 4: Verify the setup is successful
Once the registration is complete, follow these steps to verify that Azure Arc gateway setup is successful.
Connect to the first Azure Local machine from your system.
Open the Arc gateway log to monitor the endpoints that are being redirected to the Arc gateway and which ones continue using your firewall. You can find the Arc gateway log at: c:\programdata\AzureConnectedMAchineAgent\Log\arcproxy.log.
To check the Arc agent configuration and verify that it's using the gateway, run the following command:
C:\program files\AzureConnectedMachineAgent>.\azcmagent showThe values displayed should be as follows:
Agent version is 1.45 or later.
Agent Status should show as Connected.
Using HTTPS Proxy shows as
http://localhost:40343when the Arc gateway is enabled.Upstream Proxy shows your enterprise proxy server and port.
Azure Arc Proxy shows as running when the Arc gateway is enabled.
The Arc agent using the Arc gateway:
Additionally, to verify that the setup was done successfully, run the following command:
C:\program files\AzureConnectedMachineAgent>.\azcmagent checkThe response should indicate that the connection.type is set to gateway, and the Reachable column should indicate true for all URLs.
The Arc agent using the Arc gateway:
You can also audit your gateway traffic by viewing the gateway router logs.
To view gateway router logs on Windows, run the
azcmagent logscommand in PowerShell. In the resulting .zip file, the logs are located in the C:\ProgramData\Microsoft\ArcGatewayRouter folder.
Next steps
- Troubleshoot registration issues with Configurator app.
- After your machines are registered with Azure Arc, proceed to deploy your Azure Local instance via one of the following options:
This feature is available only in Azure Local 2505 or later.


