Note
Access to this page requires authorization. You can try signing in or changing directories.
Access to this page requires authorization. You can try changing directories.
[This article is prerelease documentation and is subject to change.]
This article describes how to use templates with the Financial Reconciliation agent. Templates allow you to save your reconciliation setup selections to increase efficiency and support the autonomous capabilities provided by agents.
You can create Templates after running the reconciliation process with the Financial Reconciliation agent. Saved templates can be applied in the moment while actively performing a reconciliation with the Financial Reconciliation agent. The agent can use templates to perform the reconciliation process autonomously. To create and store templates, you must be signed into a Dataverse connected environment.
Create a Template
To create a template, follow these steps.
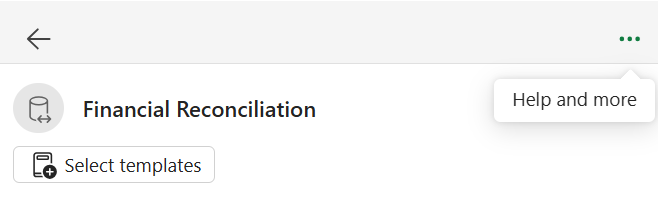
Select the Help and more menu from the top right corner of the Financial Reconciliation agent sidecar.
Select Sign into environment.
From the Select your environment dropdown, choose the appropriate environment.
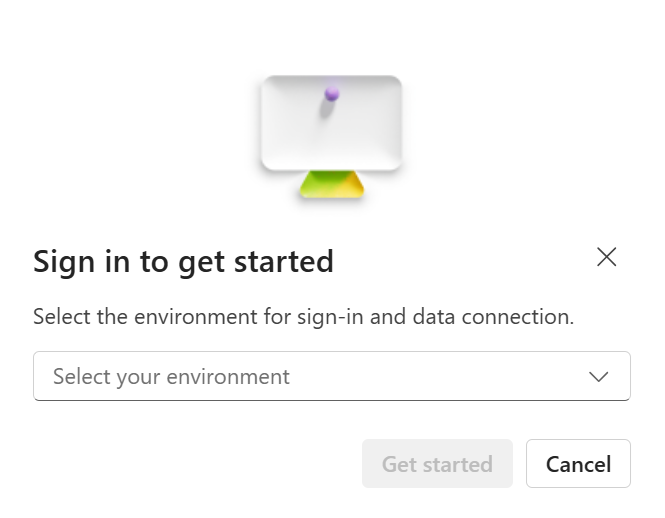
Select Get Started. If successful, a banner message that states the sign in was successful and all features are now available. If unsuccessful, or if the No environments available message displays, contact your administrator.
To change environments or to sign out of an environment, select the Help and more menu, and then select the displayed environment. Options to sign out and switch environments are presented.
Perform a reconciliation with the Financial Reconciliation agent in Microsoft 365 Excel. (Learn about reconciling with the Financial Reconciliation agent in Reconcile data with Financial Reconciliation agent).
After completing the reconciliation, select Save as template in the lower right corner of the Finance agents sidecar.

Enter a name for the template in the Template name field.
Select Save. After you save the template, a badge for the newly created template appears at the top of the Finance agents sidecar. You can dismiss the badge by selecting the X next to its name.
![]()
Load a Template
To load a template, follow these steps.
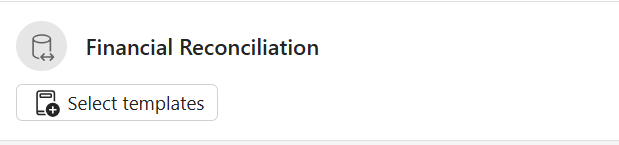
Select Select templates at the top of the Reconciliation agent sidecar.
Select a template from the list provided, and select Select.
To perform the reconciliation, select Reconcile data.
Modify a Template
Modifications to a template can be made after the template is applied and the reconciliation process is complete. Once completed, the newly updated reconciliation selections can be saved.
To modify a template, follow these steps.
- Select Select templates at the top of the Reconciliation agent sidecar.
- Select a template from the list provided, and select Select.
- Make the necessary modifications. For example, change Keys, Reference Columns, or Report Parameters. To discard all of the modifications and return to the original template, select the Reset button located next to the template badge.
- Select Reconcile Data (or select Re-reconcile data if modifications are made after an initial reconciliation was performed).
- To save the template with a new name (save as), select +.
- Enter a name for the template in the Template name field.
- Select Save. After you save the template, a badge for the newly created template appears at the top of the Finance agents sidecar. You can dismiss the badge by selecting the X next to its name.
Note
Entering the same name as an existing template doesn't overwrite the existing template. Instead a second template with the same name is created.