Note
Access to this page requires authorization. You can try signing in or changing directories.
Access to this page requires authorization. You can try changing directories.
Use Microsoft Viva Glint Recurring surveys to measure employee sentiment on topics that you want regular feedback on over time. Recurring surveys help track important themes like engagement, productivity, manager effectiveness, or culture at regular intervals. Learn about survey types.
Set up a Recurring survey
Note
Edits made to survey cycles unlink cycles from the overall survey program. Viva Glint doesn't currently support relinking cycles to their survey programs.
From your admin dashboard, select Configuration.
In the Surveys section, choose Survey Programs.
Select + New Program.
Choose a survey template or start with a blank template in the Recurring section.
Note
The blank recurring survey template supports adding multiple cycles.

Hover over a template and select Create Program.
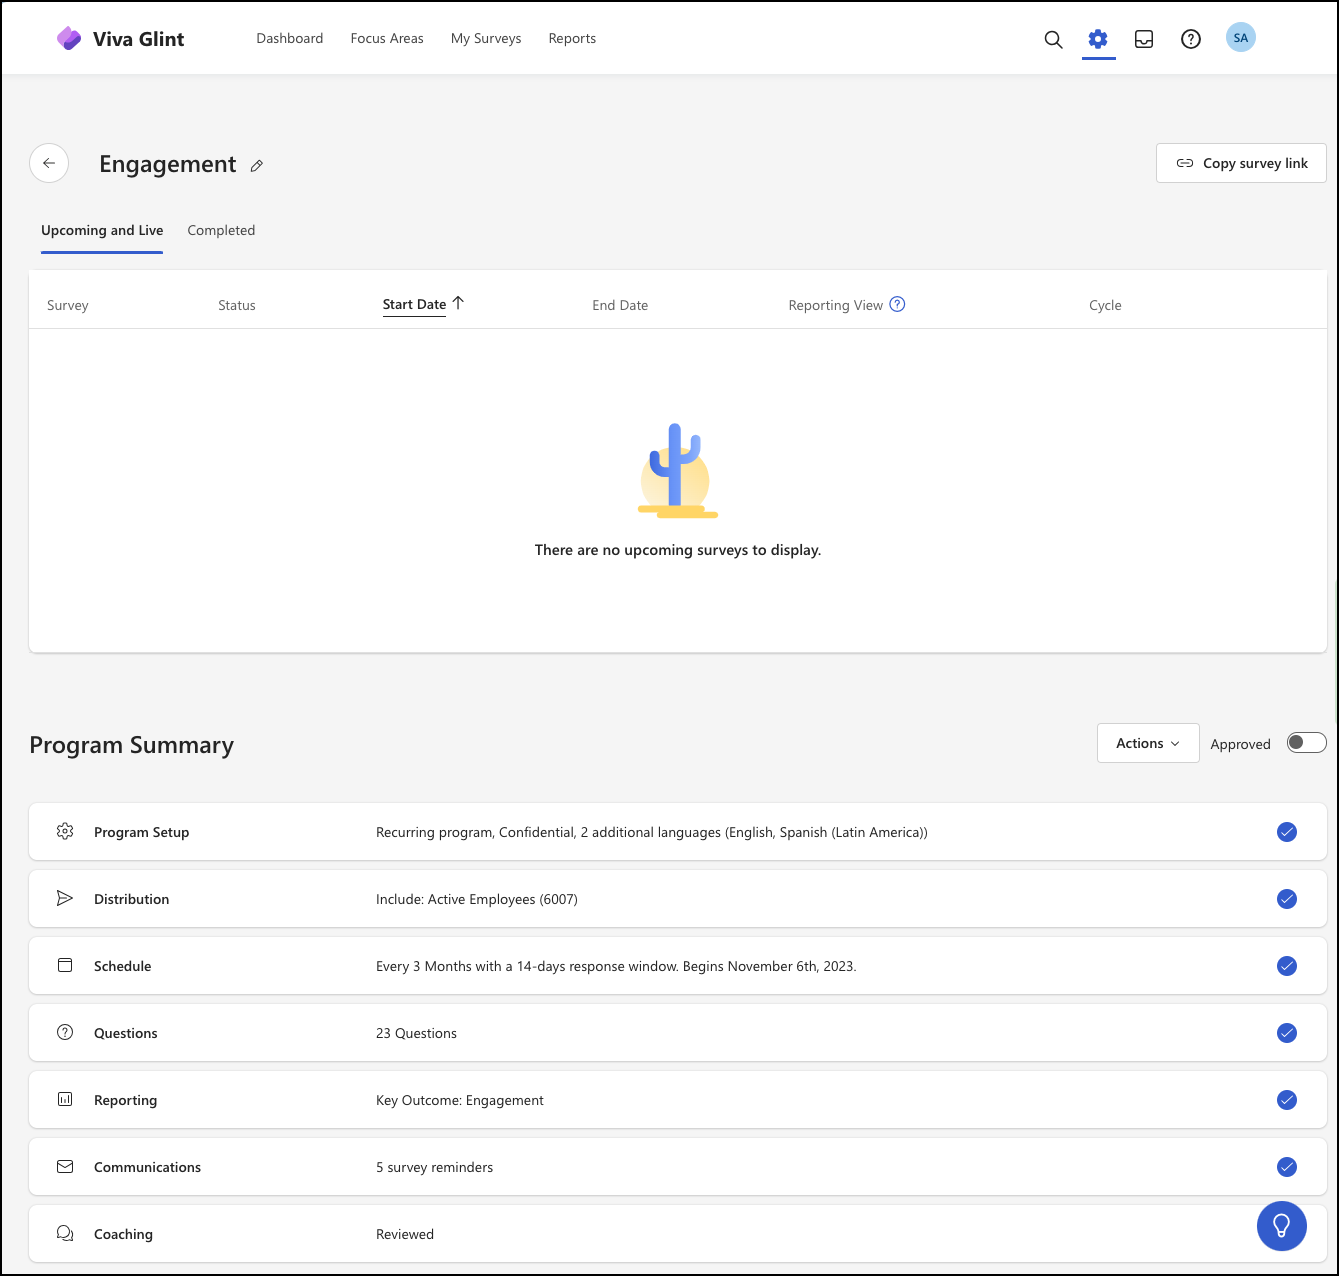
After creating a new survey program from a template, follow the guidance listed for each section of your Recurring survey setup.

Setup section Description 
Program Setup Define basics like languages, optional features, and confidentiality settings. 
Distribution Select Distribution Lists or User Roles to include in or exclude from the survey invite list. 
Schedule Set the next start date and recurrence for future surveys. 
Questions Add survey introduction text, select questions, and add a survey thank you message. 
Reporting Define which roles have access to this survey's results and determine key reporting views. 
Communications Customize and set a schedule to send survey communications. 
Coaching Confirm or customize content that helps users interpret results on their dashboards and use Team Conversations (when enabled). As you set up each section, a checkmark indicates that the section is set up completely and allows you to move to the next setup section.
Preview your survey after completing each setup section.
Build excitement and remind your people about the survey:
Review survey setup before survey launch.
Set a calender alert to customize and send post-survey email communications:
To your entire organization:
- 1 day after survey close: Announce that the survey is closed and explain what's next
- 3-4 days after survey close: Share survey results and what to expect from feedback
To your managers:
- 1 day after survey close: Survey results and confidentiality standard
- 5-7 days after survey closes: How to have effective conversations