Note
Access to this page requires authorization. You can try signing in or changing directories.
Access to this page requires authorization. You can try changing directories.
Azure DevOps Services | Azure DevOps Server 2022 | Azure DevOps Server 2020
Stakeholders can respond to feedback requests in Azure DevOps by using the Test & Feedback extension, Exploratory testing.
Users with Basic access can request feedback from stakeholders by using the work-item shortcut menu. If you have Basic access and want to provide feedback, follow the non‑stakeholder workflow described in Provide stakeholder feedback.
Quick links
Note
The end-to-end flow described here applies to web apps and to Azure DevOps. To collect feedback for desktop apps or for older versions, use the Get feedback workflow.
Prerequisites
| Category | Requirement |
|---|---|
| Project access | Project member. |
| Access levels | To request or provide feedback: At least Stakeholder access. |
| Extensions | Test & Feedback extension. |
Provide voluntary feedback
Use the Test & Feedback extension to provide voluntary feedback, even if you don't receive a feedback request.
Warning
The Request feedback shortcut menu isn't available in Azure DevOps Services. Use one of these alternatives:
- Send an email or chat message to the stakeholders you want to reach, or
- Use the Test & Feedback extension to collect feedback directly from a browser.
Open the Test & Feedback extension in your browser using the
 icon in the toolbar.
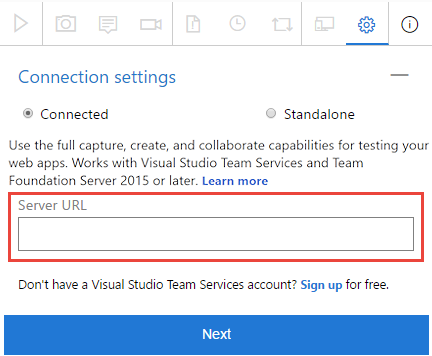
In the Connection settings page, select Connected.
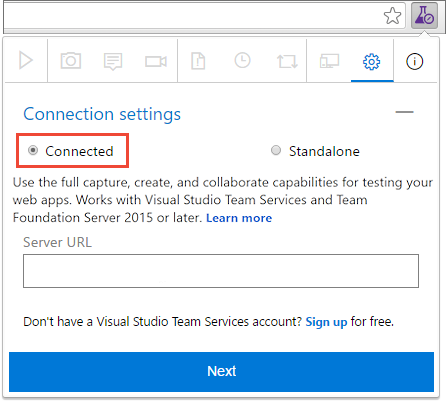
Connect to the server and appropriate project or team.
Start the exploratory testing session.

Open the application you want to provide feedback on and begin your feedback. For example, select Capture screenshot.

You can use all the capabilities of the extension such as capturing screenshots, notes, and screen recordings.
Some browsers might not provide all of the capture capabilities. See Supported web browsers for the extension.
When you're done capturing feedback, Choose Provide feedback.
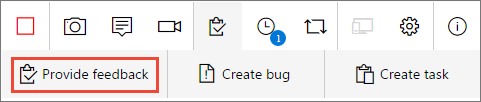
You can optionally choose to create bugs and tasks when you submit your feedback. The process is the same as described here.
All your feedback captured is shown in the response form. Enter a suitable title and, optionally, select a star rating for the feature you're testing.

Save your feedback, which creates a work item in Azure DevOps containing all your feedback.
Continue to capture more feedback if necessary. You can submit multiple feedback responses, bugs, and tasks for the same feedback request.
Select the Stop icon to end your feedback session.
